What Is Open Wheel Pottery?
What is Open Wheel Pottery?
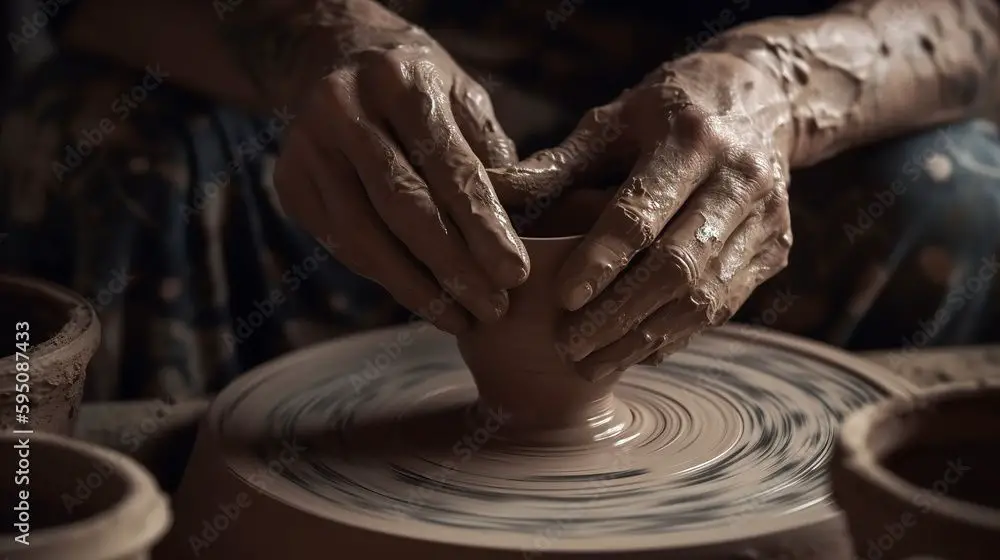
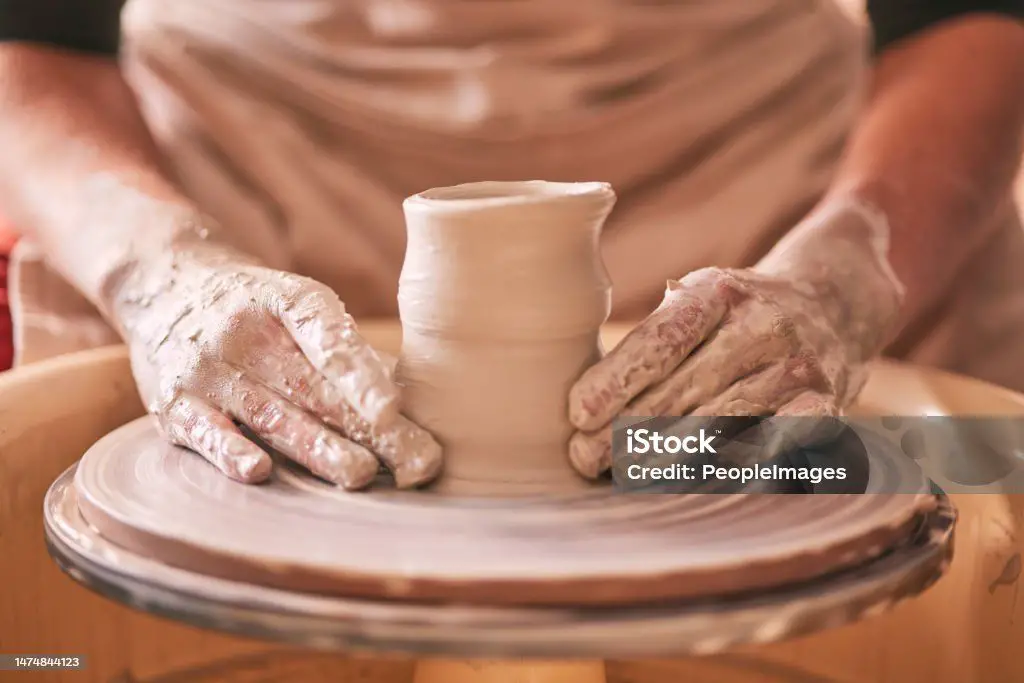
Open wheel pottery is a technique for creating ceramic vessels and objects using a potter’s wheel. The potter forms the clay on a rotating wheel head, opening up the clay and raising the walls to shape a pot. This differs from other pottery techniques like handbuilding, which form the clay without the use of a wheel.
The origins of the potter’s wheel can be traced back over 7,000 years to ancient Mesopotamia, around 4000 BC. Evidence suggests the wheel was also independently invented in other early civilizations like ancient Egypt and China around 3000 BC [1]. The wheel enabled early potters to create thinner walls and uniform shapes more efficiently.
For millennia, the potter’s wheel was rotated by hand or foot. But with the advent of the industrial revolution in the 18th century, potter’s wheels became mechanized, enabling mass production of ceramics. Today, most pottery studios use electric powered wheels, while some traditional potters still use foot-powered wheels.
Compared to other techniques like coiling and pinching, the potter’s wheel allows for greater consistency, thinner walls, symmetry, and complexity in forms. It revolutionized the creation of vessels and continues to be one of the most ubiquitous pottery techniques today.
The Pottery Wheel

A pottery wheel is a machine used in the shaping process of pottery creation. It consists of a spinning disk known as the wheel head that allows a potter to form symmetrical pottery easily. There are two main types of pottery wheels:
Electric pottery wheels are powered by electricity and have a motor that rotates the wheel head. They allow for variable speeds and the ability to start and stop the rotation with a foot pedal.1 Electric wheels provide more power and precision in shaping, but tend to be more expensive.
Kick wheels, also known as manual wheels, must be spun by kicking a pedal connected to a flywheel. Kick wheels are cheaper and do not require electricity to operate, but offer less control over speed and shape.2
In both cases, the spinning wheel head allows a potter to center and shape a lump of clay. The centrifugal force of the spinning clay allows the potter to open up the walls and form symmetrical rounded objects easily.3 The speed, power, and precision offered by the wheel is essential for efficiently shaping pottery.
Centering the Clay
Centering the clay properly is a crucial first step in open wheel pottery. It involves shaping the clay into a symmetrical ball in the middle of the pottery wheel before beginning to raise the walls. According to pottery teacher Will Kemp, “Centering is one of the most important skills to master as a potter. Well-centered clay will encourage good looking forms to develop.”
There are a few techniques for effectively centering clay on the wheel:
- Apply pressure with the palms, keeping fingers together, while the wheel spins to shape the clay into a ball.
- Use the palms, while avoiding the fingertips, to compress the clay and eliminate air pockets.
- Apply even pressure with the palms and let the momentum of the spinning wheel round the clay into a smooth, centered ball.
- Make small adjustments as needed by gently pressing any lumps or thicker areas back into shape.
- Keep the hands and body relaxed, and let the clay center itself through the spinning motion as you guide it.
Patience and practice help develop a feel for centering. According to instructor Andrew Martin, “It takes time and repetition to train your hands.” Remaining focused while centering, and not rushing the process, allows the clay to center effectively.
Opening the Clay
After centering the clay on the wheel, the next step is to open up the cylinder of clay into the basic shape that will be turned into a pot or other open wheel creation. This process is referred to as “opening” the clay.
To open the clay, the potter places one or both hands on the outside of the cylinder and pushes down and out gently to form the basic shape. While doing this, they also use their fingers on the inside to support the shape. The potter may use various tools like ribs or loop tools to assist in gently pushing the clay outward from the inside [1].
Opening the clay takes practice and a delicate touch. The potter does not want to push too hard or thin out the walls too much at this stage. Going slowly and gradually opening up the form allows the clay to be expanded to an even thickness. Rushing this process can cause the clay to collapse. The wheel’s speed may be adjusted as needed as the potter opens the clay.
Once opened to the approximate shape, the next step will be raising the walls to full height before refining the final form.
Raising the Walls
Once the clay has been centered on the wheel and opened up, the next step is to pull up the walls to the desired height. This takes practice and a delicate touch to raise the walls evenly without thinning them out too much. According to this expert potter, the key things to focus on are:
- Using your thumbs and the side of your index finger, apply gentle upward pressure from the inside of the clay to raise the walls. Go slowly and steadily.
- As you pull up the walls, support the outside with the opposite hand to stabilize and prevent thinning.
- Control the wall thickness by pinching the clay between your hands – apply light pressure between thumb and finger.
- Pause frequently to compress the clay by pressing your fingers down on the inside and outside walls.
- Use a sponge to absorb excess water before raising the walls further to prevent slumping.
It takes practice to raise the clay evenly and know how much to thin the walls. Going slowly, supporting the outside, and compressing as you go will help maintain an even thickness.
Shaping the Clay
Once the clay has been centered on the wheel and opened up, the next step is to actually shape it into the desired form such as a bowl, vase, or plate. This shaping process relies heavily on using the fingers, ribs, and loop tools to manipulate the spinning clay.
The potter places both hands on the clay and applies pressure to form the basic shape. For example, for a bowl, they would push out from the center while keeping walls even. For a vase, they would thin the neck and shape the belly. The spinning momentum allows the clay to flow smoothly into form.
In addition to the hands, potters employ specialized ribs and loop tools. Ribs are flat, blunt pieces of wood or metal that can compress, smooth, and refine the clay as it spins. Loop tools have a wire loop on the end that can cut clay and refine details. Through a combination of fingers, ribs, and loop tools, the potter can shape the clay into an astounding variety of functional and artistic forms 1.
Trimming and Refining
Once the initial shaping of the clay on the wheel is complete, potters will use a process called trimming and refining to further perfect the form. This involves placing the dried but still soft clay piece back on the spinning wheel and using specialized metal tools to refine the shape and smooth out any imperfections.

Metal scrapers of various shapes and sizes are employed in the trimming process. These scraping tools allow the potter to gently remove excess clay and finesse the contours of the piece. Frequently used trimming tools include loop scrapers, kidney scrapers, and rib scrapers. The potter holds the scraping tool against the spinning clay, starting from the bottom and working up the sides, to carefully trim away uneven sections and achieve a more precise curved form.
In addition to scraping, trimming involves smoothing out the surface using a wet sponge or cloth. This removes any remaining rough edges and gives the piece a uniform smooth surface texture. The potter may also choose to accentuate certain decorative elements at this stage, like enhancing the lip of a vase or underscoring subtle ridges with the trimming tools. Gentle pressure and refined movements are needed during trimming to prevent damaging the form.
Trimming and refining represents the final step in perfecting the shape of the clay object before decorative elements are added. Taking the time to carefully trim and smooth the piece helps potters achieve the clean lines and flawless forms associated with quality open wheel pottery ([1]).
Decorating
Once the pottery pieces are leather hard and dry enough after throwing, the next step is decorating them before firing. Some popular decorating techniques for open wheel thrown pottery include:
Incising Designs
Incising involves using sharp tools to carve intricate designs and patterns into the surface of the clay body. This can be done when the clay is still wet after throwing or once it has dried to a leather hard state. Common incising tools include ribs, fettling knives, loop tools and wooden skewers [1]. The carved lines create interesting textures and visual appeal.
Adding Handles and Spouts
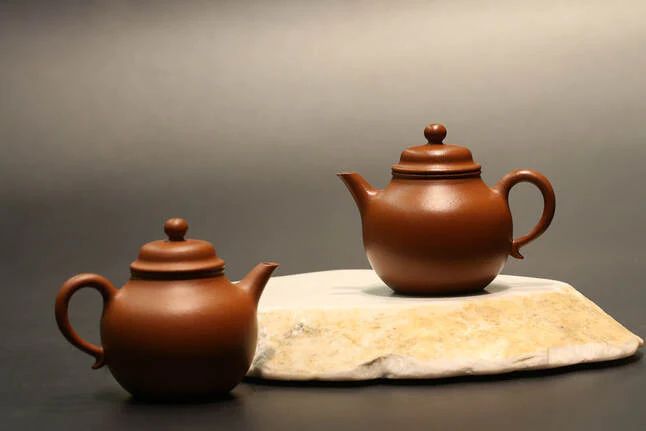
Functional handles and spouts can be added to wheel thrown vessels like mugs, pitchers and teapots. These can be hand built using clay coils that are scored and slipped onto the main body. Spouts require careful piercing into the side of the vessel before attaching. Handles are shaped and smoothed onto the form.
Glazing and Coloring
Glazes in various colors are commonly used to decorate and waterproof wheel thrown pottery before firing. Other methods involve painting clay slips, underglazes or overglazes directly onto the bisque fired clay [2]. These colored decorations can be brushed on freely or more controlled methods like wax-resist are used to block out certain areas.
Drying and Firing
After shaping and trimming on a pottery wheel, clay pieces need to dry and be fired for completion. Letting pieces dry slowly and evenly is an important step. Clay is dried to the leather-hard stage, meaning that it has dried enough to be handled without deforming, but still retains some moisture. According to this article, when clay is leather-hard, it should be smooth to the touch with no visible water on the surface. Drying time can range from a few hours to a few days.
Once the clay has dried, the next step is bisque firing. Bisque firing further dries and hardens the clay before applying glazes and decorations. According to ceramic experts, bisque firing should heat up gradually to about 1800-1900°F. After bisque firing, the piece is ready for glazing and decorating. When complete, the final step is a glaze firing which melts the glaze to create a glass-like coating.
Notable Open Wheel Potters
Open wheel pottery has been practiced for thousands of years, with many famous potters using the open wheel technique. Some notable open wheel potters through history include:
– Bernard Leach (1887-1979) was an influential British studio potter who helped establish the tradition of Western-style folk pottery in Japan. He is known for promoting more natural shapes and glazes inspired by Asian ceramics [1].
– Shoji Hamada (1894-1978) was a Japanese potter who studied and worked with Leach. He became known for combining traditional Japanese folk craft with a more modern, simple aesthetic [2].
– Lucie Rie (1902-1995) was an Austrian-British potter who escaped Nazi occupation and became known for her high-quality thrown tableware with clean modern shapes [3].
Some contemporary open wheel potters continuing the tradition today include:
– Simon Leach, son of Bernard Leach, who creates wood-fired functional pottery at his studio in the UK [4].
– Akio Takamori (1950-2017) was a Japanese-American sculptor known for intricate figural works combining Asian and Western influences [5].
– Clary Illian is an American potter recognized for her vivid porcelain pieces with intricately altered rims [6].
– Yoshihiro Takiguchi is a Japanese potter keeping alive the Mashiko pottery tradition with wood-fired functional wares [7].


