What Is The Best Plaster For Casting?
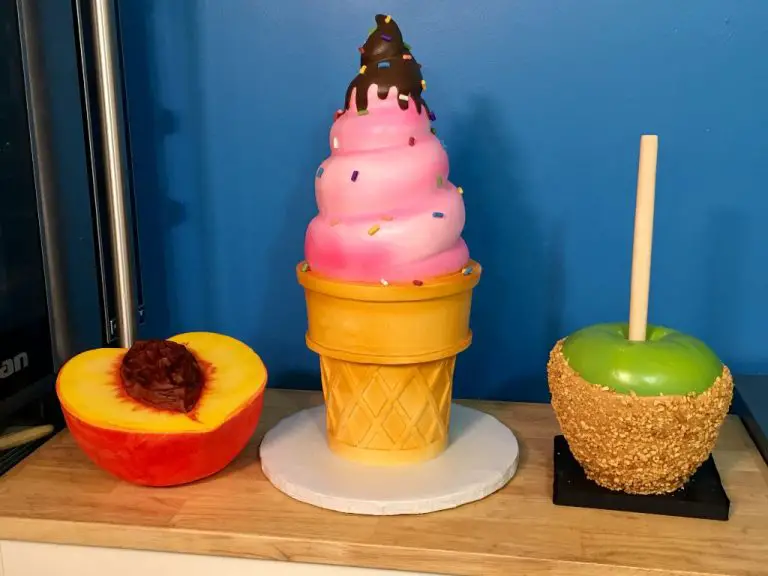
Plaster casting involves making a plaster mold around a body part or object, allowing the plaster to set and solidify into a rigid cast. The plaster cast immobilizes and protects the body part while it heals from an injury or fracture. Plaster casting has been used since the ancient Egyptian era for making death masks, busts and statues. Nowadays it is commonly used for orthopedic purposes to stabilize broken bones and in art and sculpture for making replicas and decorative molds.
Plaster is an inexpensive, easy to use material that conforms to the body part and dries relatively quickly into a hard, durable cast. It is often used as an alternative to fiberglass casting which can be more expensive. Plaster casting allows immobilization of joints or provides support for structures like the spine until healing is complete. It is also used to make replicas of statues, body parts and faces, both for cosmetic and historical preservation purposes.
Types of Plaster
There are several types of plaster commonly used for casting:
- Plaster of Paris – This is made from gypsum powder that is derived from gypsum ore. It is the most commonly used plaster for casting small detailed pieces like figurines. Plaster of Paris sets quickly which allows detailed castings in a short time. It has high absorption of water which can lead to deterioration over time (https://theengineerguy.com/no-1-casting-plaster/).
- Pottery plaster – Formulated specifically for pottery and ceramics work. It has high wet strength for even large castings and has lower shrinkage. Sets slightly slower than plaster of Paris (https://artnews.com/product-recommendations/best-plaster-moldmaking-1234576507/).
- Hydrocal White Gypsum Cement – Used for casting high detailed reproductions like dentistry or sculpture. It has extremely high strength and lower absorption than plaster of Paris which leads to less deterioration over time.
Properties of Plaster
Plaster has several key properties that make it useful for casting applications:
Setting time refers to how long the plaster takes to harden after being mixed with water. Standard casting plasters like plaster of Paris typically have a setting time between 10-30 minutes. Fast-setting specialty plasters can set in 5 minutes or less. The setting time allows enough time for the plaster to be mixed, poured into the mold, and worked before it hardens.1
Strength determines how durable the finished plaster casting will be. Plaster can be formulated to achieve high compressive strengths between 6,000-10,000 psi when fully cured. Strength is important for ensuring castings will withstand handling and last a long time.2
Expansion refers to how much the plaster will increase in volume from the liquid to solid state. Most plasters expand 0.2-0.3% to fill the mold properly before hardening. Minimal expansion allows intricate mold details to be captured without defects or cracks forming.1
Preparing the Plaster
Properly preparing and mixing the plaster is a key step for successful casting. Here are some tips for getting the plaster ready:
-
Always follow the manufacturer’s instructions for mixing ratios. Too much or too little water can affect the plaster’s strength and curing time.
-
Use clean, cool water. Warm water and impurities can cause the plaster to set too quickly.
-
Mix the plaster thoroughly to eliminate any clumps and ensure all powder is wetted. Use an electric drill with a blending attachment for large batches.
-
Only mix as much plaster as you can use in 45-60 minutes. Plaster starts setting immediately after mixing.
-
Stir constantly while mixing. Let the mixture sit for 2-3 minutes after initial mixing to allow trapped air bubbles to escape.
-
Be mindful of using any plaster additives like retarders or accelerators as they will alter cure times.
-
Keep track of the plaster’s working time once mixed. Discard any unused plaster once it thickens and starts to harden.
Proper mixing and preparation helps ensure the plaster has an ideal consistency for pouring and prevents waste. Check the plaster’s condition periodically as you work to monitor changes in its fluidity and wetness.
Source: https://composimoldstore.com/blog/casting-with-plaster-of-paris-skills-and-techniques/
Making the Mold
There are several techniques for making a plaster mold depending on the complexity of the original model:
- Silicone molds are made by brushing liquid silicone onto the model. Silicone molds are flexible and can capture fine details, making them ideal for complex shapes. Silicone molds are reusable and durable, though the materials can be expensive (1).
- Waste molds are a simple enclosed mold made by surrounding the model with walls of dry plaster. Once the plaster sets, the model is removed and the remaining cavity is the mold. Waste molds are destroyed to remove the finished casting and cannot be reused. They work well for simple shapes (2).
- Two or more piece molds are made by creating a mold box around the model using clay, foam, or other material. Plaster is applied to the model surface and allowed to set. The mold is opened, the model removed, and plaster applied to the second half. When assembled, the seam lines match. Multiple piece molds capture complex geometries but require alignment and assembly (1).
The choice depends on the model complexity, desired mold longevity, and material being cast into it.
(1) https://www.wikihow.com/Make-a-Plaster-Mold
(2) https://www.andygravesstructures.com/surprisingly-easy-method-to-make-a-1-part-plaster-mold/
Applying the Plaster
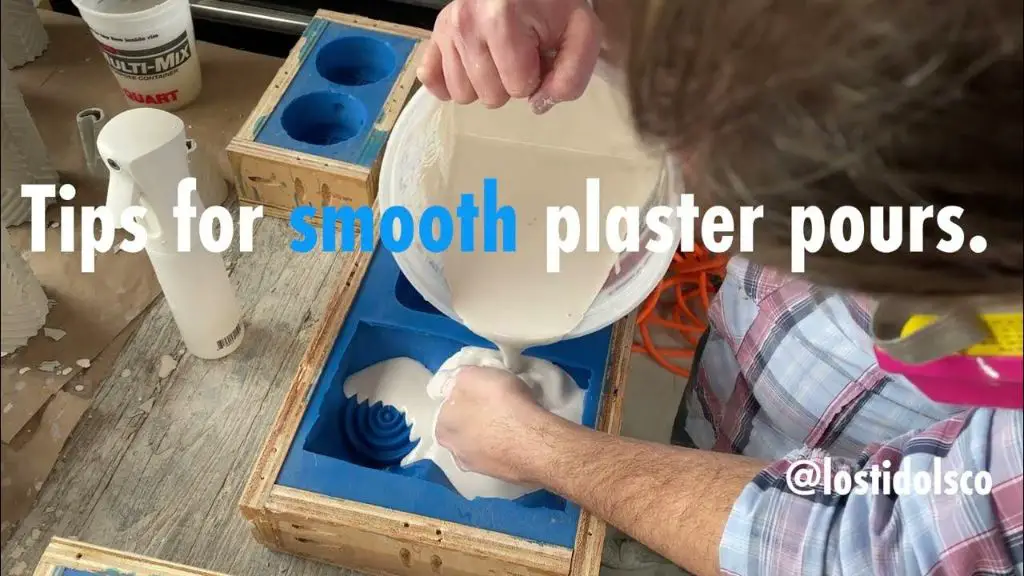
When applying plaster for casting, it’s important to pour and apply the plaster correctly for optimal results. According to the Plaster of Paris Skills and Techniques guide on the ComposiMold Store website, “Pour plaster slowly and steadily into the mold. Tilt and rotate the mold continually while pouring to allow air bubbles to escape.” They recommend pouring the plaster in a thin stream from a height of about 12 inches above the mold. This allows the plaster to flow smoothly into all areas of the mold.
It’s also critical to avoid trapping air bubbles when applying the plaster, as this can lead to holes or weak spots in the finished cast. The guide suggests tapping the outside of the mold with a rubber mallet or gently vibrating the mold to help dislodge bubbles. Smoothly moving the mold while pouring can also help minimize bubbles. Once the plaster has been poured, let it sit undisturbed as it begins to set, for at least 45-60 minutes. This allows the plaster to fully permeate the mold without disruption (Source: https://composimoldstore.com/blog/casting-with-plaster-of-paris-skills-and-techniques/).
Setting and Curing
Plaster will initially set and harden within 1-4 hours after application depending on the thickness and type of plaster used [1]. This is referred to as the plaster setting time. However, plaster requires a much longer curing time to fully dry out and achieve maximum hardness and strength.
The curing time for plaster can take between 24-72 hours depending on environmental factors like temperature and humidity. Thicker applications of plaster will have longer drying times. A general guideline is to allow at least 1 day of curing time per 1/8 inch thickness of plaster [2].
It’s important not to rush the curing process. If plaster is painted or otherwise finished before fully curing, it can lead to cracks, discoloration, and other defects. Allowing the proper curing time ensures the plaster has fully hydrated and formed a strong, durable finish.
Finishing and Painting
Once the plaster has fully cured and hardened, the cast will need some finishing work before painting. First, use a sanding sponge or fine grit sandpaper to smooth out any rough spots or seams on the cast. Sand evenly over the entire surface until it feels smooth. Be careful not to sand too aggressively as you don’t want to remove details from the cast. Next, fill any small holes or imperfections with spackling paste and allow that to dry fully. Once the surface is smooth, wipe off any dust with a dry cloth. Now the cast is ready for painting.
Acrylic paints work best for painting plaster casts. Before starting, first seal the plaster with 2-3 thin coats of acrylic sealer, allowing it to dry in between coats. This helps the paint adhere properly. Next, apply acrylic paint in your desired colors using multiple thin layers rather than one thick coat, which can cause cracking or peeling. Allow the paint to dry fully between layers. You can use a variety of techniques like dry brushing, sponging, stippling or even airbrushing to achieve different artistic effects. Clear acrylic spray sealer can be applied over the paint when finished to protect and seal the colors. With some simple preparation, plaster casts can be transformed into vivid works of art through painting.
Sources:
https://www.babyrice.co.uk/blog/painting-hand-foot-casts-how-to-get-the-perfect-paint-finish
Advantages of Plaster Casting
Plaster casting offers several advantages compared to other casting processes like sand casting, permanent mold casting, and investment casting.
Plaster molds can achieve a high level of accuracy and capture very fine details. The plaster captures intricate shapes and textures https://www.xometry.com/resources/casting/plaster-casting/. This allows for highly detailed castings.
The plaster can produce castings with very smooth surface finishes that require little finishing or polishing. The surfaces are described as “as-cast” finishes https://www.chinasavvy.com/pros-and-cons-of-casting-processes.
Plaster molds are quick and inexpensive to produce compared to sand molds or investment casts. The plaster sets up rapidly so castings can be produced quickly.
Plaster is a versatile material that can be used to cast a wide range of metals with high quality results. It works for ferrous and non-ferrous metals.
The plaster mold can usually be reused to produce multiple castings, reducing overall costs. The molds are durable enough for small production runs.
Best Plaster Recommendations
Based on the properties and uses of different plasters, here are the top recommendations for the best plaster for different casting needs:
For high quality fine detail molds and castings, No. 1 Casting Plaster is an excellent choice. It provides extremely smooth casting surfaces while still being strong enough for mold making. No. 1 Casting Plaster is ideal for detailed sculptures, figurines, and other fine cast pieces.
For general purpose plaster casting such as lamps, plaques, and decorative pieces, Ultracal 30 Gypsum Cement is recommended. It has high strength and abrasion resistance while still being workable. Ultracal 30 sets to a bright white finish and can be sanded, shaped, and painted easily.