What Is The Best Technique For Pinching A Pinch Pot?
A pinch pot is a form of coiled hand-made pottery produced from ancient times to the present. Pinch pots are made using a very simple method that involves pinching and shaping a ball or lump of clay into a basic pot form. The pinching technique involves using the fingers and thumb to squeeze, pinch, or press the clay to manipulate it into the desired shape. Pinch pots allow beginning potters and students to get experience working with clay in a simple, accessible way before attempting more complex wheel-thrown or slab-built forms. The advantage of pinch pots is that they can be quickly hand-formed without any special tools or equipment. Their simplicity also makes them popular as children’s art projects. While basic pinch pot shapes are very easy to make, more advanced techniques can also be used to create elegant art forms with delicately pinched necks, fluted walls, and decorative impressions.
Gather Supplies
The main supply needed to create a pinch pot is clay. There are many types of clay that can be used, but an air-dry clay is recommended for beginners as it does not require firing in a kiln. Popular brands of air-dry clay include Crayola Air Dry Clay and Amaco Stonex White Clay.
It’s best to work on a flat, sturdy surface when making pinch pots. A table covered with newspaper, cardboard, or a plastic tablecloth works well. You’ll also need basic sculpting tools like a rolling pin, knife, and modeling tools. Have a cup of water nearby to dip your fingers in to prevent sticking.
Make sure your workspace is set up in an area where projects can be left undisturbed while drying. Air dry clay typically takes 24-48 hours to fully cure.
Form the Base
Start by taking a ball of clay and making an indentation with your thumb to hollow out the center. This will form the inside of your pinch pot. Make sure to hollow out enough clay to create sufficient interior space for the pinch pot. Keep the walls approximately a 1⁄4 inch thick so they are sturdy yet thin enough to be shaped. As you hollow out the indentation, support the outside of the ball of clay with the fingers of your other hand.
According to The Pottery Wheel, “Start by supporting the pot in one hand. Then using the tips of your fingers, gently stroke the clay on the base of the pot. The stroking motion should hollow out the middle.” Forming an indentation in the ball of clay lays the groundwork for the interior space of your pinch pot.
Create Walls
After forming the base, start pinching the walls upwards. Use a gentle pinching motion with your fingertips to pull the clay upwards and slowly form the walls (1). As you pinch, rotate the pot to evenly distribute the clay. Work slowly and methodically to maintain an even wall thickness. Most pinch pots have walls around 1/4″ thick (2).
Pinch the walls to your desired height based on the size and shape you want. Typically walls are pinched 1-3 inches high. Taller walls tend to collapse, so keep the height modest if you’re new to pinching. Monitor thickness as you pinch upwards – walls thicken as you pinch so thin periodically. Leave walls slightly thicker at the base for stability.
Cite: (1) https://www.wikihow.com/Make-a-Pinch-Pot (2) https://thepotterywheel.com/how-to-make-a-pinch-pot/
Refine Shape
Once the basic form of the pinch pot is created, it’s time to refine the shape. This involves smoothing and evening the walls, as well as sculpting the final form.
Use your fingers and tools like ribs or loop tools to gently smooth any uneven areas and compress the walls so they have an even thickness. Avoid overhandling the clay at this stage as it can cause cracks. Work slowly and carefully. According to The Pottery Wheel, you can also cup your hands around the outside of the pot and apply gentle pressure to help refine the shape.
Pay attention to the overall form as you refine – make sure the top and bottom are evenly shaped and walls taper gently. For more organic shapes, you may opt to leave some subtle unevenness. Just be careful not to create any weak areas that may collapse when drying.
The final form is up to you. Common shapes for pinch pots include round, oval, square, and rectangular forms. Consider the final purpose as you sculpt – a rounded shape often works well for bowls and vases.
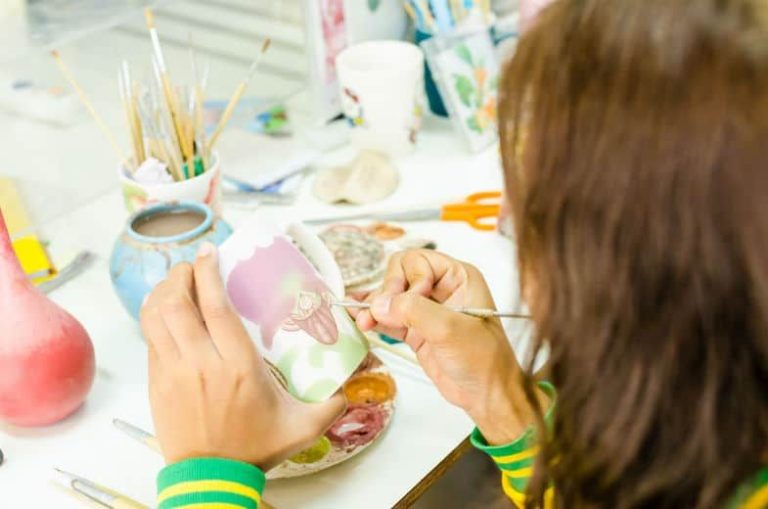
Add Decoration
Adding decoration is an important step in creating unique and artistic pinch pots. There are several techniques for decorating pinch pots to make them visually interesting.
One method is incising, or using a sharp tool to etch patterns and designs into the surface of the clay. Incising can create intricate textures and patterns in the clay. Tools like wooden skewers, pencils, or clay tools work well for incising. Consider incising names, spirals, zigzags, wavy lines, or geometric shapes.[1]
You can also add texture by attaching coils of clay to the surface. Roll ropes or snakes of clay and gently attach them to the pinch pot by smoothing and blending the seams. Coils can be used to make handles or decorative elements.[1]
Textured items like leaves, seashells, feathers, or fabric can be pressed into the surface to leave behind patterns. Get creative with found objects around your home. Press them gently into the clay to avoid deforming the pinch pot shape.
Consider painting pinched clay shapes with underglazes or sculpting details like animal faces onto the surface. Let your creativity guide you when decorating your pinch pots.
Let Dry
After forming your pinch pot, it’s crucial to let it dry properly before continuing on to firing and glazing. Air dry clays need ample time to dry all the way through to prevent cracking. Drying time can vary based on factors like clay thickness and humidity, but should be at least 24 hours.
To help prevent cracking as the pinch pot dries:https://jennylemons.com/blogs/news/pinch-pots
- Allow the pot to dry slowly at room temperature – do not speed up drying with heat.
- Place the pot in an area with good airflow.
- Avoid drastic temperature changes.
- Let the pot dry evenly – do not enclose it or wrap it up.
With proper drying time and care, your pinch pot will be ready for the next steps without cracks or weak spots developing.
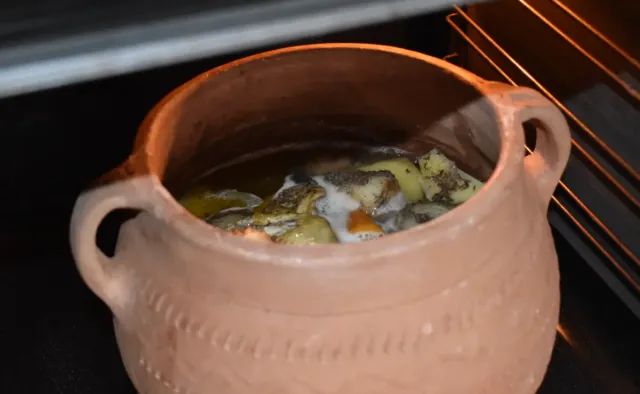
Bisque Fire
The next step after the pinch pot has dried is to fire it in a kiln, which is known as bisque firing. Bisque firing further hardens the clay through controlled heating in a kiln. The recommended bisque firing temperature for most clay bodies is around cone 04-06 which equates to approximately 1900-2100°F. It’s crucial to follow the manufacturer’s guidelines for the specific clay you are using.
When firing your pinch pot, be sure to place it on a kiln shelf or firing pedestal, not directly on the floor of the kiln. Slowly increase the temperature at around 100-150 degrees per hour until reaching the target temperature. Hold the kiln at the bisque firing temperature for 1-2 hours before allowing it to cool gradually. Never open the kiln until it has fully cooled to avoid cracking the pot.
Kiln safety is paramount. Be sure to wear protective gear like heat-resistant gloves and glasses when loading or unloading the kiln. Only fire the kiln in a well-ventilated area and check for any electrical or fire hazards. Monitor the kiln closely throughout firing and never leave it unattended.
After successful bisque firing, the pinch pot will be ready for glazing and a final firing.
Glaze
The glaze is an essential component in finishing pottery. Glazes serve both decorative and functional purposes by creating a durable, impermeable, and smooth surface for the pottery. There are several types of glazes to choose from:
Glossy glaze – Creates a shiny, glass-like surface. Popular for decorative pottery and dinnerware.
Matte glaze – Has a muted, non-reflective finish. Often used on pottery for everyday use.
Crystalline glaze – Develops visible crystal formations during firing for a one-of-a-kind appearance.
Crawl glaze – Intentionally separates and forms a cracked pattern on the surface.
Glaze can be applied using several techniques:
– Dipping – Submerging the entire piece into a container of glaze.
– Pouring – Carefully pouring glaze over the piece.
– Brushing – Using a brush to paint on glaze.
– Spraying – Spraying glaze evenly over the piece.
Proper glaze application involves ensuring full coverage while avoiding excess dripping or thick areas. Multiple coats may be needed for full saturation. The piece should then be fired according to the glaze specifications to melt and fuse the glaze.
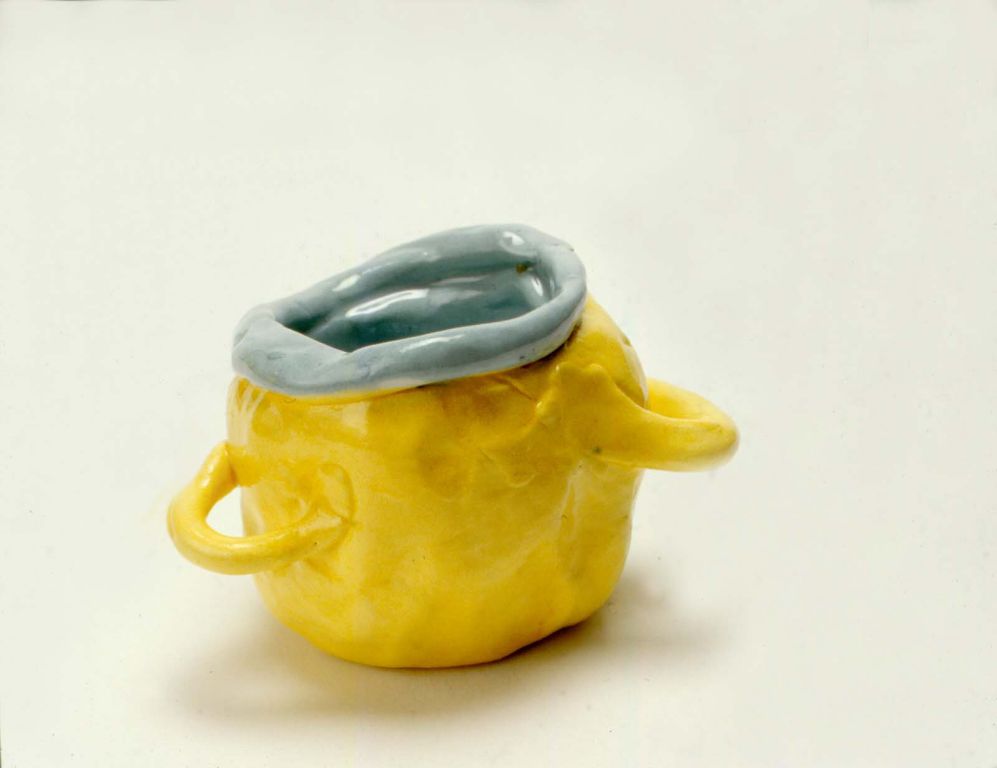
Final Firing
The final firing hardens the glaze and finishes the pinch pot. To finalize the pinch pot, it needs to be fired at a high temperature, usually between cone 04 and cone 6 (1945-2232°F) (Source). Be sure to check the temperature rating on the glaze you used.
When loading the kiln, place the pinch pots with space between them so they do not touch. Fire according to the glaze instructions, until the kiln reaches the target temperature. Then allow the kiln and pinch pots to cool completely before unloading. Carefully remove each piece once fully cooled.
After the final firing, the pinch pot will have a glossy glazed surface and be ready for use or display. Handle the finished piece gently since it may still be fragile in spots. Enjoy your completed handmade pinch pot!