What Is The Golden Rule Of Sanding?
Sanding is the process of smoothing and polishing a surface by rubbing it with an abrasive material like sandpaper. The “golden rule” of sanding refers to the best practices and techniques to follow in order to achieve the smoothest, most uniform finish when sanding a surface.
The golden rule of sanding is to always start with a lower grit sandpaper and progressively work your way up through finer and finer grits. This gradual stepping up through the grits allows you to smoothly remove scratches and imperfections from the previous grit. Rushing through the grits or skipping grits can result in an uneven, scratched surface.
Start With Lower Grit Sandpaper
Begin sanding with lower grit sandpaper;
For example, starting with 80-grit or 120-grit sandpaper before gradually moving up through the grits. Lower grit sandpapers remove material quicker and efficiently flatten surfaces. Using a coarse 80-grit sandpaper allows you to level out any major imperfections before working up to smoother grits.
It’s recommended to start sanding with 80-120 grit if you need to remove a lot of material or create a flat, even surface. This coarser grit will abrade the surface rapidly. Then you can work your way up through higher grits to achieve a smooth finish.
Work Through the Grits
When sanding wooden or metal surfaces, it’s important to progress through different grits of sandpaper. According to Red Label Abrasives, a popular grit progression for wood is 80 grit followed by 120 grit, 150 grit, 180 grit, and 220 grit. For metal, common grit progressions are 80 grit, 120 grit, 220 grit, 320 grit, and 400 grit.
The purpose of moving up through the grits is that each higher grit sandpaper removes the scratches left behind by the previous, lower grit. Starting with a low grit sandpaper aggressively removes material and leaves deep scratches. Progressively finer grits remove those scratches until the desired smooth finish is achieved. According to Going Through the Grits, a good rule is to use 100 or 120 grit for initial sanding, 150 or 180 grit for the next pass, and 220 grit for final smoothness before finishing.
It’s crucial to thoroughly sand each step before moving up in order to get a blemish-free, polished result. Skipping grits or moving up too soon can result in deeper scratches still being visible in the final product.
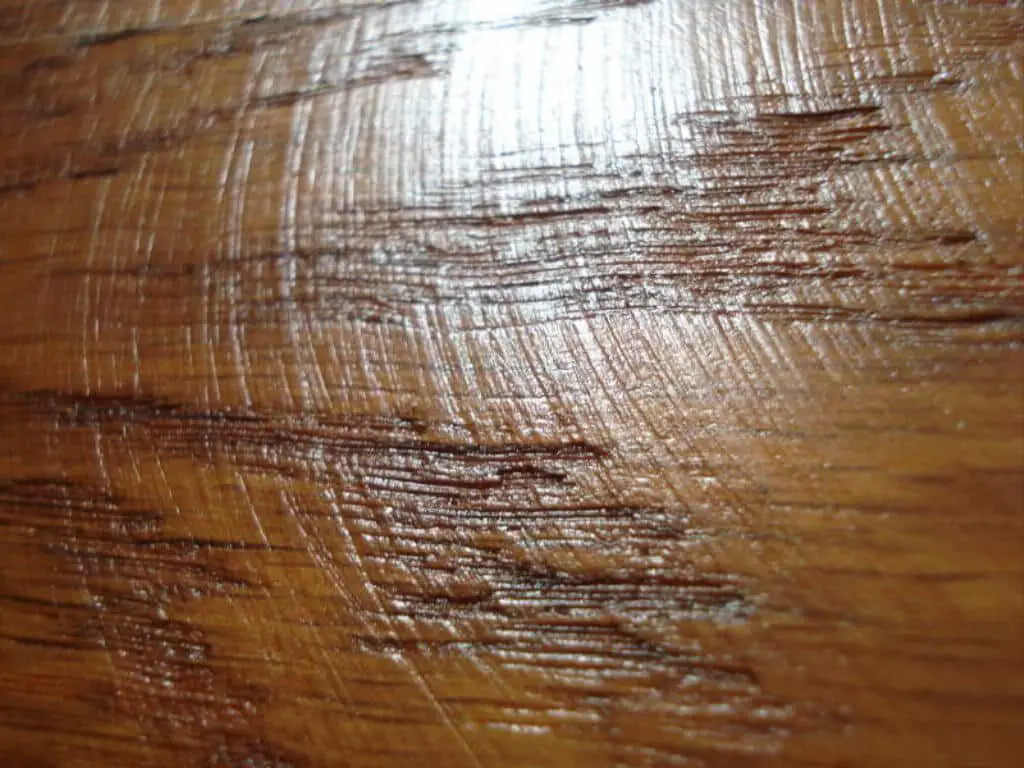
Sand with the Grain
One of the golden rules of sanding wood is to always sand along the direction of the wood grain. Going against the grain can lead to deep gouges and scratches in the wood that are difficult to remove (Source). The grain of the wood acts like small scales, and sanding against it lifts those scales up and creates scratches.
Sanding with the grain slides smoothly along the scales without digging in. This prevents creating deep marks in the wood. Even if some sanding against the grain is unavoidable in certain situations, always follow up by sanding again in the direction of the grain to remove any scratches created (Source). Pay attention to the grain direction as you move across the wood, and adjust the sanding motion accordingly.
Take Your Time
Rushing through the sanding process often leads to uneven surfaces and swirl marks in the wood. It’s important to have patience and take your time while sanding to achieve the best results. As noted by The Family Handyman, “A light touch and patience are the key to avoiding those swirls.”
Sanding requires a methodical approach, working through each grit slowly and carefully. Don’t rush to finish the job quickly. Take breaks if needed to avoid fatigue. The key is applying light, even pressure across the wood grain. Let the sander do the work, rather than pressing down hard. With patience, you’ll get a perfectly smooth surface free of scratches and swirls.
Keep the Surface Clean
One of the most important tips when sanding wood is to regularly wipe away dust and wood particles. Allowing dust and debris to build up on the sandpaper will quickly clog the abrasive grit, reducing its cutting ability. The sanding dust can also scratch the surface. For optimal results, frequently wipe away dust; clogged abrasive cuts less efficiently.
After completing a pass with a certain grit sandpaper, thoroughly clean the surface with a brush or vacuum to remove all traces of dust before moving to a finer grit. Dust from a lower grit left behind will create scratches with the next finer grit. Wiping the surface frequently also allows you to inspect the surface better and identify any areas needing more work.
For large surfaces, a vacuum with good dust collection is ideal for removing sanding debris efficiently. For tight spaces, a brush may work better. Just be diligent about wiping away all visible dust between sanding sessions and when changing grits.
Maintain a Flat Sanding Block
One of the golden rules of sanding is to use a flat sanding block. This helps ensure an even, flat surface as you sand. Sanding by hand or with a curved block can create uneven spots and dips.
A flat sanding block can easily be made from a piece of wood, MDF, or other rigid flat material. Simply cut a block to the desired size and wrap sandpaper around it, securing with clamps or adhesive. Many premade sanding blocks are also available. The key is maintaining a large flat surface in contact with the workpiece. This distributes sanding pressure evenly across the surface for uniform stock removal.
Light, Even Pressure
When sanding wood, it’s important to let the abrasive paper do the work. Pressing down too hard will cause uneven scratches in the wood surface. The key is to use a light, even pressure and work slowly. As this source notes, “Just rest your hand on the sander; don’t press. The weight of your arm provides enough pressure.”
Allow the grit of the sandpaper to gently scour the wood. Pushing too hard will leave unsightly scratches. It can also damage the wood fibers. Use a steady, consistent motion and let the abrasive slowly wear away the surface. Be patient and focus on keeping the pressure minimal.
Sanding with a light touch will help you achieve a smoother result. It also reduces the amount of effort required. Less pressure equals less work. By avoiding the temptation to bear down, you’ll find the job goes faster. The key is controlling your hand to maintain just enough pressure to let the abrasive cut into the wood.
Watch for Swirl Marks
Swirl marks are circular sanding scratches that happen when improper sanding technique is used. They indicate that an error was made during the sanding process. According to this source, swirl marks typically happen when moving the sander too quickly across the surface. The key is to sand slowly and methodically. As soon as swirl marks appear, stop sanding and go back to fix the problem area before continuing.
Swirl marks don’t just look unsightly, they can potentially affect the outcome of staining or finishing the wood. According to this woodworking expert, taking the time to sand properly is crucial for avoiding swirls. Rushing through sanding inevitably leads to a poor result. When swirl marks do happen, go back and re-sand the area with the previous grit used until they disappear. This prevents the swirls from causing issues with the final finish.
In summary, swirl marks signal a sanding error occurred and the area needs to be re-worked. With careful technique and patience, swirl marks can be prevented during the sanding process. But catching them early and fixing the problem spots is key to achieving a smooth sanded surface ready for staining and finishing.
Conclusion
Sanding may seem like a pretty straightforward process, but following the golden rule of sanding can make all the difference in achieving a perfectly smooth finish. To summarize, the golden rules include:
– Start with a lower grit sandpaper and work your way up through the grits. Lower grits remove material more aggressively while higher grits polish the surface.
– Always sand with the direction of the grain. This will help avoid scratch marks.
– Take your time and don’t rush through sanding. Applying too much pressure or sanding too quickly can leave behind swirl marks.
– Keep your sanding block and the surface you’re working on clean. Built up sawdust can scratch the finish.
– Use a flat sanding block and apply light, even pressure. Avoid rocking or tilting which can create uneven scratches.
– Continually check for swirl marks or scratches and sand them out before moving to a finer grit.
By keeping these golden rules in mind throughout the sanding process, you’ll achieve the perfectly smooth finish you’re after every time.