What To Sculpt With Clay For Beginners?
Clay sculpting is the process of shaping clay to create artistic forms and figures. It is one of the oldest and most versatile art forms, dating back to ancient cultures that made figurines and pottery from clay. Clay is an appealing medium for beginner artists because it is inexpensive, readily available, and extremely forgiving to work with. Sculptures can be easily modified, smoothed over, or squished back together if mistakes are made. For a beginner, sculpting with clay allows exploration of 3D art without the need for any complex tools or expensive materials. It stimulates creativity and improves hand-eye coordination.
Some key things to know about sculpting with clay as a beginner:
- It can be therapeutic and relaxing. The feel of the clay and process of shaping it can have a calming, centered effect.
- It engage senses and motor skills. Sculpting is tactile and utilizes hand-eye coordination.
- Mistakes can be undone. Clay is highly forgiving compared to mediums like stone or wood.
- It teaches patience and perseverance. Taking the time to carefully sculpt shapes and details requires focused effort.
- It’s fun! Sculpting allows free play and experimentation for all ages.
With some clay and basic tools, beginners can start crafting their own unique sculptures through different techniques like pinching, coiling, slab building, and more. This articles covers everything a beginner needs to start sculpting clay and realize their artistic visions in 3D.
Basic Supplies Needed
When getting started sculpting with clay as a beginner, there are some basic supplies you’ll need to have on hand. The key supplies include:
Clay
The type of clay you choose is one of the most important decisions when starting out. The two main options are earthenware clay and stoneware clay. According to Seattle Pottery Supply, stoneware clay with a fine grog is often recommended for beginners. This type of clay is cooperative and easy to work with. It also stands up well to being reworked if needed. Some good stoneware clays to try include Laguna’s B-Mix 5 and Speckled Buff.
It’s best to avoid extremely smooth clays as a beginner as they can be slippery and hard to control. Stay away from porcelain clays at first as they are more challenging to work with.
Clay tools
Having a set of basic clay sculpting tools is essential. This includes wooden and metal rib tools for smoothing, metal loops and wedges for etching details, wooden modeling tools, sponges, and cutting wire. You’ll also need a work surface like a canvas or wood board.
Work space
Set up your workspace with adequate table space and room to move around your sculpture. Having good lighting is also important. You’ll need an area to store unused clay sealed in plastic so it doesn’t dry out. Make sure to keep your tools clean and organized as well.
Clay Handbuilding Techniques
The three main handbuilding techniques to start with as a beginner are pinching, coiling, and slab rolling. These allow you to shape clay without the use of a pottery wheel.
Pinching is done by squeezing the clay between your fingers and thumb to form simple shapes like bowls and pots. It’s the most basic handbuilding technique that begins the feeling of directly manipulating the clay. Pinch pots are a classic beginner project according to this article.
Coiling involves rolling out sausage-shaped coils of clay and stacking them on top of each other to build taller forms. Coiling allows you to make more complex and larger hollow shapes than pinching. The clay coils can be molded together and sculpted to create unique asymmetric ceramic vessels and sculptures as described here.
Slab rolling entails flattening clay using a rolling pin to consistent thicknesses. These flat clay sheets or “slabs” can then be cut into shapes and joined together to create 3D forms. Slab building gives you the freedom to craft diverse rectangular and angular objects with more structural control.
Beginner Sculpture Ideas
When first starting out sculpting with clay, it’s best to begin with simple shapes and objects. This allows you to get comfortable with manipulating the clay without getting overwhelmed. Here are some easy beginner sculpture ideas to try:
- Balls and spheres – Roll clay into a smooth ball. Try making spheres of different sizes.
- Coil pots – Roll coils and layer them to form the walls of a basic pot or bowl shape. Smooth the coils together.
- Rectangle boxes – Roll out a flat base, cut rectangles to form the sides, and attach them into a box shape.
- Animals – Sculpt basic animal forms like snakes, worms, turtles and fish. These simple elongated shapes are easy starters.
- Fruit and veg – Replicate simple organic shapes like apples, oranges or carrots. Focus on getting the overall form.
- Abstract shapes – Create cubes, pyramids, cylinders and other geometric shapes. This helps train your hands.

The key is to start easy and not get too ambitious too fast. Simple shapes and items provide the perfect opportunity to get comfortable with clay. As your skills develop, you can move on to more complex sculptures. But when starting out, basic balls, boxes and bowls are great practice.
Sculpting the Human Figure
Sculpting a human figure in clay can seem daunting for beginners, but starting simple and focusing on the basic form and features is a good approach. According to this guide, some tips for beginners include:
- Start with a basic armature or wire frame to support the clay.
- Build up the main body shapes like the torso, head, arms and legs using balls or tubes of clay.
- Refine the proportions and forms to look more realistic.
- Add facial features like eyes, nose, ears and mouth which can convey expression.
- Focus on getting the overall human form before adding smaller details.
- Work symmetrically and step back periodically to check proportions.
- Consider making a simple standing human figure before attempting more complex poses.
While challenging for beginners, sculpting the human form and face provides great practice and allows for creative expression through clay.
Sculpting Animals
Animal sculptures can be a fun and rewarding project for beginner sculptors. Here are some tips for sculpting common animals:
Cats
Cats make for great sculpting subjects, as their shapes are fairly simple and geometric. Start by sculpting a basic oval shaped head, cylinder shaped body, and cone shaped tail. Add triangular shaped ears and oval paws. Use clay tools to add facial features like eyes, nose, and whiskers. Keep the features simple and proportional for a cute cat sculpture.
To make a cat sitting, bend the legs so the paws tuck in. For extra realism, add fur texture by imprinting wavy lines into the clay with tools.
Dogs
Dogs are another classic animal to try sculpting as a beginner. As with cats, start with basic shapes like ovals and cylinders to form the head, body, legs and tail. Pay attention to proportions, making the snout more elongated than a cat’s nose. Add floppy triangle ears, almond shaped eyes, and a mouth to finish the face. Make shallow circles on the paws for toes. Consider sculpting your dog in an active pose, like sitting up begging, to bring your piece to life.
Farm Animals
Sculpt chickens, pigs, cows and other farm animals using simple oval, cylinder and sphere shapes as building blocks. For chickens, sculpt an egg-shaped body, cone beak, and comb on the head. Add wings, feet and tail feathers for a cute barnyard chicken sculpture. For pigs, sculpt a pink sphere body, cylinder snout, and curly tail. Cow sculptures can be made with a large oval body, cylinder legs, oval udder, and tube shaped horns on the head.
Wildlife
Try sculpting animals like deer, foxes, squirrels and more to capture nature in clay. Focus on the signature features when sculpting wildlife, like large ears and tail for foxes, buck teeth and puffy tail on squirrels, slender legs and branched antlers on deer. Observe photos to accurately depict proportions and shapes of different wild animals. Add realistic surface texture to fur, scales, or feathers to bring your animal sculptures to life.
For more tips on sculpting different animals, check out this helpful guide:
https://www.pinterest.com/pin/5-easy-animal-sculpture-making-ideas-for-beginners–730990583254713951/
Sculpting Food
Food items make enjoyable subjects to sculpt from clay, especially for beginners. Focusing on fruits, vegetables, and baked goods is a good place to start. Produce like apples, oranges, bananas, carrots, cucumbers, and potatoes have simple, recognizable shapes that are easy to recreate in clay. The same goes for items like bread loaves, donuts, muffins, and cookies.
When sculpting produce, pay close attention to the texture and use clay tools to recreate the look of peels, skins, and seeds. Add impressions and lines to mimic the natural textures you see on real fruits and veggies. Bake some polymer clay samples at home to see how the clay changes when baked for a realistic effect.
Baked goods like bread and donuts involve some additional shaping techniques like rolling, cutting, and joining clay parts together. But their basic forms are simple enough for beginners to tackle. Details like sprinkles, icing, and seeds can be added to give personality. Let the clay fully dry before adding details to prevent smearing.
For inspiration and tutorials on sculpting produce and baked foods out of clay, check out these examples:
https://www.pinterest.com/aquarial143/clay-food/
Sculpting Abstract Shapes
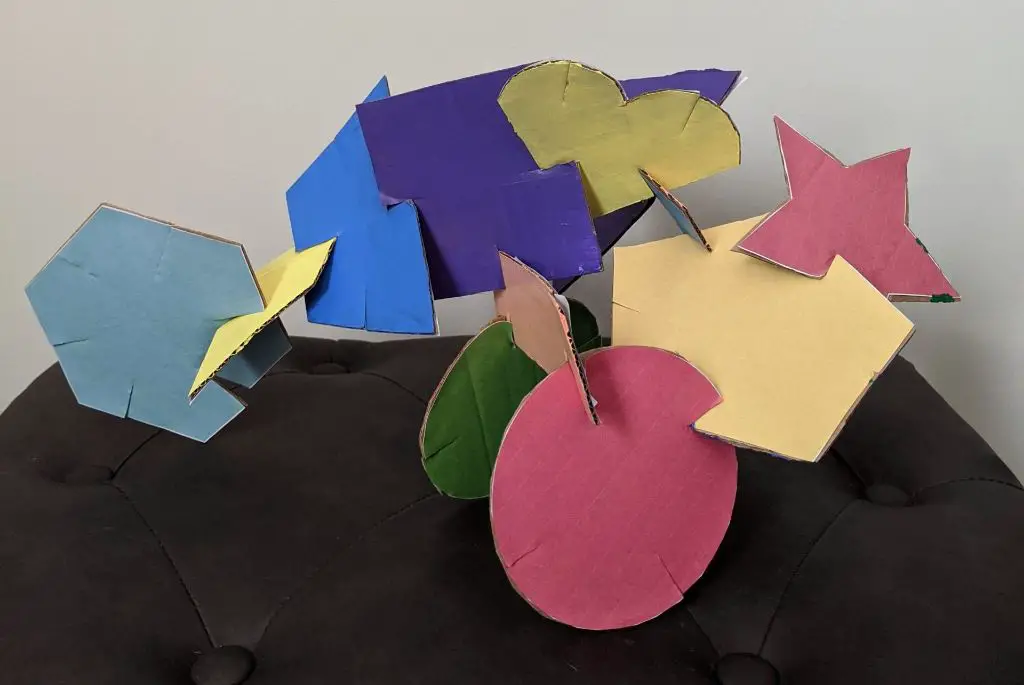
Creating abstract shapes and forms is a fun way for beginners to explore sculpting in clay without worrying about realism. Abstract sculpture allows you to focus on the pure elements of shape, texture, line and form. There are many approaches to abstract clay sculpture that beginners can try:
Geometric shapes like cubes, cylinders, spheres and pyramids make great starting points. Experiment with combining and stacking basic shapes in different configurations. Pay attention to the negative spaces in between the forms. https://ospreystudios.org/2015/03/15/how-to-make-abstract-sculpture-in-clay-working-solid-and-hollowing-out/
Organic, flowing shapes that resemble plants, animals or natural objects can inspire more freeform abstract sculptures. Try letting the clay take shape as you mold it in your hands instead of planning the sculpture in advance.
Coils and slabs can be arranged into abstract compositions. Overlap, stack and pinch coils into new shapes. Cut geometric patterns out of slabs and piece them together in creative ways.
Hollowing out solid forms creates interesting negative spaces and textures inside the sculpture. Remember to keep the walls even to prevent cracking and collapse. Make drainage holes in the bottom to allow excess moisture to escape while drying.
Finishing and Decorating
After you have completed sculpting your clay artwork, there are a variety of finishing techniques you can use to enhance the look and durability of your creation. Proper finishing is an important step before displaying or gifting your clay sculpture.
Glazing involves applying a liquid coating over the baked clay and firing it again in a kiln. This creates a glass-like surface that adds color and protects the clay. Acrylic paints and glazes designed for clay work best. Make sure to follow the manufacturer instructions for proper application and baking temperature.
Another option is to paint the finished, cured clay sculpture with acrylic paints. Acrylics adhere well to polymer clay and dry quickly. You can use a brush or sponge to create designs, patterns, and color effects. Acrylic paint pens allow you to add fine details.
Applying a matte or gloss sealant spray provides a protective coat for clay sculptures and prevents paints from rubbing off over time. Polyurethane and acrylic sealants formulated for clay work well. Apply 2-3 thin coats and avoid overspraying, which can create a frosted look.
Adding decals, vintage papers, faux patinas and metallic finishes can further enhance clay sculptures. Judicious use of gold, silver or copper leafing in accents creates an elegant look. Artsy effects can be made with chalk pastels, gel pens, alcohol inks, and powders like mica and pearl ex.
Take care not to over-decorate a sculpture or apply too many competing finishes. Simple is often best for displaying the form and texture of the clay. Focus on finishes that enhance, rather than overwhelm, your original sculpture.
(Source: https://www.instructables.com/Finishing-and-Detailing-a-Sculpey-Polymer-Clay-Scu/)
Displaying and Preserving Clay Sculptures
Properly displaying and preserving your clay sculptures can help them last for years. Here are some tips for indoor vs. outdoor display, cleaning, and storage:
Indoor vs. Outdoor Display
If displaying a sculpture indoors, choose a sturdy shelf, table, or stand that can support the weight without tipping. Avoid direct sunlight which can fade colors over time. Temperature and humidity fluctuations are less of an issue inside. For outdoor display, choose a covered area protected from rain and standing water. Sealant sprays can help protect from moisture damage.
Cleaning
Use a soft dry cloth to gently dust sculptures regularly when on display. For stuck-on dirt or residue, use a slightly damp cloth. Avoid abrasive cleaners or scrubbing which can damage the clay surface. Be very gentle around any delicate parts.
Storage
When not displayed, store sculptures in breathable containers like cardboard boxes lined with foam or packing peanuts. Wrapping in plastic can lead to moisture buildup. Avoid stacking sculptures inside the storage box to prevent cracking or chipping. Store sculptures indoors in a climate-controlled area if possible. According to sources, keeping clay around 70°F with 50% relative humidity is ideal for storage.


