Why Can’T I Center My Clay?
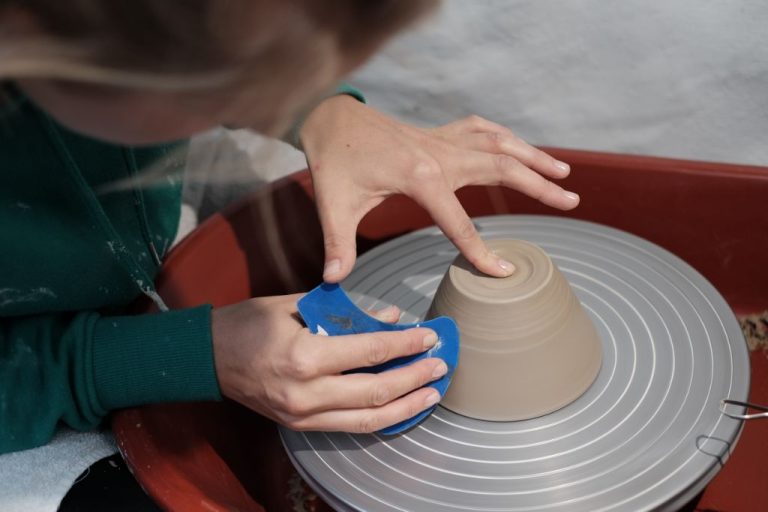
Centering clay on the pottery wheel is one of the most essential skills for potters and ceramic artists to learn. It involves using the hands and wheel to shape a lump of clay into a symmetrical, centered cylinder. Proper centering ensures uniform wall thickness and stability as you further shape and form the clay. However, centering can be quite challenging when you first start out. It requires patience, practice, and an understanding of techniques to center clay of varying consistencies. This article will provide tips on centering clay, from proper wheel setup to applying centering pressure. It will also troubleshoot common issues that cause clay to be off-center.
Common Centering Issues
One of the most common issues when trying to center clay is the clay sticking to your hands as you try to shape it. This causes you to lose control and the clay to go off-center. There are a few reasons this may happen:
- Insufficient water – Clay that is too stiff will stick more to your hands. Make sure your clay is moist enough by adding water.
- Overworked clay – Kneading and wedging dry out clay. Only handle as much as needed when centering.
- Dirty wheel head – Clay can stick to dried bits of old clay on the wheel head. Keep your wheel head clean.
- No veggie oil – Apply a light coat of vegetable oil to your hands to prevent sticking.
Proper clay conditioning is key to preventing sticking. Make sure to wedge thoroughly and rest your clay in plastic wrap for even moisture distribution (https://potterycrafters.com/11-problems-centering-clay-and-easy-ways-to-fix-them/). Applying veggie oil to the wheel head can also help.
Centering Wet Clay
Wet clay can be difficult to center properly on the wheel. The clay needs to have the right consistency – not too wet and not too stiff. Very wet clay has a high water content, which makes it slippery and prone to flopping over or sliding around on the wheel head. There are some techniques potters can use to combat the challenges of centering extremely wet clay:
Wedging – Before throwing, be sure to properly wedge the clay to evenly distribute moisture and remove air pockets. Well-wedged clay will center more smoothly. See this guide for wedging tips.
Letting it firm up slightly – Allow very wet clay to sit for 5-10 minutes after wedging so some water can evaporate. This will make it slightly less slippery when centering.
Starting low and slow – Begin centering gently, keeping the wheel speed low. Avoid excessive pressure. Slow movements prevent deformation.
Supporting from underneath – Place one hand underneath the clay and apply gentle upward pressure as you center with the other hand. This supports the clay’s shape.
Using cornstarch – Lightly dust the wheel head with cornstarch before throwing very wet clay. The cornstarch will absorb some moisture and prevent sliding.
Having patience – Centering wet clay takes practice. Don’t get discouraged. Work methodically and know that it will firm up and center with time and experience.
Centering Stiff Clay
One of the most common difficulties beginner potters face is centering dense, stiff clay on the wheel. Stiff clay can feel heavy and resistant when trying to center it into a cylinder shape. There are several strategies to help center stiff clay more easily:
Start by wedging or kneading the clay thoroughly before throwing. This helps break up particles and evenly distributes moisture, making the clay more malleable. If the clay is very stiff, poke holes and add small amounts of water, then wedge again. Let the clay rest before throwing so the moisture can soak in fully. Do not over-wet stiff clay or it may turn to soup on the wheel.
When centering, apply firm pressure on both sides with cupped palms. Keep the bottom heel of your hands rooted while fingers press clay upwards. Use your body weight instead of just arm strength. Go slowly, resist the urge to rush. Repeatedly compress and lift.
For very stiff clay, start with a conical shape and work in sections from bottom to top. Compress one area before moving up. If clay starts to go off-center, stop and re-center just the bottom section again. Stay patient and methodical. With practice, even the stiffest clays can be centered smoothly.
Centering Large Pieces
When centering large pieces of clay on the wheel, the weight of the clay itself can make it more challenging. However, there are some techniques that can help.
Start by wedging the clay thoroughly to remove air pockets. Then form the clay into a thick, rounded cylinder using your hands on the wheel head or bat. Next, wet your hands and the clay slightly to reduce friction.
According to ceramic artist Susan Lussier, brace your elbows on your legs and “lean your body weight into the clay.” Apply even, downward pressure with your palms while simultaneously pushing inwards. Engage your core muscles as you center the clay.
Take your time finding the centered sweet spot. Lift up occasionally to check your progress. You may need to re-center a few times as you shape the clay into an even cylinder. Have patience as centering large pieces takes practice.
Proper Wheel Setup
Properly setting up your wheel is crucial for being able to effectively center your clay. The height of the wheel, your seat, and your posture all impact your ability to center the clay. The wheel head should be adjusted to around the height of your elbow when seated. Your forearms should be parallel to the floor and you should be able to comfortably rest your elbows on your lap while throwing. Sit close enough to the wheel so you can center the clay without overreaching, leaning forward, or hunching over. Maintain a straight back and relax your shoulders. Proper ergonomics will give you the leverage and control needed for precise centering.
Additionally, the wheel head should be cleaned and free of slip residue or dried clay that could cause the clay to stick while centering. The wheel should turn smoothly and consistently without wobbling. Periodically check that the wheel head is still properly aligned and balanced. An unbalanced wheel can exacerbate centering difficulty.
Applying Centering Pressure
Proper pressure application is crucial for centering clay on the pottery wheel. You’ll want to apply steady, even pressure with your palms at the 7 to 8 o’clock position on the clay. Avoid pressing too hard initially, as this can deform the clay. Start with light pressure, feeling the clay begin to center under your palms. Once the clay starts moving, gradually increase pressure. The goal is to find the sweet spot where the clay centers smoothly without requiring excessive force.
Pressing at the proper clay consistency also aids centering. Clay that is too wet or too stiff makes applying the right pressure difficult. Well-wedged, workable clay that conforms to pressure without sticking or cracking centers the best. Focus pressure at the base to compress the clay upward into a centered cone shape. Keep your elbows tucked in and rotate your torso versus just pushing with your hands. Relax your grip if you feel the clay begin to wobble or deform.
Patience is key when learning to center clay. Don’t get discouraged if you can’t center perfectly at first. Consistent practice builds the muscle memory and feel for proper pressure. Refer to tutorials like “11 Problems Centering Clay And Easy Ways To Fix Them” from Pottery Crafters for more centering tips.
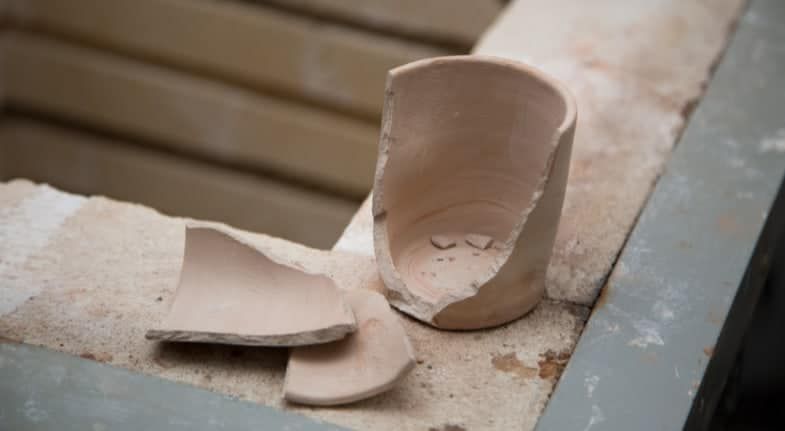
Troubleshooting Off-Center Clay
If your clay goes off-center while you are trying to shape it on the wheel, don’t panic. There are some techniques you can try to recentre lopsided clay:
First, stop the wheel and re-wet the clay by squeezing a wet sponge over the top. Let the water soak in for 30 seconds. Then, restart the wheel and gently press your hands together on either side of the clay at the widest off-center point. Apply even, firm pressure as you compress the clay back into a central cone shape. Work slowly and patiently. If the clay starts moving back towards being off-center, stop the wheel and repeat the steps to re-centre it.
You can also try the “hamburger technique” – cup your hands around the sides of the lopsided clay and gently squeeze it back into a round, centered shape. Picture shaping a ball of hamburger meat. Keep your movements gradual and smooth.
For very stubborn, stiff clay, you may need to completely re-wedge and re-center it. Scratch crisscross lines into the clay with a needle tool to loosen it up before wedging it into a smooth ball. Then, return it to the wheel and restart the centering process.
Be patient and persistent. It takes practice to correct off-center clay. Don’t be discouraged – learning to troubleshoot centering issues is part of the process of becoming skilled at wheel throwing.
Source: https://potterycrafters.com/11-problems-centering-clay-and-easy-ways-to-fix-them/
Practice and Patience
Learning to properly center clay takes time and repetition. Don’t get discouraged if you struggle at first. Centering is a skill that develops over time with focused practice. Many experienced potters say it took them weeks or months of regular wheel practice to master centering clay.
Be patient with yourself as you learn this essential skill. It may take throwing many bowls or cylinders before you can consistently center your clay. Stay positive and know that your centering abilities will improve with each attempt. Focus on making incremental progress at your own pace.
Aim to practice centering daily if possible. Consistency is key. With regular practice, you’ll gradually gain better control of the clay on the wheel. Over time, you’ll be able to center more quickly and cleanly. Your hands will also develop muscle memory for the centering techniques.
It’s normal to feel frustrated when learning to center clay. Stick with it. The satisfaction of finally centering a nice cylinder or bowl is well worth the persistence. Don’t be afraid to ask more experienced potters for tips and advice. With dedication and patience, centering clay will become second nature.
Conclusion
Proper clay centering requires learning techniques like preparing your wheel, applying the right amount of pressure, keeping the clay wet, and troubleshooting off-center spinning. Key techniques reviewed in this article include starting with the right clay consistency, bracing your body symmetrically, applying pressure with your thumbs and fingers, raising the clay slowly, compressing in stages, and making slight adjustments as needed. Having patience and practicing regularly are crucial. While centering clay can be frustrating at first, staying focused and trying different hand positions will help develop muscle memory over time. Mastering centering is essential for throwing consistent pots and takes persistence. With the techniques outlined here and dedication to regular practice, ceramic artists can achieve beautifully centered clay.