Will Rubber Stamps Work On Clay?
Working with polymer or air-dry clay offers many creative possibilities for artists and crafters. One popular technique is using rubber stamps to imprint patterns and images onto clay. Rubber stamping provides an easy way to add beautiful color, texture, and dimension to clay projects. This guide will provide an overview of using rubber stamps on clay, including best practices, troubleshooting tips, creative ideas, and expert techniques.
Rubber stamping clay allows endless customization for jewelry, home decor, wall art, ornaments, figurines, and more. With proper preparation and execution, stamped clay can produce stunning effects. We will cover the basics of how to successfully use rubber stamps on polymer and air-dry clays to open up new avenues for your clay crafting.
What is Clay?
Clay is a natural material composed of fine clay particles. There are many different types of clay that are categorized based on their properties and composition, including:
Polymer clay – A man-made clay that contains a polymer plasticizer combined with fillers, pigments and other additives. It can be hardened by baking in a regular oven. Popular brands include Sculpey and Fimo. According to Artmolds, polymer clay is very versatile and easy to work with.
Air-dry clay – A clay that doesn’t require firing and will harden and dry at room temperature. It often contains self-hardening additives like Portland cement. Types include Crayola Model Magic and DAS air dry clay.
Oven-bake clay – Refers to polymer clay as well as some natural clays that can be hardened in a regular kitchen oven at low temperatures. Often used for arts, crafts and DIY projects.
Other types of clay include earthenware, stoneware, porcelain, terra cotta, modeling clay and ceramic clay. Clay can be molded, shaped, sculpted and transformed into beautiful, functional and decorative objects once hardened.
What are Rubber Stamps?
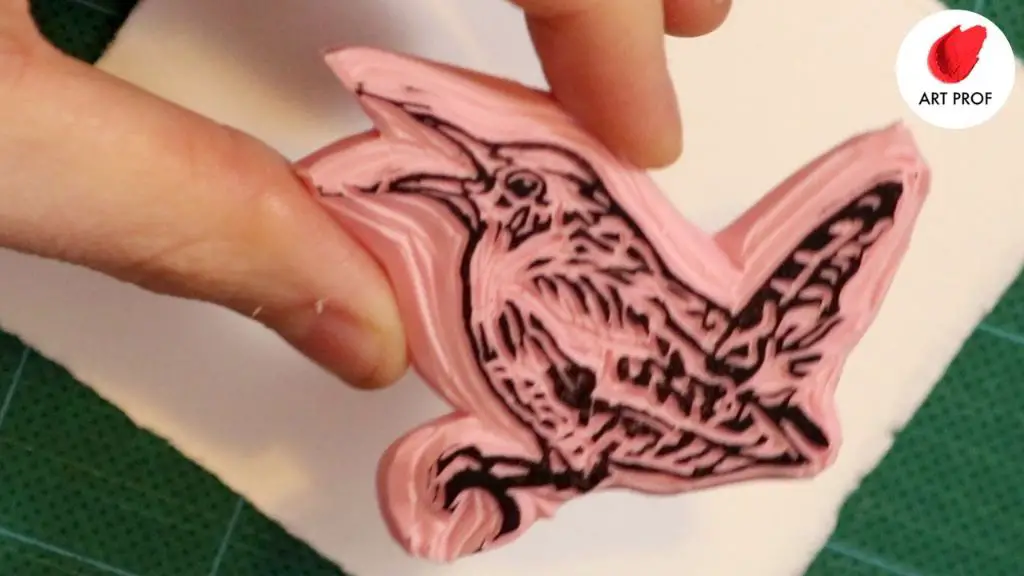
Rubber stamps are made from vulcanized rubber and mounted on blocks of wood, plastic or acrylic. The rubber portion contains the mirror image of the desired imprint, which is created using a basic engraving or laser-cutting process (1).
Rubber stamp manufacturers do not produce the elements that make a rubber stamp directly from raw materials. Raw materials include latex rubber, wood for the mount, foam and adhesives. The manufacturing process involves five basic steps:
- Artwork and design creation
- Engraving the design into magnesium plates
- Vulcanizing the rubber
- Die cutting and mounting the stamps
- Packaging and shipping
The artwork is first created digitally on a computer. Then, magnesium plates are laser engraved with the mirror image of the artwork. The depth of the engraving determines how much ink the stamp will hold. Next, liquid latex is poured onto the magnesium plates and vulcanized, which turns it into solid rubber. The rubber is then die cut into the desired stamp shapes and glued onto mounts. Finally, the finished stamps are packaged and shipped to customers (1).
Modern manufacturing methods allow rubber stamps to be produced efficiently while still offering customized designs.
(1) https://www.madehow.com/Volume-4/Rubber-Stamp.html
Can Rubber Stamps be Used on Clay?

Yes, rubber stamps can be used on clay with some limitations. The main thing to keep in mind is that clay is a porous material that can pick up ink residue from rubber stamps. This means the stamps may become stained over time when used frequently on polymer clay.
When selecting rubber stamps, it’s best to choose those made from high-quality materials that will hold up over repeated use and cleaning. Many polymer clay artists recommend photopolymer stamps, as they tend to work well on the clay’s surface and clean up easier than other materials like wood.
There are also some techniques to make working with rubber stamps and clay easier. Lightly dusting the surface of the clay with cornstarch or baby powder first can help the stamps release more cleanly. Using a roller over the back of the stamp can transfer the image more evenly. And cleaning the stamps promptly after use prevents buildup of clay residue.
While rubber stamping directly on clay has its challenges, many artists find it’s worth the effort for adding decorative elements, backgrounds, and textures. With care taken to choose the right materials and handle cleaning, stamps can be an effective tool in clay work.
Best Practices
When using rubber stamps on clay, following some best practices will help you achieve the best results.
Clay Preparation
Properly preparing the clay is an important first step for successful stamping. The clay should be conditioned to remove any air bubbles and make it smooth and pliable. Knead and roll the clay until it is a uniform consistency before stamping. The clay should also not be too soft or sticky, which can cause stamp impressions to lose definition.
Ink Choices
Selecting the right type of ink to use with the stamps is crucial. Acrylic paints and oil-based inks will not dry on the clay and can leave a greasy film. Water-based inks formulated for polymer clay work best, drying fast without residue. Alcohol inks are another good option as they fully evaporate. Test inks first to ensure compatibility with the clay.
Stamp Pressure
Applying the right amount of pressure when stamping is important. Too much pressure can distort the stamps and flatten the texture. Start with light pressure and increase gradually to get the imprint desired. Roll the stamp with a rocking motion rather than pushing straight down. Keep the stamps perpendicular to the clay surface to ensure a clean impression.
Troubleshooting
Rubber stamping clay can be tricky at first. Here are some common troubleshooting tips:
Stamp Not Transferring
If your stamp is not transferring well to the clay, there are a few things you can try:
- Make sure the clay is the right consistency – not too soft or too firm. According to CraftyGoat, clay that is too soft will result in messy, blurred edges.
- Check that your stamp is level and apply even pressure when stamping. Rocking or wiggling the stamp can cause smearing.
- Try cleaning your stamp to remove any oil or residue. Stamps can be cleaned with a soft cloth or soap and water.
Smearing
If your stamped image is smearing, here are some tips:
- Make sure the clay is fully cured before stamping. Stamping uncured clay often leads to smearing.
- Work quickly and lift the stamp straight up. Don’t twist or drag the stamp off the clay.
- Try sprinkling a small amount of cornstarch on the clay surface before stamping. The cornstarch can help prevent sticking.
Creative Uses
Rubber stamps can be used in creative ways to add impressions, textures, and patterns to clay projects. According to Barbara McGuire in Creative Stamping in Polymer Clay, stamps can impress patterns like bricks, cobblestones, and wood grain into clay. To add texture, drag or press stamps into the clay using different pressures and directions. Layering stamps creates intricate patterns. McGuire provides tips on crafting custom stamps from items found around the house to yield unique imprints on clay.
Project Ideas
Clay offers a diverse canvas for creative crafters and artists. Here are some fun project ideas that incorporate rubber stamping on clay:
Jewelry
Make customized jewelry pieces by stamping patterns, textures, words, or designs into clay components. Use stamps on focal beads, pendants, charms, earrings, and more. Add color with underglazes, mica powders, or alcohol inks before firing the clay.
Ornaments
Create one-of-a-kind ornaments for any season using stamps on clay. Make holiday ornaments with wintery designs, initial and name stamps for personalized ornaments, or floral motifs for spring. Use stamps to texture the surface before painting.
Figurines
Rubber stamps can add lively details to clay figurines and sculptures. Use animal print stamps to texture a clay creature or floral stamps to embellish home décor pieces. Get creative stamping patterns on clothing, hair, accessories, and backgrounds.
Expert Tips
To get the best expert advice on using rubber stamps with clay, I interviewed Joan Tayler, a professional polymer clay artist and owner of Joan Tayler Design. Joan has over 35 years of experience working with polymer clay and makes beautifully detailed rubber stamps specifically for use with clay.
Joan’s top tips for getting great impressions from rubber stamps on clay include:
- Make sure both the clay and stamp are free of dust and debris which can leave unwanted impressions.
- Apply a very thin coat of liquid polymer clay onto the rubber stamp before pressing into the clay. This helps prevent sticking.
- Let the impressions made in the clay sit for 10-15 minutes before removing the stamp. This allows the clay time to release from the stamp.
- Avoid dragging the stamp through the clay, press straight down and lift straight up for the cleanest imprint.
- Clean stamps after each use to prevent buildup of clay residue.
Check out Joan’s Youtube channel here for demos on how she expertly uses her handmade rubber stamps to create one-of-a-kind jewelry and decor pieces with polymer clay.
Conclusion
Rubber stamps can be used to decorate clay, add texture, create patterns, and more. When using rubber stamps with clay, there are some best practices to follow. Make sure your clay is conditioned properly and not too soft or sticky. Prepare your stamps by cleaning them and applying a release agent like cornstarch or talcum powder. Press the stamps into the clay with firm, even pressure. Make sure to clean stamps after each use to prevent buildup. Allow clay pieces to fully dry and cure after stamping.
With some trial and error, rubber stamps can be a fun way to personalize clay projects. Start with simple designs and solid stamps first. Consider layering colors and patterns for more complex effects. Keep tools on hand like acrylic blocks, guides or templates when stamping. The possibilities are endless when stamping clay with rubber stamps. Follow basic guidelines, get creative with your stamp choices and let your imagination run wild!

