What Is The Simple Method Of Making Clay Idols?
Clay idols and figurines have been an integral part of human civilization dating back thousands of years. From prehistoric fertility goddesses to ancient Greek pottery, cultures worldwide have used clay to craft meaningful sculptures and effigies for religious, spiritual and decorative purposes. The simplicity and malleability of clay has made it a prime material for expressing cultural identities and beliefs.
In many ancient societies, clay idol making was an important sacred practice and artform. Intricately decorated Hindu murtis and Buddhist tsa tsas continue this tradition today. Other cultures such as the Olmecs of Mesoamerica also produced monumental stone head carvings and tinier clay figurines representing gods or ancestors.
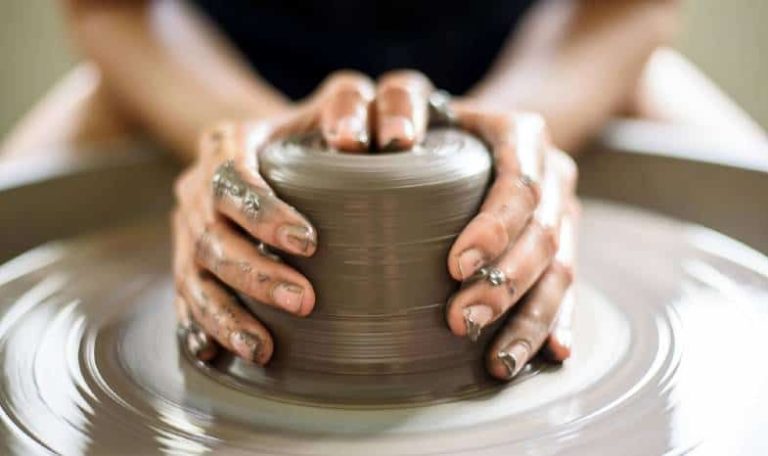
Making a basic clay idol is a fun and rewarding craft that connects us to this rich history. With some simple clay, tools and techniques, anyone can handcraft their own decorative or symbolic clay sculpture. The process involves sculpting an initial form, detailing and refining it, allowing it to dry, firing it in a kiln to harden, then painting and glazing the final idol. Even beginners can make meaningful clay creations with minimal supplies and simple methods.
Gathering Clay
The first step in making a clay idol is finding and collecting natural clay deposits. The best clay for idol making typically has a high content of kaolin, also known as china clay. Kaolin clay has fine particles that create a plastic consistency when mixed with water, making it ideal for sculpting detailed figures.
Some common places to find natural clay deposits include near river banks, lakeshores, and low wetlands. Look for exposed clay beds along eroded banks and cliffs. You can also find clay underneath shallow topsoil in fields and forests. Good clay gathering spots tend to have moist soil with a bluish-gray or yellowish color.
When gathering clay, only collect the cleanest and most flexible clay you can find. Avoid clay mixed with rocks, roots, and other debris. Dig down to find the highest quality clay beneath the surface. Extract clay in manageable sized chunks or blocks and store them in sealed containers to prevent drying.
In addition to natural clay deposits, manufactured air-dry clays and firing clays can also be purchased. These provide consistent results but lack the natural variability of gathering your own clay.
Preparing the Clay
Once you have gathered your clay, the next step is to prepare it for sculpting. This involves removing any impurities, kneading and wedging the clay, and achieving an optimal consistency.
Start by picking through the clay and removing any rocks, pebbles, roots or other debris. It’s important to remove anything that could puncture or tear the clay when sculpting. Next, cut the clay into smaller pieces for easier kneading. Kneading involves pressing, folding and pushing the clay to increase its plasticity. This helps blend the moisture and makes the clay smooth and elastic. Knead the clay by pressing it down with the palms of your hands and pushing it away from you. Fold the clay over itself and repeat. Do this for 5-10 minutes until the clay is soft, flexible and has an even consistency throughout.
After kneading, the next step is wedging. This is a process of cutting and reforming the clay to remove any air pockets. Start by cutting off a piece of kneaded clay and slamming it down on your work surface. Press down firmly to form it into a rectangular slab. Then, fold the slab in half and press down again. Keep repeating this process of folding, pressing and reforming the clay. Wedging will help remove any hidden air bubbles and lead to fewer cracks when the clay dries. It also further blends the clay for an even consistency.
Throughout the wedging and kneading process, pay attention to the clay’s consistency. Add small amounts of water if it is too dry and crumbly or a sprinkle of clay powder if it becomes too wet. The optimal texture is smooth, firm and pliable, similar to playdough. The clay should be moist enough to easily form into shapes, without sticking too much to your hands or the work surface.
Once your clay is uniformly wedged, kneaded and at the right consistency, it is ready for sculpting your idol!
Shaping the Idol
Once the clay is prepared, it’s time to start sculpting and shaping your idol. There are two main techniques for hand sculpting your idol:
Hand Sculpting
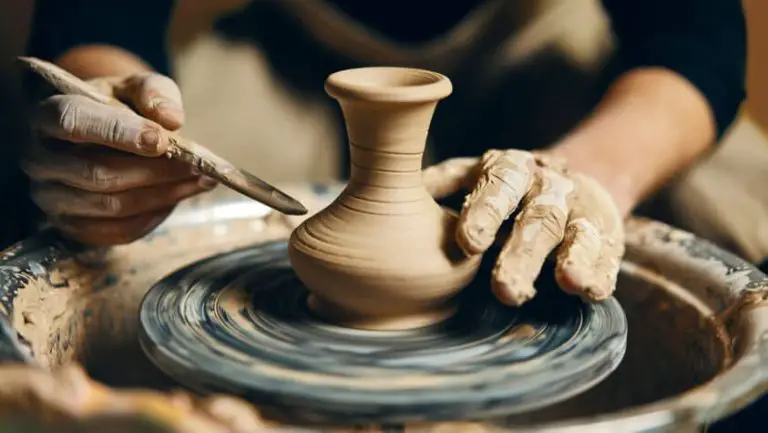
Hand sculpting involves using your fingers, hands and basic modeling tools to form the idol. Start by visualizing the shape you want to create. Then begin pressing, pinching and smoothing the clay to form the basic shape.
Use your fingers to refine details like facial features, clothing folds, jewelry etc. Cup your palms and fingers to shape rounded forms. Use your thumbs and fingers to pinch and pull clay into finer details. Work slowly and carefully to shape the features and forms you envisioned.
Using Sculpting Tools
In addition to your hands, simple household items can be used as sculpting tools:
– Popsicle sticks or chopsticks are great for scraping clay and refining details.
– Toothpicks can be used to etch fine lines for hair, clothing patterns or jewelry details.
– A butter knife can smooth surfaces or shape edges.
– A rolling pin can flatten and thin out slabs of clay.
Work the clay by pressing, scraping, smoothing and refining it with your tools. Combine hand sculpting techniques with your tools to bring your idol design to life.
Take your time shaping the idol. Step back periodically to look at it from all angles and refine the form. Pay attention to balance and proportions as you sculpt. Let the clay firm up a bit before detailing to avoid unintended fingerprints or smudges.
Adding Details
Adding details like facial features, jewelry, and clothing help bring your clay idol to life. Here are some techniques to consider:
Facial Features
Eyes – Use a rounded tool like a chopstick to indent eye sockets. Or, form small clay balls for eyeballs and attach them with slip. Add pupils with paint later.
Nose – Roll a small ball of clay for the nose bridge. Flatten and attach between the eyes. Pinch and shape clay for nostrils.
Mouth – Cut a slight opening with a knife or roll flat clay for lips. Make a smile or neutral expression.
Ears – Form small flattened balls of clay and attach to the sides of the head.
Jewelry
Necklaces – Cut long coils of clay and lay diagonally across the chest. Flatten and smooth jewelry pieces with your fingers.
Bangles – Roll clay into thin coils, sized to fit arms or wrists. Overlap ends to complete the bangle shape.
Anklets – Thin clay coils work well for anklets too. Drape them around the ankles.
Clothes
Dresses or Robes – Cut out fabric-like panels from rolled out clay sheets. Lay them over the body and smooth into place.
Tunics – Cut an oval neck hole in a sheet of clay for a tunic. Add color details later with paint.
Pants – Roll tubes for legs and flatten them slightly. Cut and overlap sheets of clay for draped pants.
Head Coverings – Cut or roll clay into rounds or rectangles, then place on the head and adjust the drape.
Adding well-crafted details brings personality and interest to your clay idol. Get creative with different expressions, poses, outfits, and accessories!
Drying the Idol
Once the basic shape of the idol is formed, it’s important to allow it to dry properly before firing or painting. Rushing the drying process can lead to cracking or even exploding in the kiln. Here are some tips for safely drying your clay idol:
Place the idol in a warm, dry, well-ventilated area out of direct sunlight. The surrounding air needs to circulate around the idol to remove moisture. Avoid drying in thick air or high humidity.
Allow the idol to air dry slowly. Drying too quickly creates internal stresses. Estimate 1-2 weeks drying time for a small idol, and up to a month for a large intricate piece.
Consider using a dehumidifier or fan to circulate air, but avoid direct heat which can case uneven drying.
Support items extending from the main body, like arms or legs, to prevent them from drooping or breaking while soft.
Turn the idol periodically so it dries evenly. Check for cracks developing and avoid handling roughly.
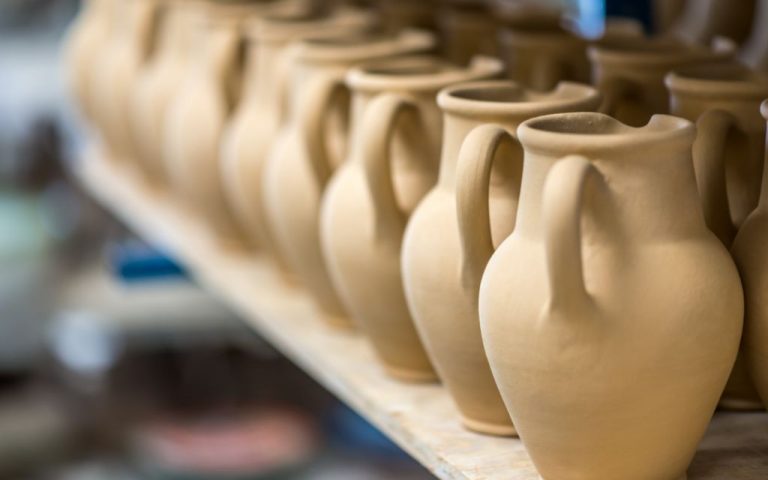
When completely dry, the clay will turn lighter in color and feel cool, hard, and brittle to the touch. The idol is now ready to be fired.
Bisque Firing
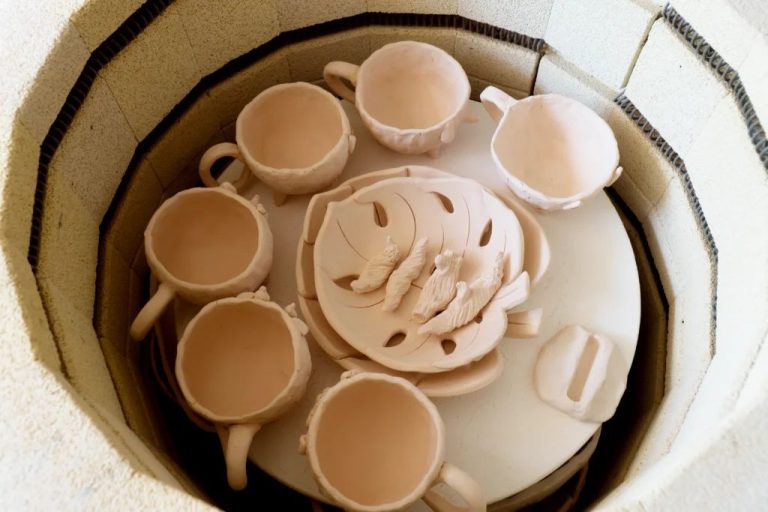
Once the clay idol is completely dried and hardened, it is ready for the first firing known as bisque firing. This important step further hardens the clay by heating it to high temperatures in a kiln.
For bisque firing, temperatures typically range from 1652-2102°F (900-1150°C), depending on the type of clay used. Harder clays with higher iron and mineral content require higher bisque temperatures. The process takes 6-12 hours to allow the clay to heat up and cool down properly to avoid cracks and breakage.
During bisque firing, the clay undergoes physical and chemical changes as water and carbon dioxide are driven off. The clay particles bond together permanently, causing the idol to become less porous and reach its final hardened state. Bisqueware is fragile at this stage, but subsequent glazing and final firing will further strengthen the idol.
Painting and Glazing
Once the clay idol has been bisque fired, it is ready for painting and glazing. There are several options for adding color and details:
Paints
Acrylic and water-based paints work well for painting clay. Acrylic paint will adhere better and last longer than water-based paint. Use acrylic paints to create designs, patterns, facial features, clothing, jewelry, and other details. Thin the paints slightly with water for easier application. Paint in thin layers, allowing each layer to dry fully before adding another layer.
Glazes
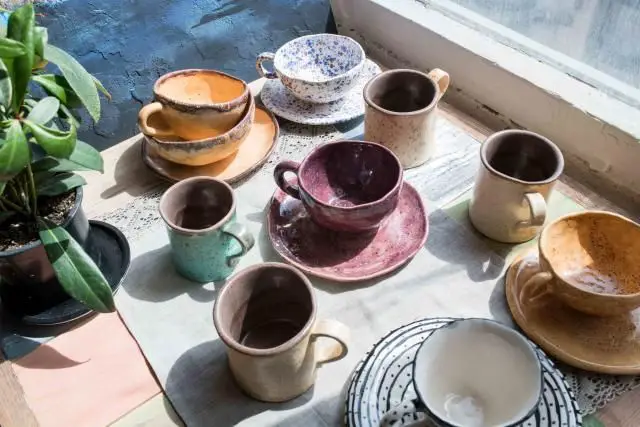
Glazing is recommended as a final step to add color and give the clay idol shine and protection. Glazes come in various colors and finishes. Brush or dip glazes over the bisque fired clay before the final firing. The glaze melts during firing and creates a glossy, glass-like coating. Test glazes first on a clay bisque tile to ensure the desired effect.
With painting and glazing, clay idols can be transformed into bright, detailed, and vibrant works of art.
Final Firing
The final firing of the clay idol is a critical step that seals the glaze and finishes the idol. This high temperature firing, known as bisque firing, is typically done in a kiln able to reach over 1000°C. There are several types of kilns used for this purpose:
-
Electric kilns – These kilns use electricity to generate heat and allow precise control over temperature.
-
Gas kilns – Fueled by propane or natural gas, these kilns can reach high temperatures quickly.
-
Wood-fired kilns – One of the oldest kiln types, wood-fired kilns use timber as fuel to produce effects from smoke and ash.
Regardless of kiln type, bisque firing hardens the clay, sets the glaze, and completes the idol. With patience and care in this final step, the artisan can produce a beautifully finished clay idol ready for use or display.
Conclusion
Making clay idols using the simple method is a fun and rewarding process. Now that you know the steps for gathering, preparing, shaping, detailing, drying, firing, painting, and glazing the clay, you can start creating your own artistic and meaningful idols.
For beginners, start with small, simple shapes and designs. Don’t get discouraged if your first few idols don’t turn out perfectly. Making idols takes practice and patience. Focus on enjoying the tactile experience of working with clay. With time and persistence, your skills will improve.
Once the final firing is complete, take a moment to admire your finished idol. Feel proud of having made something with your own hands. Cherish idols that hold special meaning or represent important figures in your life. Share your creative works with loved ones. Let your beautiful clay idols uplift your spirit.

