Can You Use Air Dry Clay To Make Christmas Ornaments?
Air dry clay, also called modeling clay, is a versatile crafting material that has become popular for making Christmas ornaments and other decorative items. Unlike traditional clay that requires firing in a kiln, air dry clay hardens naturally as it dries through evaporation.
Air dry clay is made from natural materials like cellulose or natural starch mixed with minerals and polymer binders. It has a soft, malleable texture similar to playdough that makes it easy to shape and mold by hand. As it dries over 24-48 hours, the clay firms up while retaining just a slight flexibility.
Air dry clay is an accessible material for crafters of all ages and skill levels. It comes in bright colors and can be painted once dry. When properly sealed, air dry clay ornaments and decorations can last for many holidays and seasons.
Advantages of Using Air Dry Clay
Air dry clay is a great material for making Christmas ornaments and other crafts. Here are some of the main advantages of using air dry clay:
Lightweight: Air dry clay is very lightweight even when dry, so the ornaments won’t be too heavy to hang on a tree branch. This makes it easy to create delicate, detailed ornaments.
Easy to Work With: Air dry clay is soft and malleable when wet, making it very easy to shape by hand into ornaments. It doesn’t dry out quickly while you’re working with it. The soft texture makes it great for kids to use as well.
Fast Drying: One of the best things about air dry clay is that it fully dries and hardens at room temperature. There’s no need to bake air dry clay creations in an oven. The drying time can range from overnight to 24-48 hours depending on the thickness.
Best Air Dry Clay Brands
When making homemade ornaments, using a top-quality air dry clay is key for best results. Here are some of the most popular and trusted brands on the market:
Crayola Air Dry Clay – Crayola is well-known for their affordable, kid-friendly art supplies. Their air dry clay comes in bright colors and is smooth, lightweight, and easy to mold. It’s great for beginners and kids.
Sargent Art Air Dry Clay – This no-bake clay is available in natural terracotta color or white. It dries hard and durable, yet is still lightweight. Sargent Art clay is smooth and pliable.
Hearty Air Dry Clay – Offered in white or natural clay color, Hearty clay is sturdier than other brands once dry, making it ideal for Christmas ornaments. The clay is soft initially for sculpting.
Model Magic Air Dry Clay – This very lightweight clay is made by Crayola. It’s easy to shape and smooth. The finished pieces are strong but delicate, so handle with care.
Primo White Air Dry Clay – Primo clay is professional quality yet affordable. It fires very hard and is bright white. Unique textures can be achieved when shaping this clay.
Making Basic Shapes
Making basic shapes like balls, bells, and stars with air dry clay is easy with just a few simple techniques.
Balls
To make a round ornament, start by rolling a piece of clay between your palms to form a smooth ball. Apply even pressure as you roll to prevent lumps or flat spots. For a textured look, roll over a textured surface like a rolling pin or the back of a spoon. Adjust the size to your desired ornament dimensions.
Bells
For bell shapes, begin with a ball for the bottom of the bell. Then roll out a sausage shape for the sides, tapering one end. Wrap the clay sausage around the ball, overlapping slightly. Use your fingers to smooth the seam. Pinch and pull the tapered end to form the bell clapper.
Stars
To make a star, roll balls for each point of the star. Press them onto a base ball at equal intervals. Or, roll out clay into a flat even sheet using a rolling pin. Cut out star shapes using a cookie cutter or knife. Add details by poking holes or lines into the star points with a toothpick or skewer.
Adding Texture
Adding texture to your air dry clay ornaments is a great way to make them more visually interesting. Here are some ways to add cool textures to your ornaments:
Imprinting Designs
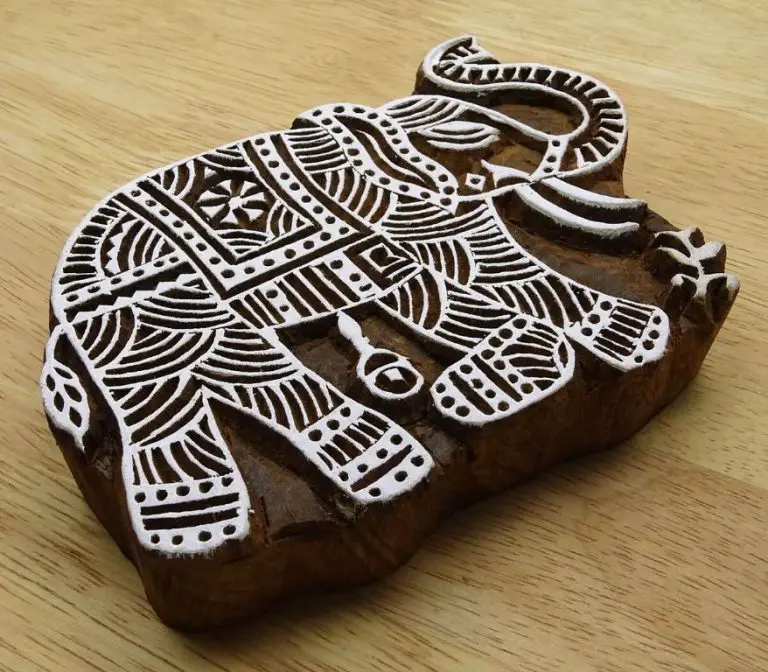
You can press designs and textures into the surface of the clay to create patterns. Things like lace, burlap, bubble wrap, leaves, washcloths, etc. can be pressed into the clay. Press gently so the design is not too deep. Let the clay dry completely before removing the texture material.
Using Molds
Silicone molds made for clay work great for adding texture. Press your clay into the mold cavity to pick up the design. Let dry fully before removing from the mold. Things like seashells, snowflakes, pine cones, bricks, etc. make great texture molds.
You can also make your own texture molds by pressing clay into found objects like leaves, doilies, mesh, etc. Let the clay fully dry before removing it to make your mold.
Painting Your Air Dry Clay Ornaments
Once your air dry clay ornaments have fully cured and hardened, it’s time to add color and bring them to life with paint. Acrylic paints work beautifully on clay surfaces. Make sure to use acrylic paint specifically designed for clay, ceramic, or glass to ensure the paint adheres properly.
Some of the best acrylic paint brands to use include:
- FolkArt Acrylic Paint – Available in tons of colors and finishes like metallic and glitter.
- DecoArt Acrylic Paint – Vibrant opaque colors perfect for ornaments.
- Craft Smart Acrylic Paint – Budget-friendly basics and neons.
When painting clay ornaments, apply two to three thin coats of paint rather than one thick coat for best coverage and to avoid brush strokes. Let each layer dry completely before adding the next. Use a foam brush or soft bristle brush.
Consider using fun painting techniques like dots, stripes, marbleizing with a paint pen, or even decoupage for adding patterned papers. Outlining with black paint or metallic paint can help add definition. Sponging on chalk paint or whitewash acts can give a distressed vintage look.
You can also mix paint with glaze for added dimension or sprinkle on mica powder when the final coat is still wet. Sealing the paint gives the ornaments a sleek gloss finish that really makes the colors pop.
Sealing Air Dry Clay Ornaments
Sealing air dry clay ornaments is an important final step before hanging them on the tree. Sealing serves multiple purposes:
- It protects the ornament from moisture and prevents softening or warping of the clay over time.
- It provides a smooth, finished look and feel to the ornament.
- It allows you to add a glossy or matte sheen through varnish.
- It enables you to attach embellishments like glitter, beads, or rhinestones more securely.
The best sealants recommended for air dry clay ornaments are:
- Acrylic spray sealer – Provides good protection and dries quickly. Use an outdoor/indoor formula.
- Polyurethane – Offers a high-gloss, durable finish. Water-based is less toxic.
- Decoupage sealer – Works well if adding collage elements. Provides a matte look.
- Mod Podge – An easy to use sealer good for light use ornaments. Dries clear.
Apply 2-3 thin, even coats of sealer, allowing drying time between coats. Once sealed, air dry clay ornaments are ready to embellish and hang!
Adding Embellishments
Embellishments are a fun way to add interest and detail to your air dry clay ornaments. Simple additions like glitter, beads, ribbons, and more can transform a basic shape into a showstopping decoration. Here are some easy embellishment ideas to try:
Glitter
Glitter adds sparkle and shimmer to ornaments. To apply, first seal the air dry clay piece with varnish or glue. Once dry, brush a layer of tacky glue over the surface, then sprinkle glitter generously to coat. Let dry completely before handling. Fine, craft-grade glitter tends to adhere better than coarser varieties. For a neat, contained effect, apply glue only to specific areas instead of the entire piece.
Beads
Gluing beads onto an ornament is an easy way to accentuate details like flowers, snowflakes, animals, and more. Glass beads, wood beads, and plastic beads all work well. First paint and seal the clay. Then apply a dot of strong glue or epoxy to the back of each bead and press into place. Let dry fully before handling.
Decorative Elements
Consider adding extra flair with bows, lace, buttons, sequins, faux gems, bells, pom poms, and more. Attach sewn-on items before painting. For glued-on pieces, first seal the surface then apply strong glue and press decorations into place. Let dry thoroughly before hanging.
Get creative and customize ornaments to suit any theme or recipient! The embellishment options are endless.
Hanging Methods for Air Dry Clay Ornaments
There are a few popular methods to hang your air dry clay ornaments on the Christmas tree or around the house. Here are some of the most common hanging options:
Ribbon
Ribbon is the classic choice for hanging Christmas ornaments. You can make a small hole at the top before baking your clay and thread ribbon through after painting. Choose wired ribbon if you want the ends to be able to curl. Ribbon comes in every color and pattern imaginable to coordinate with your ornaments.
Wire
Wire allows your ornaments to hang at different heights and angles on the tree. Bend the wire into a hanger shape before inserting into the raw clay. After baking and painting, you can bend and shape the wire as desired. Florist wire works well, coming in green or gold colors.
Ornament Hangers
You can find ornament hooks and hanging kits at most craft stores. These provide a nice finished look with caps to cover the hanging holes. Insert the hanger piece before baking if using an air dry clay. Some kits allow you to glue on the hanger after painting. Choose hangers that complement the style and size of your ornaments.
Tips and Ideas
Air dry clay ornaments offer lots of room for creativity. Here are some tips for troubleshooting issues and finding design inspiration:
Troubleshooting
If your ornaments are cracking as they dry, you may need to add a bit more water to the clay. Knead in drops of water until the consistency is smooth and pliable.
Avoid excess moisture that can lead to stickiness. Only add small amounts of water at a time.
Work in a well-ventilated area so the ornaments can dry evenly. Avoid breezy spaces that may cause uneven drying.
If an ornament breaks, you can glue it back together once fully dried using strong adhesives like super glue.
Design Inspiration
Look to nature for shape inspirations like leaves, flowers, seashells, berries, pinecones, fruit, or pods.
Add interest with textures like dots, stripes, squiggles, hearts, stars, or other patterns.
Incorporate glitter, beads, buttons, ribbons, lace, or other embellishments for a festive look.
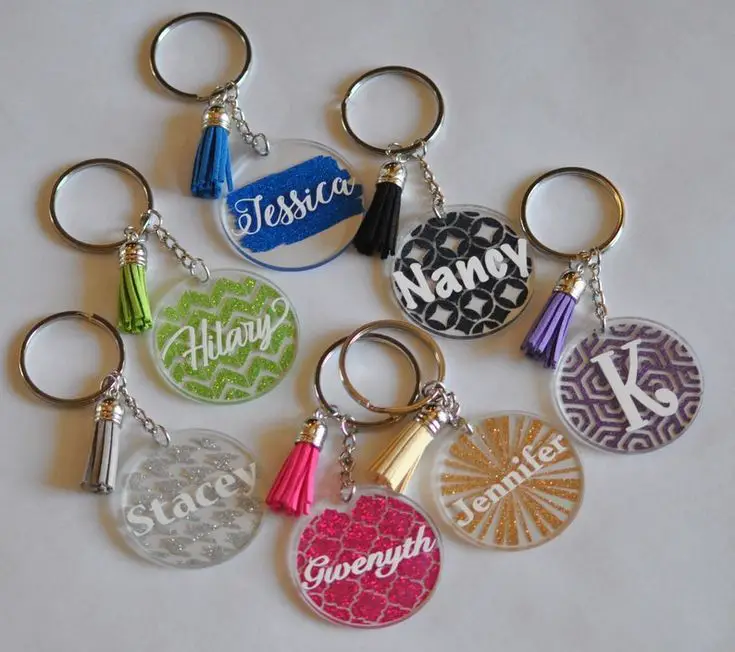
Make monogram ornaments using initials for a personalized gift.
Use cookie cutters, molds, or stencils to create geometric, floral, or unique shapes.


