How Do You Make A Clay Model Of The Earth?
Gather Materials
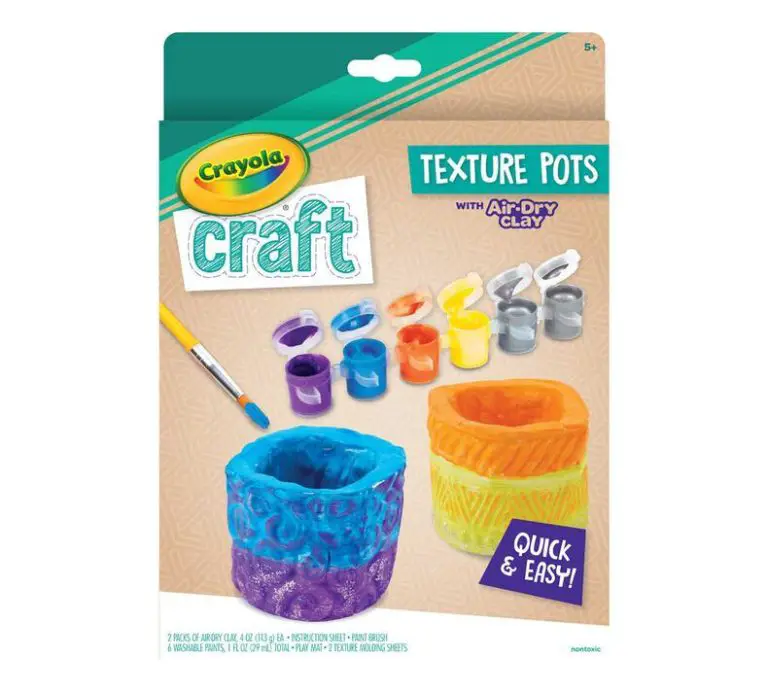
Making a clay model of the Earth requires a few key materials. To start, you’ll need clay. Opt for air-dry clay that doesn’t require baking so your model can dry naturally. You’ll need at least a couple pounds for a small model. If making a larger globe, you may need 5 pounds or more.
Next, gather acrylic paints in various colors for the continents and oceans. Shades of green, brown, blue and white work best. You’ll also need paintbrushes in small and medium sizes.
Have a globe or world map on hand for reference as you shape the continents. This helps ensure accuracy in the size and placement of land masses.
Finally, gather basic sculpting tools. Picks help shape details and carve ridges for oceans and rivers. Flat wooden or plastic tools smooth and flatten clay. You can also use paper clips, toothpicks, rulers and other household items.
Make the Core
The core is the innermost layer of the Earth consisting of a solid inner core and a liquid outer core. To create the core of your clay model Earth, start by forming a ball of clay about 1/3 the size of your desired finished model. This will represent the solid inner core which is primarily made of iron and nickel. Carefully wrap a layer of clay around the inner core to create the outer core. This part should be roughly 2/3 the size of the final model. The outer core is composed of liquid iron and nickel above the solid inner core. Having a clearly defined inner and outer core will help provide structure for adding on the next layers.
Create the Mantle
After the clay core is formed, the next step is to create the mantle layer. The mantle is the thick layer of rock that surrounds the core. To represent the mantle, take a larger portion of clay and press it around the core to create a thicker outer layer. Make sure the mantle fully surrounds the core.
The mantle should be approximately 2-3 times thicker than the core clay layer. This represents the relative proportions of the actual earth’s core and mantle based on scientific data. As you add the clay mantle, press gently and smooth it out to make an even layer around the core. Be careful not to distort the spherical shape as you build up the mantle layer.
Shape the Continents
After you have created the core and mantle for your clay earth model, it’s time to shape the continents on the surface. Refer to a map or globe to see the shapes and relative positions of the seven continents.
Start by sculpting the large landmasses of each continent out of clay. Lay them out on a flat surface in roughly the correct positions. North America, South America, Europe, and Africa should be spaced out, with Asia and Australia/Oceania further apart. Antarctica goes at the bottom surrounding the South Pole.
Pay attention to the overall shape of each continent, forming the general coastlines and major peninsulas. For example, shape Africa with the horn-like eastward protrusion and the rounded west coast. Sculpt North America with the east coast indentation and an area for the Gulf of Mexico separating it from the southward projection of Central America.
You can also begin forming some of the major landforms like mountain ranges. Add some height for the Rockies and Andes in the Americas or the Himalayas in Asia. Just don’t get too detailed yet – save very small geographic features for later.
Add Ocean Basins
After shaping the continents, the next step is to add the ocean basins. Take a small, rounded tool and carefully carve out trenches and basins into the clay to represent the seabed. Smooth out the clay with your fingers or a sculpting tool to create the relatively flat surface of the ocean floor.
Make sure to include major ocean trenches like the Mariana Trench in the Pacific Ocean, which is the deepest point on Earth. Carve this extra deep into the clay. Also carve out the shallower continental shelves around the coastlines. Refer to reference maps and diagrams to approximate the depth and shape of key ocean features.
Take your time with this step and use a gentle touch to achieve a smooth seafloor. The ocean basins will provide a nice contrast to the elevated continents.
Paint Continents and Oceans
After the clay continents and ocean basins have been shaped, it’s time to add color to the model. Start by painting all of the land areas brown using acrylic paint. Make sure to cover all of the clay continents completely. Let the brown paint dry fully before moving to the next step.
Once the brown paint for the continents is dry, use blue acrylic paint to color all of the ocean areas. Cover the entire clay ocean basins with a solid coat of blue. The blue ocean paint can overlap slightly onto the brown continents if needed. Let the blue ocean paint dry fully before adding any other details to the continents.
The brown and blue paint clearly defines the continents and oceans on the model. At this stage, the basic land and water elements of the earth model are complete. Later, geographic details can be added to make the model more realistic.
Include Geographic Details
To make your model earth look more realistic, consider adding details like mountain ranges, rivers, lakes, and other geographic features. You can mold mountain ranges out of extra clay, pressing and smoothing the clay into the desired shapes and heights. Use a toothpick or clay sculpting tool to etch rivers into the clay surface.
For larger lakes, gently press a circular object like a pen cap into the clay to create an impression. You can also make small dots and divots with a sculpting tool or toothpick to represent smaller lakes. Consider looking at a globe or map for reference on where to place major mountain ranges like the Himalayas and major rivers like the Amazon. The geographic details you choose to include depend on the purpose of your model and how detailed you want it to be. Just remember – the more time you spend on these finishing touches, the more your model earth will resemble the real thing!
Indicate Axis and Orbit
To demonstrate how the earth rotates on its axis and orbits around the sun, use a toothpick to represent the earth’s axis. Push the toothpick through the clay ball slightly off-center. This will allow the earth to tilt on its axis as it rotates.
Next, draw a large circle on a piece of paper or cardboard to represent the earth’s orbit around the sun. Place the model earth on the orbital path to show how it revolves around the sun while rotating on its tilted axis. Adjust the tilt of the toothpick axis to match the earth’s 23.5 degree tilt.
Having the axis and orbit will allow you to explain some basic astronomy concepts, like the change of seasons and day/night cycle. Spin the globe to show how different sides face the sun at different points in the orbit. This hands-on demonstration helps illustrate how the earth’s movement impacts climate and the length of days.
Create Stand or Base
A sculpted stand or base can add a nice finishing touch to display your model of the earth. While not required, it’s an optional step that can really elevate the final presentation. Consider sculpting a simple, pillar-like stand from your clay. Make it an inch or two taller than the globe, and shape it so the model can rest securely on top. Or get creative and sculpt a more elaborate base depicting waves, clouds, or geographical features like mountains. This provides an additional opportunity to showcase your modeling talents. Just be sure the base is sturdy enough to properly support the weight of your globe. The clay stand can then be painted as desired once the globe itself is fully completed.
Finish and Present Model
The final step is to allow the clay earth model to dry completely before presenting or displaying it. Clay shrinks and cracks as it dries, so giving it enough time to dry thoroughly will help the model hold its shape and structural integrity. Let the model sit for 24-48 hours to fully cure. Test thick areas by pressing gently to see if the clay still bends or feels soft. If needed, allow extra drying time.
Once dried, you can add any finishing touches like continent or ocean labels made from paper, or a thin coat of clear glaze or sealant if desired to give the model a glossy look. The clay earth can then be placed on a stand or base for proper display. Some options include:
- A simple white pedestal or pillar
- Clear plastic rod attached to a base
- Small rotating platform to show the earth’s spin
- Mounted rings to depict earth’s orbit around the sun
Take care not to over-handle the dried clay earth when moving or working on the base, as it may still be fragile. With ample drying time and gentle handling, the clay earth model will be ready for presentation as an engaging standalone display or educational science project.