Can I Make A Bong With Clay?
A bong is a water pipe used for smoking cannabis, tobacco, or other herbal substances. The bong cools and filters the smoke through water, making for a smoother hit than other smoking methods. Bongs have become extremely popular, especially among cannabis enthusiasts, for their ability to produce big, smooth hits.
The most common bongs are made from glass or plastic. However, more creative smokers have begun handcrafting bongs from all kinds of materials, including clay. Making your own clay bong allows you to fully customize the shape, style, and artistic embellishments. With some clay, sculpting tools, and a kiln, you can create a one-of-a-kind smoking piece.
Is Clay Safe for Bongs?
When creating a bong out of clay, it’s important to consider the safety of the materials. There are a few potential concerns when working with clay that are worth researching:
Clay Dust – The clay itself is likely safe, but inhaling the dust when sanding or sculpting can be a potential health hazard. The fine particles can cause lung irritation or possibly silicosis with repeated exposure. Proper ventilation, masks, and safety precautions should be used.
Toxic Glazes – Many glazes contain heavy metals like lead, cadmium or barium that can leach into smoke or vapor when heated. These toxic materials can cause lung damage or other health issues if ingested. Care should be taken to only use food-safe, non-toxic glazes rated for high temperatures.
Overall, with the right precautions clay can be a safe material for bong creation. But risks can be mitigated by working in a well-ventilated area, using protective equipment, and carefully selecting non-toxic glazes suitable for smoking devices.
Sourcing Clay for Bongs
When selecting clay for crafting a bong, it’s important to choose a type that is non-porous and can withstand high temperatures. The best options include:
- Stoneware clay – This dense clay can be fired at very high temperatures to make it non-permeable. Stoneware is durable and resists cracking.
- Porcelain – Made from kaolin clay, porcelain can be fired at over 2,300°F. It’s smooth, strong and won’t absorb moisture.
- Terracotta – While more porous than stoneware or porcelain, terracotta can work for bongs if glazed. Unglazed terracotta is too permeable.
Avoid earthenware clays, as they absorb water and are fragile. Polymer clay is also unsuitable as it can deteriorate and melt under high heat.
Clays suitable for bong making can be purchased at local ceramic and art supply stores. Clay is sold in moist blocks or bags ready for sculpting. Hardware stores may carry terracotta and stoneware clay in smaller amounts. For the widest selection, specialized online retailers offer a huge range of sculpting and pottery clays. Buying clay online allows you to easily find specific types in larger quantities for crafting bongs.
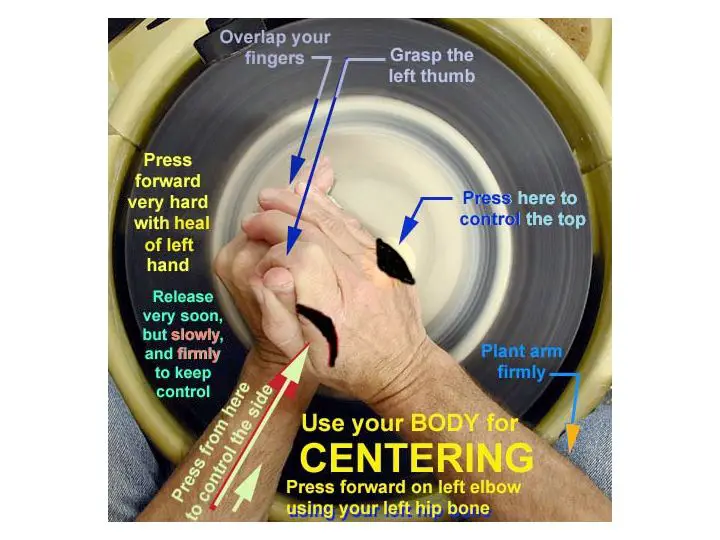
Shaping and Sculpting the Clay
Once you have chosen your clay, it’s time to start sculpting it into the shape of your bong. Here are some tips for shaping and sculpting clay into a bong form:
- Start by kneading the clay thoroughly to soften it and make it pliable. Remove any air bubbles.
- Flatten the clay into a rectangular slab, approximately 1 inch thick. This will form the main body of the bong.
- Cut out a circle from the clay slab, approximately 4-6 inches in diameter. This will be the base.
- Roll a clay coil approximately 1/2 inch thick. Attach this to the circular base to form the neck and mouthpiece.
- Use your fingers to slowly smooth the seam where the coil meets the base. Blend the clay together.
- Shape the mouthpiece into a narrow opening approximately 1/2 inch in diameter.
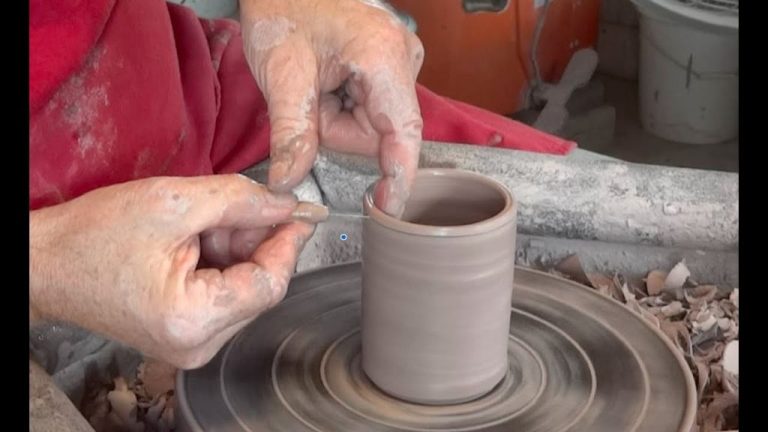
- Pinch and shape the body of the bong as desired. Create smooth, even lines.
- Use a skewer or sharp tool to pierce an opening from the body into the center of the mouthpiece. This forms the downstem.
- Pierce a small hole in the side of the bong for the carb.
- Let the sculpted clay firm up slightly before final shaping.
- Refine the form by gently smoothing, pinching and shaping until you’re happy with the design.
Take your time sculpting the clay and don’t rush the process. Pay attention to symmetry and smooth lines. Let the clay firm up between steps to avoid overworking it. Your finished clay bong should be sturdy yet lightweight before firing.
Creating the Interior Chamber
One of the most important steps in crafting a clay bong is hollowing out the interior chamber that will hold the water and smoke. This chamber needs to be large enough to allow for proper water filtration and airflow, but not so large that it compromises the structural integrity of your bong.
Start by using a rounded tool or your fingers to carve out a cylinder shape in the clay for the chamber. The chamber should be about 1-2 inches in diameter to allow for optimal airflow and percolation. Use a ruler to check the dimensions as you hollow it out.
Make sure to create smooth, even walls for the chamber so airflow will not be obstructed. The walls should be approximately 1/4 to 1/2 inch thick. Thinner walls may crack or collapse when dry, while thicker walls will make draws more difficult.
Remember that the chamber needs to hold water, so make it deep enough to accommodate this. Aim for around 4-6 inches deep depending on the size of your bong. Test the depth by pouring water into the chamber as you shape it to ensure it will be sufficient.
Smooth and refine the inner walls of the chamber with your fingers or tools. Ensure there are no gaps, lumps or irregularities that could disrupt air or water flow. A smooth, symmetrical interior chamber will provide optimal function.
Take care not to make the walls too thin or to extend the chamber too close to the sides, bottom or mouthpiece of the bong, as this could cause cracks or leaks. An evenly shaped interior chamber will ensure your clay bong has excellent water filtration.
Adding the Carb and Mouthpiece
One of the most challenging parts of making a clay bong is adding the carb and mouthpiece fittings. The carb is a small hole that you cover while inhaling to build up smoke in the chamber. The mouthpiece is the end you put your mouth on to inhale. There are a few techniques for cutting and attaching these fittings:
Cutting the Holes
Use a drill bit slightly smaller than your desired hole size to cut clean openings for the carb and mouthpiece. A carb hole is typically 5-10mm wide. The mouthpiece hole should fit your chosen mouthpiece fitting. Drill slowly and carefully to avoid cracking the clay.
Attaching the Fittings
You can attach metal or glass fittings into the holes with modeling clay or rubber grommets. Press the grommets firmly into the holes, then insert the pipe fittings through the grommets for a tight friction fit. Or firmly press a ball of modeling clay around each fitting to seal and secure it.
For a removable downstream or bowl fitting, cut an angled mouthpiece hole so the fitting can slide in at an angle but won’t fall through. Use clay to seal around the rim of the fitting.
Secure all fittings well so they won’t come loose when the bong is fired. Avoid attaching metal or plastic fittings that could melt or release toxic fumes when heated.
Applying a Glaze
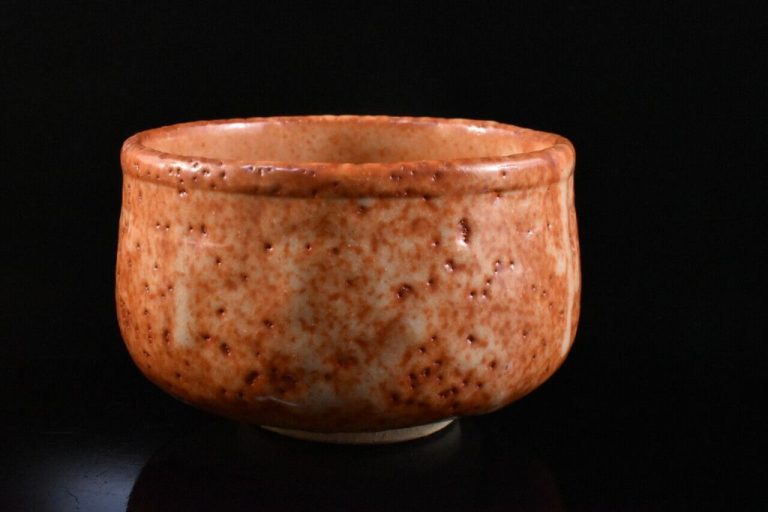
Glazing clay bongs serves an important purpose beyond aesthetics. Applying a protective glaze coating ensures the interior chamber remains non-porous and watertight. The glaze seals the clay and prevents moisture from being absorbed into the material. This helps prevent mold, bacteria, and residue buildup over time.
When selecting a glaze, it’s crucial to choose one that has been formulated for direct food contact. General craft glazes may contain lead, cadmium, or other toxic compounds that can leach into smoke or vapor when used for smoking. Opt for lead-free, non-toxic glazes explicitly marketed as food-safe. These glazes will be free of hazardous chemicals and safe for food and drink purposes after proper curing.
Apply the food-safe glaze liberally to all interior and exterior surfaces of the bong that will come in contact with smoke. Ensure full coverage to seal any tiny pores in the clay. Let the glaze fully dry before firing the bong. Consult the product instructions for precise dry times, thickness, and application techniques to achieve the glaze’s protective properties.
Firing and Curing the Clay
Properly firing the clay is essential for creating a functional and durable bong. Firing temperatures typically range from 1800°F to 2300°F depending on the type of clay used. The clay must be heated slowly, sometimes over 10-12 hours, until it reaches peak temperature. It’s held at that temp for 1-3 hours to fully cure and vitrify the clay. A kiln is the ideal way to fire clay, allowing precise control over temperature and heating times. Lacking a kiln, an improvised alternative is raku firing. This involves heating the clay from all sides, often with propane torches. The clay is heated quickly until red hot then removed and allowed to cool. Raku firing can successfully cure clay but lacks the precision and control of a kiln.
Firing times also vary by the size and thickness of the clay piece. Thicker areas need more time for the heat to fully penetrate the clay. No matter the technique, firing must thoroughly cure the clay and evaporate all moisture to avoid cracks or weak spots when the bong is used. Patience is required as rushing the process risks under-fired clay that remains porous and prone to breakage. The finished bong should have an even color and hard, vitrified feel once firing is complete.
Safety Tips
When making a bong out of clay, safety should be a top priority. There are a few things to keep in mind:
First, avoid using any toxic materials that could release fumes when heated. Some clays and glazes contain heavy metals like lead that can be hazardous if smoked from. Opt for natural clay without any toxic ingredients.
Second, let the clay fully cure and dry before smoking from your homemade bong. Ensuring the clay is fully set and hardened will prevent any toxins being released when the bong is used.
Third, consider using glass or metal for components like the slide and bowl. Natural clay is porous, which makes it harder to clean residue. Glass and metal parts will be safer and easier to keep clean.
With the proper non-toxic clay and glaze, fully cured and dried material, and clean fittings, an artsy, homemade clay bong can be a fun and safe DIY project. Just be sure to focus on safety from start to finish.
Conclusion
In summary, making a bong out of clay requires some sculpting skills and access to a kiln for firing and curing the clay safely. The process involves shaping the clay into the desired form, adding interior chambers and a carb, applying a non-toxic glaze, and properly firing the clay to create a finished ceramic bong.
For those new to working with clay, starting with an air-dry clay or modeling clay may be safest until gaining more experience. Firing clay requires high heat kilns and special care to avoid potentially toxic materials. Proper research on clay types, firing temperatures, and glazes is highly recommended.
There are likely safer and easier options for creating a homemade bong, such as using glass bottles or stainless steel bowls. However, working with clay can be a fun creative endeavor if done carefully and with awareness of the potential risks.
Be sure to check local laws before making any kind of drug paraphernalia, as regulations vary in different areas. And remember to consume responsibly.


