Can I Teach Myself To Use A Pottery Wheel?
Pottery has seen a resurgence in popularity in recent years, both as a relaxing hobby and creative outlet. More and more people are interested in making their own pottery pieces at home. The tactile process of working with clay and creating beautiful objects is immensely satisfying. But is it possible to learn pottery properly without taking lessons? Can you teach yourself effectively using online resources?
In this article, we’ll look at the main challenges of learning pottery alone, as well as the basic supplies you’ll need. We’ll cover key techniques to master, where to find helpful learning resources, how to stay motivated, and what the next steps are after getting the basics down. Read on to find out everything you need to know to become your own pottery instructor.
Challenges of Learning Alone
Learning to use a pottery wheel alone can be quite challenging without an experienced teacher providing guidance. Throwing on the wheel requires simultaneous coordination of your hands, feet, and eyes that is difficult to master (Ceramic Arts Network). It takes time and practice to get the hang of controlling the speed of the wheel while centering and forming the clay. Without an instructor giving feedback, it’s also hard to spot mistakes in your technique or form (Reddit). An experienced potter can diagnose issues like improper wheel speed, uncentered clay, or using too much pressure. Self-teaching means that it may take longer to correct bad habits without that expert guidance.
Basic Supplies Needed
When getting started with pottery, there are some basic supplies you’ll need to begin working with clay on a potter’s wheel:
-
Pottery wheel – This is the main piece of equipment for throwing pottery. Look for an electric wheel that is variable speed. Popular starter wheels include the Brent Model CXC and the Shimpo RK-1 (source: https://thelittlepotcompany.co.uk/blogs/pottery/pottery-for-beginners-equipment-tools-needed-to-get-started).
-
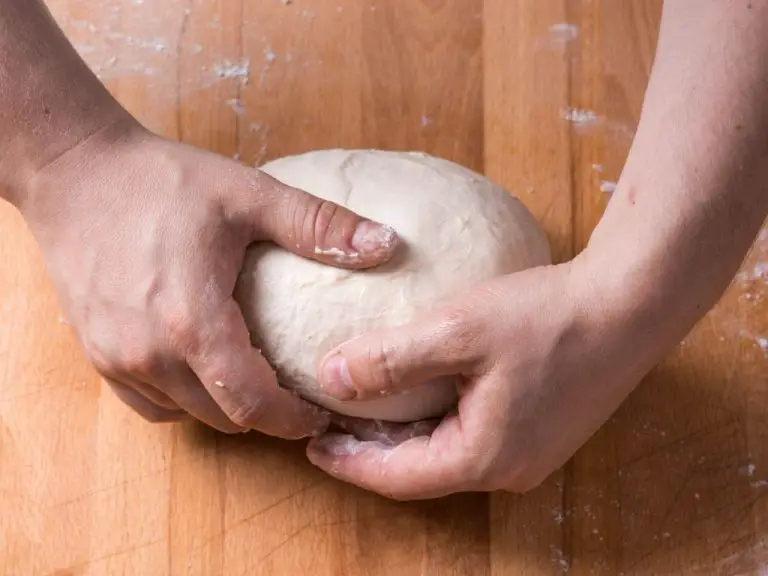
Clay – Choose an air-dry or low-fire clay to start. Avoid porcelain. Look for clay labeled as suitable for handbuilding and throwing. Usually 25lbs of clay is a good amount to start with (source: https://thelittlepotcompany.co.uk/blogs/pottery/pottery-for-beginners-equipment-tools-needed-to-get-started).
-
Basic tools – At minimum you’ll want: a wooden modeling tool, a metal rib, a sponge, cutting wire, a serrated rib, and calipers for measuring. Other helpful tools include various shaped ribs, loop tools, and sculpting tools (source: https://thelittlepotcompany.co.uk/blogs/pottery/pottery-for-beginners-equipment-tools-needed-to-get-started).
Having these basic supplies will allow you to start learning the fundamentals of working with clay on a potter’s wheel.
Important Techniques to Learn
When learning to use a pottery wheel, mastering some key techniques is essential to creating quality pieces. Here are some of the most important techniques to focus on:
Centering the clay – Centering refers to getting your clay right in the middle of the wheel head before you begin shaping it. Well-centered clay will spin evenly without wobbling. It takes practice to center clay quickly and efficiently. This guide provides tips on how to center clay properly.
Opening the clay – Once clay is centered, you use your thumbs to push down into the middle while applying pressure outward with your fingers to open up the ball of clay. Opening the clay helps set the stage for raising the walls. Go slowly at first when learning this technique.
Raising the walls – After opening the clay, you can start raising the walls by pushing outward on the clay while it spins on the wheel. Use the sides of your hands and forearms for leverage. Raise walls slowly and evenly to the desired height.
Shaping the clay – Once walls are raised, you can begin gently shaping the clay into the desired form using your hands and various tools. Take care not to make the walls too thin. Leave adequate thickness for stability.
Mastering these key techniques takes regular practice. Don’t get discouraged. Over time, centering, opening, raising, and shaping clay will start to feel natural.
Helpful Resources
There are many helpful resources available for learning pottery at home on your own. Some key resources to check out include:
Online video tutorials – Sites like Hutson Ceramics on YouTube and Pottery Making Illustrated on YouTube offer a wealth of free video tutorials covering all aspects of working with a pottery wheel, from beginner techniques to more advanced skills.
Books/ebooks – For those who prefer the written word, check out instructional books like Mastering the Potter’s Wheel by Ben Carter or Pottery Basics by Emily Reason. Many are also available as ebooks for convenience.
Online pottery communities – Connect with other aspiring potters through communities like r/Pottery on Reddit or Pottery Beginners on Facebook. Share your work, ask questions, and get feedback.
Developing an Eye for Quality
When learning to make pottery on your own, it can be challenging to judge the quality of your work. Looking at professional pieces can help you recognize good technique and form. Colorado State University’s guide for ceramic judges notes some hallmarks of quality, including thin, smooth petals on handmade flowers and clean, rounded edges on hand-formed pieces (Source: Colorado State University).
Be patient with your early attempts. It takes practice to develop an eye for subtle imperfections in symmetry, texture, and firing effects. Pay attention to the techniques used in high-quality ceramic pieces to understand what to strive for in your own work. With time and experience, you’ll gain a better intuitive sense of quality construction and finishing.
Troubleshooting Common Issues
When learning to use a pottery wheel, there are some common issues that frequently arise. Here are some tips for troubleshooting the most common problems:
Clay Sticks to Wheel
If your clay is sticking to the wheel, it usually means you are using too much water. As this article explains, excess moisture prevents the clay from properly adhering to itself as it spins. Try wedging or kneading your clay thoroughly before throwing to remove excess moisture. Also, avoid dipping your hands in the water bucket excessively. Lastly, you can sprinkle your wheel head with a dusting of cornstarch, which will act as a release agent.
Walls Collapse
Collapsing walls often occur when the clay is too wet. As noted in the Pinterest post, excess water causes the clay to slump and lose its shape. Try wedging the clay again and allowing it to firm up slightly on the wheel before pulling up the walls. Also make sure to open the clay with consistent pressure and support the walls as they are formed.
Shaping Problems
Issues with getting clean lines and smooth surfaces take practice. As recommended by pottery experts, focus on using slow, steady movements rather than quick pulls and tugs when shaping the clay. Keep your elbows tucked in and pivot at the hips rather than moving your arms. Use sponges and scrapers to gently refine the shape and surface texture. Over time, you will develop a feel for how to shape the clay into your desired forms.
Staying Motivated
Learning pottery on your own can be challenging without the accountability and encouragement from an instructor and fellow students. Here are some tips to stay motivated:
Set small, achievable goals for each practice session, like “center 5 lbs of clay successfully.” Meeting goals gives a sense of accomplishment and progress. According to ceramic.school, “Intrinsic motivations like pursuing excellence and personal growth help sustain passion for pottery.”
Joining a class or studio later allows receiving feedback to improve techniques. The Reddit community recommends elbow placement for better centering: “Work on centering and dig your elbow into your inner thighs. Centering is just pushing away as the wheel turns to keep it centered.”
Appreciate progress and how much you’ve learned. Look back at early pieces with patience – getting better takes time and practice. According to format.com, revisiting inspirational pieces can provide motivation: “One foolproof way to motivate yourself is to revisit pieces in your field by your favourite artists.”
Next Steps After Basics
Once you have mastered the basic techniques of centering, opening, raising walls, and finishing on the wheel, you can start exploring next steps to advance your pottery skills. Here are some ideas for what to try after getting the basics down:
Start experimenting with glazing your pieces. Glazes add color, texture, and sometimes special effects to the bare clay. Learn how to apply glazes evenly and try out different combinations. Get creative exploring the possibilities!
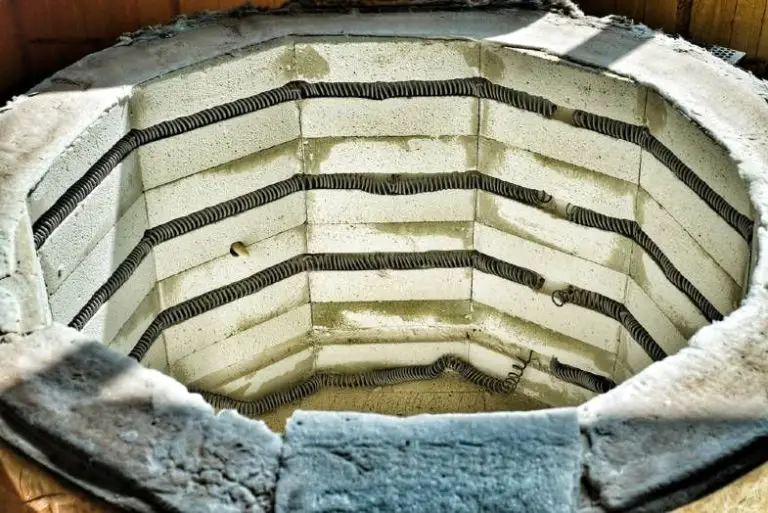
Begin firing your finished wares. Firing pottery hardens the clay through extremely high temperatures in a kiln. Look for access to a kiln at local studios, schools, or maker spaces. Firing allows your art to be fully functional and finished.
Try your hand at making specific pieces like mugs, bowls, vases, plates, etc. The more you practice making the same item, the more consistent your technique and outcomes will become. Challenge yourself to make matching sets.
Consider selling your pottery, either online through Etsy or at local craft fairs. Getting feedback from customers can help you continue improving. Any profits allow you to invest back into new tools and materials for making more pottery.
After learning the basics solo, taking some group classes can also help advance your skills. An experienced teacher can provide tips and support as you take on new challenges and complex projects.
Conclusion
Throwing pottery on a wheel as a beginner can certainly seem daunting, but with determination and perseverance, it is possible to teach yourself the fundamentals. By setting up a proper pottery studio space, acquiring the necessary supplies, and utilizing the wealth of online resources, you can gain proficiency over time.
Learning on your own requires dedication, patience, and self-discipline. Be prepared to make many mistakes and subpar pieces before achieving success. Don’t be discouraged by failures – they are part of the learning process. With regular, focused practice, your skills will improve. Over time, you’ll be able to throw basic vessels with thinner walls and nicer shapes.
While learning with an instructor can accelerate the learning curve, going solo is an achievable alternative. Apply the techniques covered step-by-step, troubleshoot issues as they arise, and work on developing an intuitive feel for the clay. With passion and persistence, you can acquire sufficient skills to create beautiful pottery works using a wheel.