Can I Use My Oven As A Kiln?
What is a Kiln?
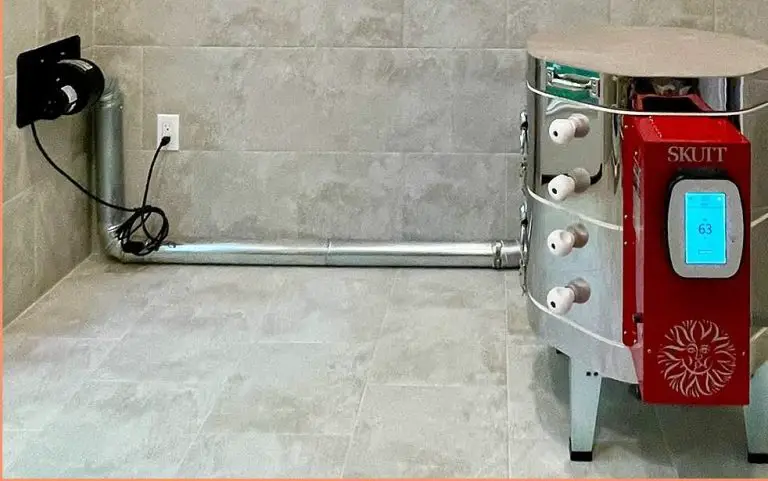
A kiln is a high-temperature oven used for processes like firing pottery, ceramics, and drying lumber (Britannica). The term “kiln” comes from the Old Norse word “kylna” meaning “oven” or “furnace”. There are several main types of kilns:
Electric kilns – These kilns use electricity to generate heat and allow precise temperature control up to over 2300°F. They are used for firing ceramics, enameling, glass fusing, heat treating metals, and other industrial processes.
Gas kilns – Gas kilns rely on propane or natural gas for fuel. They can reach high temperatures around 2350°F and are common in large-scale pottery studios. They provide effects like atmospheric firing but can be more difficult to control (Wikipedia).
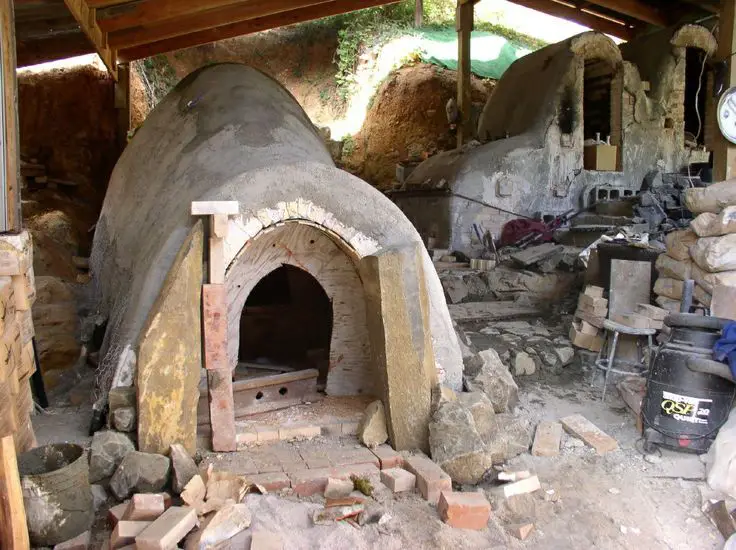
Wood-fired kilns – Traditional wood-fired kilns use wood as fuel to produce unique effects. Firing cycles take longer but maximum temperatures around 2400°F can be reached.
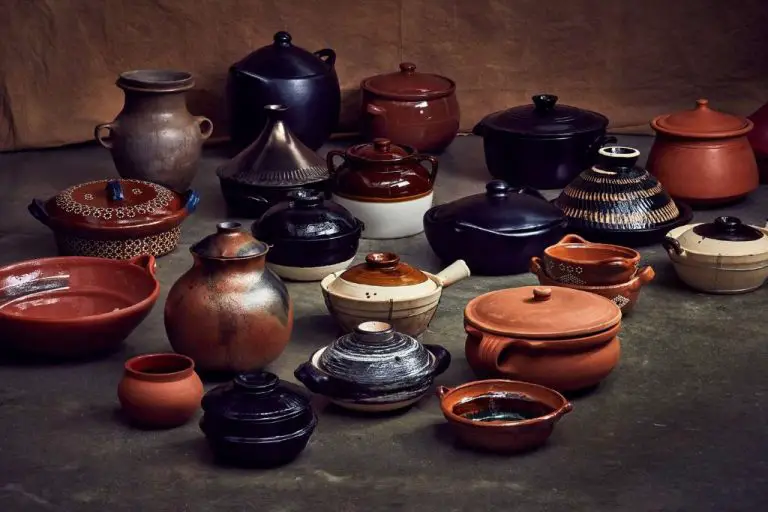
Ceramic kilns used for pottery are generally fired in the 1550°F – 2200°F range. Different clay products require specific heat ranges – from low fire clay fired under 2,000°F to high fire products fired around 2300°F.
What Temperatures Can a Home Oven Reach?
Most conventional home ovens have a maximum temperature range of 450°F to 550°F. However, some models may go up to 500°F-575°F for brief periods. According to manufacturers and cooking experts, 500°F is the average maximum temperature for a typical home oven. Temperatures above 550°F are quite rare in home models. This cooking Q&A provides some good insight into typical home oven temperature capabilities.
Convection ovens move the hot air around and can get 25-50°F hotter than conventional ovens. So convection home ovens may reach upwards of 550°F on the highest setting. However, there are safety concerns with running home ovens for long periods above 500°F.
Using home ovens for extended times at over 500°F can risk damage to the unit or fire hazards if not carefully monitored. Most home ovens are not designed for such high temperatures. It’s best to avoid going over 500°F for more than brief periods, and constantly supervise the oven if attempting higher temperatures. Consider fire risks, fumes, and potential unit damage before attempting to use a home oven like a kiln at very high temperatures.
Using Your Oven as a DIY Kiln
While it may be tempting to use your home oven as a makeshift kiln, there are some important limitations and safety concerns to consider. Most standard kitchen ovens cannot reach the high temperatures needed to properly fire ceramics, typically only getting up to 500°F (260°C) at their maximum setting [1]. For comparison, ceramic glazes are often fired between 1200-2200°F (650-1200°C). This means you won’t be able to fully vitrify clay or fuse glazes using a standard oven.
That said, lower temperature clays like earthenware can be fired at temps as low as 1652°F (900°C). So firing these types of clays at home may be possible, though results can be inconsistent. It’s recommended to use a pyrometer to monitor the internal oven temperature if attempting this. The oven should be empty other than the clay work, and pots should be elevated on stilts or pyrometric cones to allow air circulation [2].
Be very cautious about heating any glazes in a home oven, as fumes from underfired glazes can be toxic. Ventilate the area well during firing. Also keep in mind that firing clay can release combustible gases, so never leave a firing unattended. Frequent monitoring is a must for safety.
Risks and Safety Concerns
While using a home oven as a makeshift kiln may seem like an inexpensive DIY solution, there are some significant risks and safety concerns to consider.
Ovens designed for baking and cooking foods typically only reach maximum temperatures of 500°F. Firing pottery and ceramics requires much higher temperatures, usually between 1800°F – 2300°F for stoneware clays. Attempting to fire clay or glazed pieces at oven temperatures can potentially cause damage like cracks in oven walls or elements burning out prematurely (Source).
Operating an oven for prolonged periods at extremely high temperatures can also overload household circuits and create fire hazards. Ovens are not designed to handle the amperage required for firing pottery. Ensure your oven and electrical system can handle the extended heavy power draw before attempting to use as a DIY kiln.
Finally, improperly ventilated ovens can lead to dangerous buildup of noxious gases when clay and glaze compounds are heated. Proper kilns are expertly designed to vent these gases and prevent exposure. Lack of ventilation could lead to serious health risks (Source).
Best Materials for Home Firing
When looking to fire clay at home without a kiln, it’s important to choose low-fire clays and glazes that fully mature at the maximum temperatures your oven can reach. Popular clays for home firing include natural earthenwares, some stonewares, and porcelain clays designed for low-fire. According to this Reddit thread, bone-dry low-fire clays can be fired up to cone 04 or 06 (1922-2102°F) in a standard home oven.
It’s wise to test any new clays or glazes at a lower temperature first to ensure they fire properly before moving up to maximum oven temperatures. Pay attention to material properties – some low-fire glazes may become runny at higher temps. Porcelains and stonewares will vitrify and become less porous than earthenware clays. Understanding the characteristics of the materials you use will help achieve better results.
In addition, as noted in this guide, opt for simpler glazes with fewer ingredients when firing at home, as more complex glazes may not mature properly at lower temperatures.
Tips for Monitoring Temperature
When using a standard home oven as a DIY kiln, relying solely on the oven’s built-in thermostat for temperature readings can be problematic. Home oven thermostats often have a wide temperature fluctuation range, sometimes as much as 50°F (28°C) above or below the set point (https://northernbeachesceramics.wordpress.com/2014/04/17/kilns-cones-thermocouples-and-temperature-assessment/).
To achieve more consistent and accurate temperature monitoring, many ceramic artists recommend using additional thermometers inside the oven. Small inexpensive oven thermometers placed at different spots in the oven can help track hot and cold zones. Small self-adhesive thermocouple wires with digital displays can provide very precise temperature readings.
Proper placement of thermometers is also important. Thermometers should be positioned near the pieces being fired, rather than relying on readings from the oven thermostat probe. Placing thermometers on kiln shelves or using kiln posts can elevate thermometers into hotter zones in the oven. Monitoring temperature from multiple vantage points provides the best results.
Achieving Consistent Results
Dealing with hot and cold spots is one of the biggest challenges when using a standard oven as a DIY kiln. Unlike real kilns, home ovens were not designed for even heat distribution and may have hot or cold zones. It’s important to learn the unique firing behavior of your specific oven.
Test tiles can help calibrate your results when home firing. Place several identical test tiles in different areas of the oven during the firing process. Check them afterwards to see if some tiles fired differently than others. This allows you to understand the temperature variances. You can then position work appropriately to compensate.
Take detailed notes each time you fire to learn how your oven behaves. Track positioning and results to dial in more precision over time. Expect some inconsistencies as you get started. With experience and testing, you can achieve pleasing outcomes firing clay at home.
Source: https://thepotterywheel.com/how-to-fire-clay-at-home/
Alternative Home Kiln Options
There are a few alternatives to using your home oven as a DIY kiln that are designed specifically for ceramics and pottery firing:
Small electric kilns are a popular option for home ceramic use. Manufacturers like Soul Ceramics and Kiln Frog offer compact 120V and 240V kilns perfect for small home studios. These affordable tabletop kilns allow for precise temperature control and uniform heating, producing consistent firing results.
Outdoor propane kilns are another alternative, using propane fuel for firing. They allow for raku and other alternative firing techniques. Propane kilns can be used in a backyard or outdoor workspace, providing ventilation while firing.
For the DIY enthusiast, homemade kiln projects can be an option. While challenging, some potters have created their own kilns from bricks, fiber blanket, and other insulating materials. This requires meticulous construction but provides creative control over the design.
When to Use a Proper Kiln
While using a home oven as a DIY kiln can work for small, simple projects, there are some instances when it’s best to use an actual ceramic kiln:
For firing certain clay bodies or glazes – Some clay and glaze chemistries require specific temperature ranges and atmospheric conditions that are hard to achieve in a home oven. A real kiln will provide better control.
For large quantities or complex projects – Firing multiple pieces or intricate sculptures is easier in a real kiln with enough space and even heat distribution. Ovens can only accommodate smaller loads.
If oven method isn’t working consistently – Issues like cracking, under-firing, or glaze defects probably indicate your oven can’t reach the right temperatures. Investing in a kiln may be necessary.
A proper ceramic kiln allows precise programming of firing cycles needed for different clays and glazes. The insulation keeps temperatures consistent throughout the kiln chamber. While a home oven can work in a pinch, serious ceramic artists may require an actual kiln at some point. For best results on important projects, it’s worth using the right equipment. (Source)
Firing Tips for Best Results
Achieving consistent results when firing ceramics in a kiln requires following some key best practices:
Ramp up the temperature slowly, around 100-150°F per hour. Rapid temperature increases can cause cracks or other defects. According to Ceramic Arts Network (1), slower ramps help release moisture and carbon trapped in the clay.
Hold the kiln at its peak temperature for the recommended time based on the clay type, usually 15-60 minutes. This allows the clay to fully vitrify. Consider using a kiln sitter or pyrometer to monitor temperature.
Cool the kiln slowly, around 200°F per hour. Quick cooling can lead to cracks and crazing. Letting the kiln cool naturally is ideal. The thick insulation helps the cooling process be gradual.
Allow pottery to fully cool to room temperature before removing it from the kiln. Thermal shock from abruptly changing temperatures can damage ceramics. Be patient and don’t open the kiln prematurely.
With proper ramp up, peak hold time, and cooling periods, you can achieve beautiful properly fired ceramic pieces from your kiln.

