Can You Make Necklaces With Clay Beads?
The Joy of Creating Clay Bead Necklaces
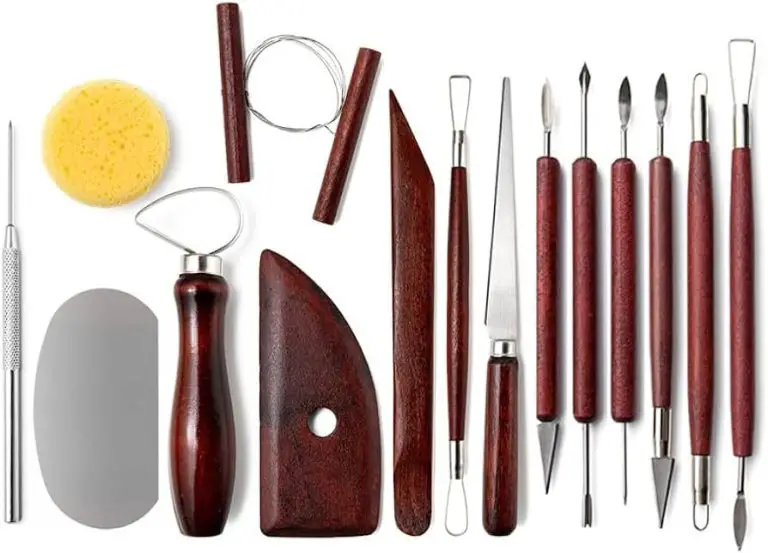
Handmade jewelry made from polymer clay is surging in popularity as crafters discover the satisfaction of designing their own unique accessories. Clay beads in particular have become a favorite way to express creativity through jewelry making. With just clay, simple tools, and a baking time in the oven, stunning polymer clay beads can be shaped in endless colors, patterns and shapes.
Fashioning jewelry from clay beads offers a hands-on hobby that’s both relaxing and rewarding. The process of rolling and sculpting clay is soothing yet stimulating for the mind. Seeing your custom creations come to life is incredibly fulfilling. And the ability to design a personalized necklace, bracelet or earrings provides a sense of pride and accomplishment.
This guide will walk through everything needed to start crafting beautiful, professional-looking necklaces with handmade polymer clay beads. Discover the joy of making and wearing your own clay bead jewelry!
Benefits of Clay Beads
Clay beads offer many advantages over other materials for jewelry making. As a natural material, clay is an eco-friendly choice. Polymer clay in particular does not contain any harmful chemicals and is oven-baked rather than fired in a kiln, making it easy to work with at home (Sarahmaker.com, 2023).
The best benefit of clay beads is that they are completely customizable. You can shape the beads into any form and size you want. Clay beads can be sculpted, molded, or rolled by hand. The beads can then be painted, glazed, or textured as desired. This allows for endless creative possibilities when designing handmade jewelry (Abeautifulmess.com, 2024).
Finally, making clay beads is a fun and relaxing arts and crafts project. Working with clay is tactile and soothing. DIY clay beads allow you to handmake unique pieces of jewelry to wear or gift. The process of creating the beads and then stringing them into a necklace or bracelet is satisfying. Clay beads are perfect for crafters and hobbyists looking for an engaging creative outlet.
Types of Clay for Beads
There are several types of clay that can be used to make beads for necklaces and jewelry:
Polymer clay is one of the most popular choices for jewelry making. Brands like Sculpey and Fimo are designed to be lightweight and durable once baked. According to this article, Kato Polyclay is considered the strongest polymer clay and makes beads that will resist breaking over time.
Air-dry clays are convenient because they harden without baking. These clays contain self-hardening materials that cause them to set up and cure at room temperature. Air-dry clays like Crayola Model Magic are lightweight and easy to work with.
Modeling clays like plasticine and plumber’s putty are designed to be reshaped repeatedly. They stay soft and pliable indefinitely unless a hardener is added. These clays are fun for sculpting but aren’t suitable for durable jewelry.
Fire clays are made of natural earth materials that vitrify and become hard when fired at high temperatures in a kiln. They can produce very durable ceramic beads, but firing clay requires more specialized equipment.
Shaping and Baking Clay Beads
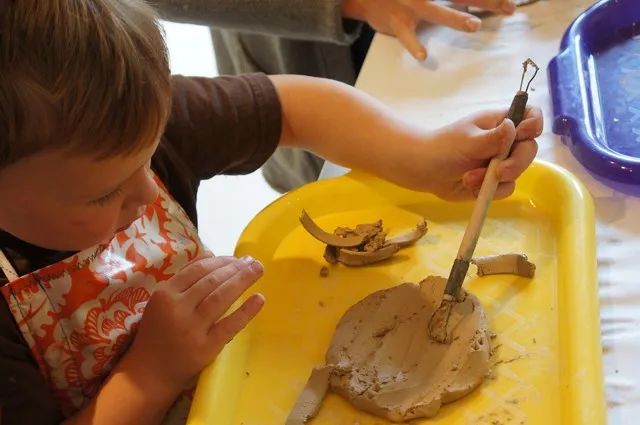
Once you have your clay conditioned and ready to use, you can shape it into beads using a variety of techniques like rolling, sculpting, or molding. According to WikiHow, one of the easiest ways to shape round beads is to roll small pieces of clay between your fingers until smooth and round. You can make the beads any size you want, from small seed beads to large focal beads. Sculpt clay freehand to make interesting organic shapes and textures.
Clay molds offer a simple way to mass produce consistent beads with designs. Press conditioned clay firmly into the mold cavities to pick up all the details, then slide a craft knife or skewer around the edges to release the clay. according to Sculpey.
No matter the shaping method, the most critical step is properly baking the clay beads. Clay must be cured at the temperature and time specified on the packaging, which is typically 275°F for 15 minutes per 6mm of thickness. Sculpey recommends baking beads on a ceramic tile or glass to prevent flattening. Suspending beads on a rack or wire allows even curing all around. Let beads cool completely before handling.
Adding Color and Texture
There are many ways to add color and texture to polymer clay beads to make them unique and interesting. Some popular techniques include:
Paints: Acrylic and oil-based paints can be used to hand paint clay beads. Allow paint to fully dry before baking. Paint pens also work well for adding details and designs.
Inks: Alcohol inks are a fun way to add vibrant color to baked polymer clay beads. Apply inks and let sit briefly, then wipe off excess for a stained look. Inks can also be mixed with acrylic mediums and used to color raw clay.
Powders: Applying powders like mica powder, eye shadow, chalk pastels, and cosmetic powders can add shimmering color. Brush powder on raw clay or use an acrylic binder when applying to baked clay. https://www.interweave.com/article/jewelry/watch-how-to-make-textured-polymer-clay-beads/
Imprinting: Pressing objects into raw clay can create interesting imprinted textures. Try lace, fabrics, leaves, sequins, etc. Baked clay can also be sanded or engraved to add texture.
Stringing and Finishing
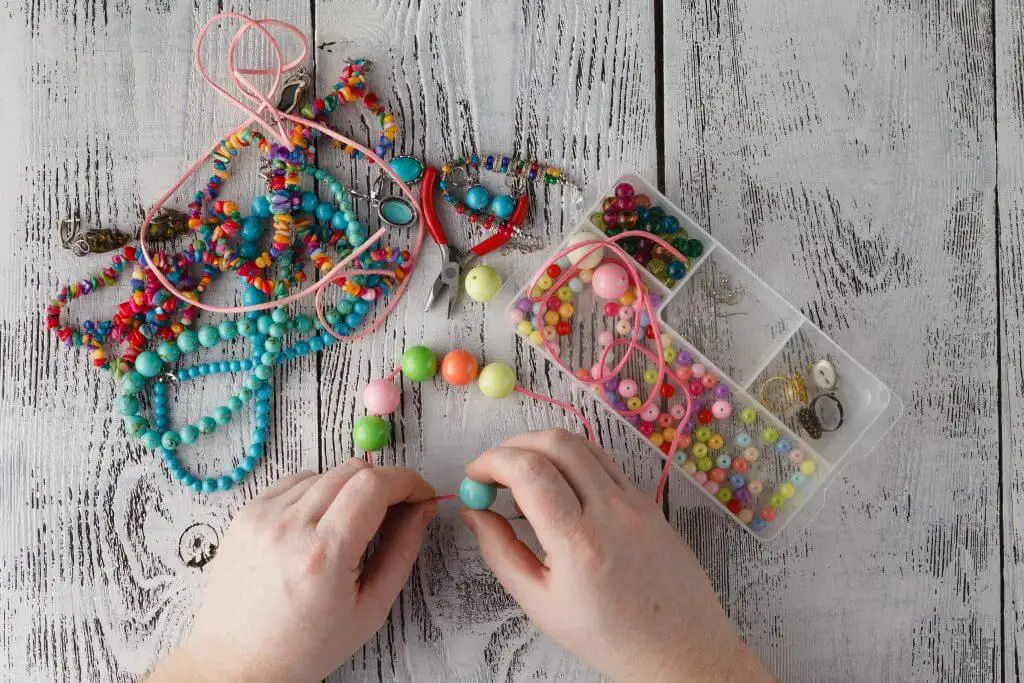
Stringing your clay beads and finishing them properly is an important step to create durable, long-lasting necklaces. There are a few considerations when selecting cord, wire, and clasps:
Cord
Nylon beading cord is a popular choice for stringing beads as it is strong, smooth, and inexpensive. However, nylon can stretch over time. For heavier beads, consider using braided beading thread, microfilament line, or soft flex beading wire. These have very little stretch and support extra weight well. Match the cord thickness to the bead holes so it can pass through smoothly.
Wire
Sterling silver and gold filled wire make beautiful findings for connecting and finishing clay bead necklaces. 22 or 24 gauge wire is commonly used. Choose wire coated in nylon or plastic for extra smoothness through the beads. Bend wire into custom clasps, hooks, and loops to finish your design.
Clasps
Clasps connect the ends of the necklace to allow for putting it on and taking it off. Options like lobster claw clasps, toggle clasps, magnetic clasps, and hook and eye clasps are easy to attach to beadwork. Make sure the size and style complements the design of the necklace.
Varnish
Applying a protective varnish as a finishing touch seals the clay beads to prevent color transfer when worn. Both gloss and matte varnishes work. Apply thin coats and let fully dry between applications for best results. Handled properly, varnished clay beads will maintain their beauty for many years.
Design Ideas
When making clay bead necklaces, the design possibilities are endless. You can create simple or elaborate designs using different shapes, sizes, and patterns of clay beads.
Some popular design ideas include:
- Chunky, organic beads in neutral tones for a boho or earthy look
- Tiny, colorful seed beads woven together for a playful, funky style
- Geometric shapes like cubes, rectangles, and triangles arranged in graphic patterns
- Mixed shapes and sizes like ovals, rounds, and rectangles for an eclectic, asymmetrical design
- Intricate beads with stamped or carved patterns for a unique, artisan-made look
You can also imprint letters, symbols, or designs into the clay using rubber stamps before baking for personalized beads. The options are limitless!
When planning your necklace, consider the color palette, size and shape of beads, and overall style you want to achieve. Sketching some initial ideas can help bring your vision to life.
With the wide range of clays and beads available, you can create one-of-a-kind clay bead necklaces to match any mood or outfit.
Advanced Techniques
Once you have mastered the basics of making clay beads, you can explore more advanced techniques to create unique and eye-catching designs. Here are some ideas for taking your clay beads to the next level:
Inlays
Inlaying involves pressing thin pieces of clay into the surface of a bead to create patterns and designs. You can cut custom shapes with clay cutters or use pre-made canes. Geometric patterns like lines, dots, and stars are common inlay designs. According to this Pinterest board, try alternating colors of clay for a striking effect.
Embedding Items
You can press small objects like beads, charms, seeds, and seashells into clay beads before baking to create interesting textures. Make sure any items you embed are heat-safe. According to this source, things like glass, metal, and ceramic work well, but avoid natural materials like wood or paper which may burn.
Mixed Media
Combining clay with other materials opens up lots of creative options. Try layering with fiber, fabric, ribbon, or tissue paper. Or embed wire to add flexibility and movement. You can also decorate baked clay beads by painting, glazing, or adding patinas. The possibilities are endless!
Troubleshooting
When making clay beads, there are a few common issues that can arise. Here are some troubleshooting tips for cracking, breakage, and fixing mistakes:
If your bead cracks or breaks while baking, don’t panic! According to the video “Don’t panic! What to do when your polymer clay bead cracks” https://www.youtube.com/watch?v=jgdCcHC8meA, small cracks can often be fixed by rubbing a little liquid polymer clay into the crack and rebaking. For larger breaks, consider gluing the pieces back together with a strong adhesive like E-6000.
To prevent cracking and breakage:
- Bake beads slowly, starting at a lower temperature like 225°F and slowly increasing to the recommended temp.
- Avoid making the beads too thick, which increases risk of cracking. Keep beads under 1/4 inch thick.
- Let beads cool completely before handling to prevent stress cracks.
If you make a mistake while shaping a bead, quickly knead it back into a ball before it cures and try again. You can also smooth over fingerprints, drag marks or imperfections by gently rubbing unfinished clay with your finger.
For advice on making perfectly smooth holes, check out the post “Polymer Clay Bead Holes” from The Blue Bottle Tree https://thebluebottletree.com/polymer-clay-bead-holes/. Proper hole placement and using a straw or needle tool can prevent distortion.
Don’t be afraid to experiment and make mistakes – that’s part of the fun and learning process with clay beads!
Conclusion
Making necklaces with clay beads is a fun and creative craft that anyone can enjoy. The process allows you to make unique pieces of jewelry out of simple materials. With just some clay, tools, string, and a few supplies, you can create beautiful necklaces with custom beads shaped however you like. Your imagination is the limit when it comes to the shapes, textures, and colors you can achieve.
After learning the basics, feel free to experiment and find new techniques that work for you. Try out different types of clay, unique shapes, and creative stringing methods. The more you practice, the more skilled you’ll become at crafting professional-looking clay bead necklaces. Wearing a piece of jewelry you made yourself provides a sense of accomplishment and personal style.
We hope this guide has inspired you to start making your own clay bead necklaces. Gather some supplies and get creating today. Make some jewelry for yourself or give your handmade pieces as heartfelt gifts. Your beautiful clay creations are sure to be treasured.

