Can You Mix Mason Stains With Water?
What Are Mason Stains?
Masonry stains are pigmented, penetrating liquid solutions used to permanently color the surface of masonry materials like concrete, brick, block, natural stone, stucco, and mortar. They work by soaking into the porous surface of masonry and depositing pigments, altering the surface appearance while allowing the material’s natural texture to show through.
There are two main types of masonry stains:
- Acid-based stains contain acids that react with minerals in the masonry to etch the surface and bind the pigments.
- Acrylic-based stains rely on acrylic polymers to carry and affix the pigment particles.
Masonry stains are commonly used for:
- Changing the color of existing masonry surfaces for aesthetic reasons.
- Correcting color inconsistencies between batches of masonry materials.
- Matching new construction to the color of existing masonry.
- Creating faux finishes like antiquing effects.
Sources:
https://prosoco.com/app/uploads/2020/11/PROSOCO-Guide-To-Common-Masonry-Stains-110620.pdf
Can You Mix Mason Stains With Water?
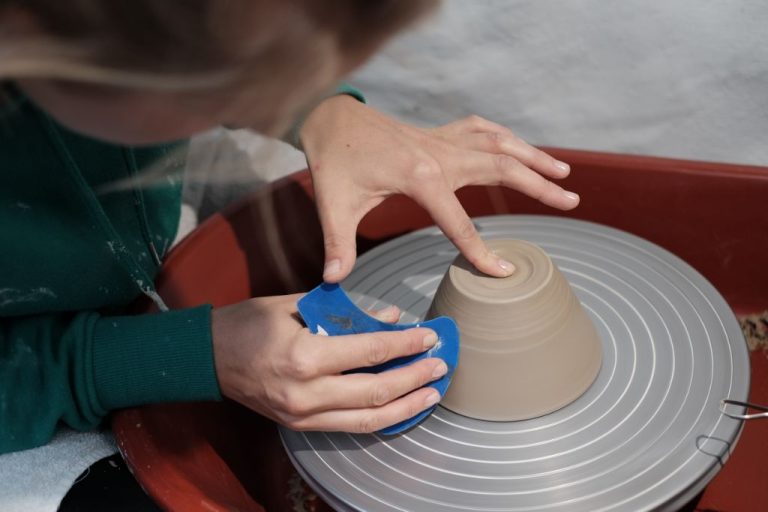
Yes, mason stains can and should be mixed with water before use. Mason stains are highly concentrated, so diluting them allows you to control the intensity of the color and achieve the desired effect.

The recommended starting dilution ratio when mixing mason stains with water is 1 part stain to 10 parts water, according to ceramic artist Chris Campbell (source). However, the exact ratio can vary depending on the color and desired intensity. Some general dilution guidelines:
- For light colors: 2-5% stain to water
- For medium colors: 8-10% stain to water
- For dark, saturated colors: 15% or more stain to water
When mixing, first add the water to your container. Then slowly sprinkle in the powdered stain, a little at a time, while continuously mixing. Mix until the stain is fully dissolved without any lumps. Let the mixture sit for 24 hours for full dispersion before use. Always label your stain mixtures with the name and dilution ratio.
Properly diluting mason stains allows you to stretch your supply, achieve the right color saturation, and avoid overstaining your clay work.
Choosing the Right Dilution Ratio
The ideal dilution ratio for masonry stains depends on several factors:
Surface material – Concrete, brick, natural stone, etc. will require different ratios. Concrete typically uses a 1:1 ratio. Natural stone uses a weaker 3:1 or 4:1 ratio (https://www.kemiko.com/resources/faqs/acid-stain/).
Desired color depth – Higher concentrations produce darker colors. A 1:1 ratio creates deep, vivid tones. Weaker mixes yield lighter antiquing.
Number of coats – Multiple thin coats allow better color control than a single thick application. Two coats at a 1:1 ratio are common.
Recommended starting ratios are typically 1:1 for concrete, 3:1 for natural stone, and 4:1 for pavers or porous bricks (https://concreteresurrection.com/water-reducible-concentrated-wrc-concrete-stain-sangria-32oz/). It’s best to start with a small test batch to gauge color results before staining the entire surface.
Mixing Procedures
When mixing mason stains with water, it’s important to follow the proper procedures to ensure even dispersion and coloring. Here are the key steps:
1. Measure out the desired amount of mason stain powder. Generally you’ll want to use 1-10% of the dry weight of your clay body, depending on the intensity of color desired. Refer to manufacturer guidelines for specific recommendations.
2. In a separate container, measure out enough clean water to create a creamy liquid when blended with the stain. A good starting ratio is approximately 1 part water to 2 parts stain.
3. Add the water and mason stain together in a plastic bag or jar and seal tightly. Shake vigorously or use a mixer to blend the two together until smooth and uniform in consistency.
4. If mixing by hand, continue shaking/stirring for 5-10 minutes to guarantee the mason stain is fully dispersed in the water. Using a mixer provides greater efficiency in blending.
5. Once completely mixed, the mason stain wash is ready to be added to dry clay body ingredients or directly to moist clay. Mix in thoroughly until the desired color is achieved.
Proper mixing helps prevent uneven splotches or streaks of color in the final clay. Take your time to make sure the mason stain and water are fully incorporated before application.
Source: http://www.ccpottery.com/colored-clay-lessons–chris/how-to-color-clay-with.html
Application Methods
There are two main techniques for applying diluted masonry stain to concrete: brushing and spraying. Brushing allows for more control and is recommended if staining a small area. Use a high-quality nylon or polyester brush, applying the stain in smooth, even strokes. Overlap strokes to avoid streaks and make sure the entire surface is coated.
For staining large areas, most experts recommend using a low-pressure pump sprayer with an adjustable nozzle or cone tip. This allows the diluted stain to be applied in an even, fine mist. Spray in overlapping bands, working from one end to the other. Maintain a consistent spray pattern and distance from the concrete to achieve uniform coverage. Be sure to back-brush any puddles or drips.
Regardless of technique, applying the diluted stain in thin coats is key for proper absorption and an even appearance. Allow each coat to fully dry before applying the next. Multiple thin coats enable the concrete to gradually take on the desired color intensity. Proper preparation like cleaning and etching the concrete will also improve stain penetration and coverage.
For specific application advice, refer to the manufacturer’s instructions for the masonry stain product used. With the right dilution ratio, technique, and patience, beautiful stained concrete is achievable.
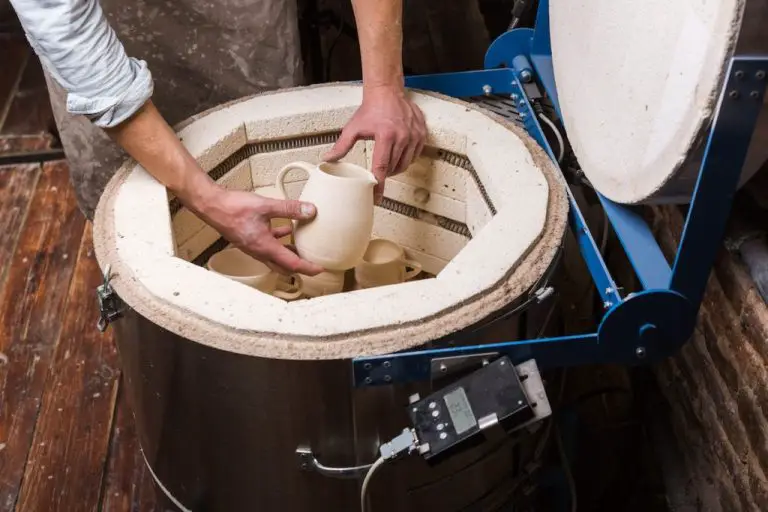
Curing and Sealing
Allowing proper cure time before sealing stained masonry is crucial for achieving optimal results. Masonry stains need adequate time to fully saturate and react with the substrate. Most masonry stains require a minimum of 24 hours drying time before sealing, according to Concrete Network, with some brands recommending up to 72 hours of cure time (www.concretenetwork.com). Rushing to seal too soon can lead to issues like trapped moisture, poor adhesion, and improper curing of the stain.
Applying a quality sealer is highly recommended after staining masonry surfaces. Sealers provide numerous benefits like enhancing color vibrancy, protecting against UV fading, and creating a barrier against damage from traffic, spills, and weathering. According to Home Depot, acrylic and urethane-based sealers are commonly used for stained masonry projects as they offer the best penetration and protection (www.homedepot.com). Be sure to follow the product manufacturer’s instructions for proper application timing and techniques when sealing stained masonry.
Achieving the Desired Color
One of the key steps when staining masonry is achieving the exact desired color. Here are some tips for getting the color right:
Test batches first on an inconspicuous area before staining the entire surface. This allows you to preview the stained look and color. Adjust the dilution ratio as needed to alter the color intensity. More concentrated stain results in a deeper, darker color. According to The Best Brick Stain Colors For Exteriors and Interiors, sample test batches are essential for color consistency.
The dilution ratio can significantly affect the final color. Start with the manufacturer’s recommended ratio, then adjust if needed. Using less water makes the color more opaque, while more water creates a lighter, more translucent stain. Take notes on the ratios tested so you can replicate the desired color.
Aim for color consistency, but understand variations can occur due to the nature of masonry. Factors like porosity, texture, and composition of the masonry can alter how the stain penetrates. Touch up spots as needed for an even appearance, and don’t expect a uniform paint-like look according to How To Choose the Right Brick Stain Colors for Your Home. The natural variation is part of the charm of stained masonry.
Cleaning Up
After staining is complete, it’s important to properly clean up by disposing of any remaining diluted masonry stain. Leftover stain should not be poured down drains or allowed to soak into the ground, as it can be harmful to plants and aquatic life. According to the Home Depot, excess masonry stain should be poured into an empty paint can and allowed to dry before disposing of it with your regular household trash.
It’s also crucial to thoroughly clean any equipment used to apply the masonry stain. Brushes, sprayers, and rollers should be rinsed right after use with warm water and a mild detergent. Allowing masonry stain to dry on application equipment can make it very difficult to remove later. You may need to use a brush cleaner or mineral spirits for dried-on stain. Proper cleaning of equipment after staining will allow the gear to be safely reused on future projects.
Safety Tips
When working with mason stains, it’s important to take the proper safety precautions. Here are some tips for safely mixing and applying mason stains:
Use proper protective gear like gloves, goggles, and a mask or respirator. According to TeXcote’s SDS for Rainstopper masonry stain, you should “wear protective clothing, gloves, eye, and face protection.” This helps prevent accidental contact or inhalation.
Avoid contact with eyes and skin. Quikrete recommends to “ensure good ventilation/exhaustion at the workplace” to minimize exposure. Immediately wash any contact area with water.
Work in a well-ventilated area, preferably outdoors. ConcreteStained.com suggests staining “only in areas that are well ventilated.” When working indoors, use fans or open windows and doors.
Take extra precautions when mixing the stain, as the dust can be irritating. Slowly add powder to water while stirring to avoid causing dust to become airborne.
Carefully read and follow all safety instructions provided with the specific masonry stain product. Don’t use stain if you have safety concerns.
FAQs
Masonry stains are commonly used to change the color of concrete, brick, block, and stone surfaces. Here are answers to some frequently asked questions about mixing and using masonry stains:
Can you mix masonry stain with water?
Yes, masonry stains are typically mixed with water to dilute them before application according to the manufacturer’s instructions. The mixing ratio depends on the type of masonry stain and the desired transparency. Always do a test area first to ensure proper dilution and color.
What is the best dilution ratio?
Most masonry stain manufacturers recommend starting with a 1:1 or 2:1 ratio of stain to water. Adjust the ratio based on the depth of color desired. More water creates a lighter, more translucent stain. Less water results in a more opaque, solid color.
Should you use hot or cold water?
Use room temperature or lukewarm water, as very cold or very hot water can affect how the stain mixes and adheres. Let your diluted stain sit for 5-10 minutes before use so the ingredients fully incorporate.
How long does it take masonry stain to cure?
Curing time depends on the specific product used, but is generally 24-48 hours before the stain is water-resistant. Avoid spraying with water or applying any sealers during this period. Wait 3-7 days for full cure before sealing or exposure to heavy moisture.
Is sealing required after staining?
Sealing after full cure is highly recommended to protect the stain and enhance longevity. Use a compatible sealer recommended by the stain manufacturer.
Can you apply multiple coats of masonry stain?
Yes, applying multiple diluted coats allows you to slowly build up the color intensity. Wait at least 24 hours between coats. Too many coats without enough cure time can lead to the stain peeling or flaking off.