Can You Paint Bisque Fired Clay?
What is Bisque?
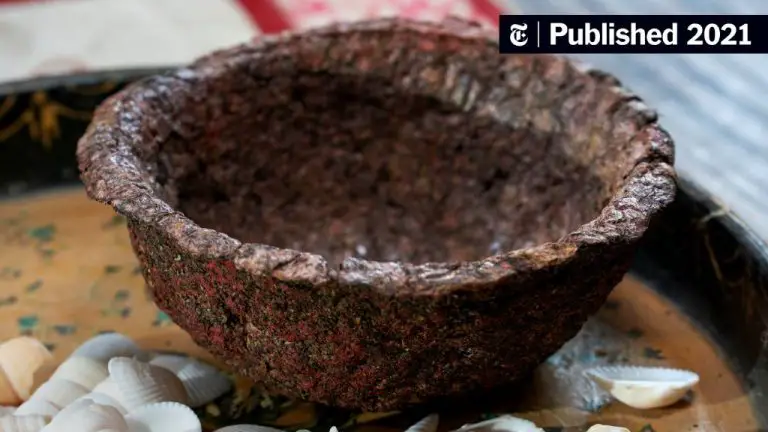
Bisque refers to an unglazed ceramic piece that has been fired at a relatively low temperature. This initial firing hardens the clay body and makes the piece less porous and absorbent to prepare it for glazing and additional firings. According to Oxford Clay, bisque firing typically occurs between 1000-1100°C for earthenware clays and 1060-1200°C for stoneware clays.
In comparison, glazed pottery refers to ceramic pieces that have had a glass-like coating applied and have undergone a higher temperature glaze firing. Glaze firing bonds the glaze to the clay body to create a smooth, non-porous surface. According to The Pottery Wheel, glaze firings occur between 1180-1300°C for stoneware clays. The key difference is that bisqueware is unglazed and fired at a lower temperature while glazed pottery has a vitreous coating and is fired at a higher temperature.
Is Bisque Porous?
Yes, bisque is porous. This means it has small holes and absorbs moisture (1). The porosity of bisque is what allows it to readily accept paint. When paint is applied to bisque, the porous surface acts like a sponge and allows the paint to soak in (2). This gives painted bisque ware a durable finish.
The porous nature of bisque is important when preparing it for painting. Because it absorbs moisture, bisque should be wiped clean before painting to remove any dust or residue. Proper preparation creates a smooth painting surface and allows the paint to properly adhere.
In summary, the porosity of bisque makes it an ideal material for painting. The tiny pores in the clay body absorb paint, leading to a permanent, integrated finish. This property allows bisque to be transformed into a vibrant, durable artwork through painting.
Types of Paint for Bisque
There are three main types of paint that can be used to decorate bisque fired clay: acrylic, oil-based, and enamel.
Acrylic paint is one of the most common and versatile paints for bisque. According to Ceramic Art Space, acrylics adhere well to the porous clay surface and dry quickly. Acrylics can be thinned with water for a transparent effect or built up in layers for opaque coverage. They allow blending and detailing work. Once sealed with a finish like varnish, acrylic paints are durable and dishwasher safe on bisque.
Oil-based paints like artist oils and alkyds are also an option for bisque. According to Art in Context, oil paints bond well to bisque due to their longer drying time allowing penetration into the clay. The longer drying time allows more time for blending as well. Oil paints produce rich, vibrant colors. However, they require sealing with a water-resistant finish.
Finally, enamel paints formulated for ceramics can be used on bisque. Enamel paints contain finely ground pigments suspended in a glassy base to produce a smooth, durable finish. Multiple thin layers of enamel paint are recommended to prevent cracking or chipping. Enamels require high heat firing after painting to fuse the glass finish.
Preparing the Bisque
Properly preparing the bisque is an essential first step before painting. The bisque needs to be cleaned thoroughly to remove any dust, oils, or debris from the bisque manufacturing process. It’s recommended to wash the bisque under warm water with a mild detergent using a soft brush or cloth to gently scrub the entire surface (source). Be sure to rinse completely and allow to fully dry.
The bisque should also be lightly sanded to remove any loose particles and create a slightly roughened surface for the paint to adhere to. Use a fine grit sandpaper (220 grit or higher) and sand in a circular motion, being careful not to create scratches. Focus on sanding any obvious imperfections. Wipe away all sanding dust with a dry cloth (source). The bisque is now ready for painting once properly cleaned and sanded.
Base Coating
The purpose of applying a base coat to bisque is to provide an even, uniform surface for the paint colors to adhere to. Using a base coat helps prevent the paint from absorbing unevenly into the porous clay body, which can lead to blotchiness in the finished piece. A base coat also allows the true colors of the paints to come through vividly. Some common options for base coats on bisque include:
Opaque stains – These oil- or water-based stains completely cover the bisque and provide a canvas-like surface for painting. Popular brands like Mayco Stroke & Coat and Duncan E-Z Strokes work well. Multiple coats may be needed for full opacity.
Translucent stains – Rather than fully obscuring the bisque, these stains enhance its natural color and patterns. They still provide a good bonding surface for paints. Amaco Velvet Underglazes and Spectrum’s Translucent Stains fall into this category.
Lusters or metallic paints – A metallic shimmery base coat like luster accents the subject matter and refracts light beautifully. You can also mix lusters directly into paints and glazes.
Clear glazes – These allow paints to properly adhere while retaining the bisque’s original look and feel. Duncan’s Clear Glaze and Amaco’s Clear Brushing Glaze are commonly used.
The number of coats and type of base coating depends on the desired effect. Following the manufacturer’s instructions ensures proper application. Many artists experiment with combining approaches too.1
Painting Techniques
There are various painting techniques that can be used to decorate bisque ware. Popular techniques include using different types of brushes, sponging, and stenciling.
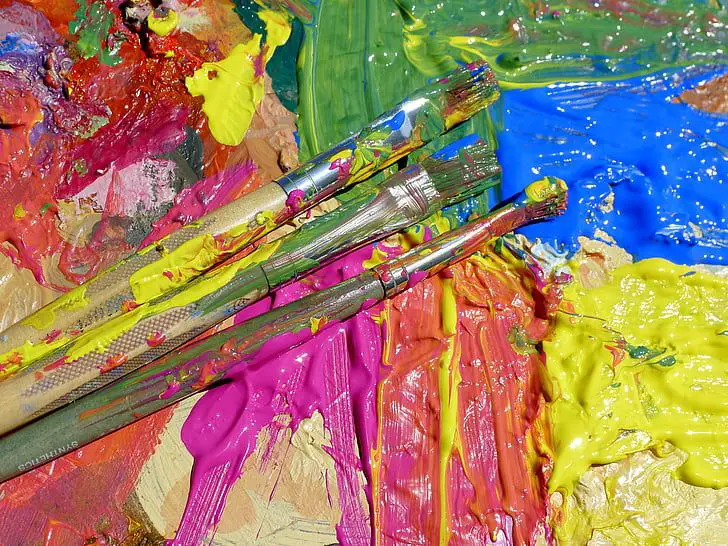
Brushes
Brushes allow for precise strokes and details. Round brushes in varying sizes are commonly used. Larger brushes work well for base coating while smaller brushes allow for details and outlines. Brush quality is important, look for brushes specifically made for ceramic painting. Proper brush care will extend the life of your brushes.
Sponging
Sponging bisque with paint creates interesting mottled textures. Cut common household sponges into different shapes and sizes. Apply paint to the sponge and dab onto the bisque. Layer colors and rotate sponge placement to build up the look you want. Sponging works great for background techniques. See more bisque sponging ideas at https://www.pinterest.com/toboldlygogh/bisque-painting-techniques/
Stenciling
Stencils allow you to recreate repetitive designs with ease. Place the stencil over the bisque and apply paint over it with a brush or sponge. Build up layers of different colors to make the design pop. Look for stencils specifically for ceramic painting that are durable and reusable. Create your own stencils by cutting shapes out of cardstock. The possibilities are endless with stencil designs!
Sealing the Paint
Sealing the paint on bisqueware serves several important purposes. First, it protects the painted design from scratching or wear during handling. It also helps prevent any color bleed if the bisque comes into contact with moisture. Finally, sealing provides an even finish and can enhance the vibrancy of the paint colors.
There are a few common options for sealing painted bisque:
- Acrylic spray sealants – These are widely available and easy to apply. They dry quickly with a matte finish. According to one redditor, “Krylon clear spray works wonders and you can choose gloss or matte finish.” [1]
- Polyurethane – This provides a glossy finish and excellent protection. It’s best applied in thin layers to prevent drips.
- Epoxy resin – Offers a thick, glass-like coating for a dramatic finish. Two-part epoxy must be precisely mixed.
Test sealants on a bare bisque tile first, as some may react with certain paints. Allow sufficient drying time between coats. With proper sealing, painted bisqueware will remain beautiful for years to come.
Firing Painted Bisque
Properly firing painted bisqueware is essential for sealing in the paint and making it food safe. The most common bisque firing temperature is cone 04 which equates to 1945°F or 1063°C (Source). However, the specific temperature depends on the type of clay used. For example, stoneware clay requires a higher cone 06 bisque firing. The key is to fire to the manufacturer’s recommended bisque temperature for the clay body.
A typical firing schedule for cone 04 painted bisque includes:
- Raising the temperature at 200°F per hour up to 1000°F
- Then slowing the rate to 100°F per hour until 1675°F
- Holding at 1675°F for 10-15 minutes to burn off organics
- Increasing to 150°F per hour until 1945°F and soaking for 15-20 minutes
- Then turning off the kiln and allowing a natural cool down of at least 8 hours
It’s critical to bring the kiln up to temperature slowly to prevent the paint from blowing off the bisque. Quick temperature spikes can cause pinholes in the paint or make it bubble and peel. A proper bisque firing melts the paint onto the clay body for a durable finish.
Tips and Tricks
Painting bisque can be easy and fun with the right techniques. Here are some tips for handling bisque, avoiding common mistakes, and troubleshooting problems:
Handling Tips
Always handle bisque pieces gently, as they can chip or break easily. Use both hands and avoid knocking pieces together. For small pieces, painting while holding them can lead to smudges. Consider setting the bisque on a holder or surface while painting.
Common Mistakes
Applying paint too thickly can lead to cracking or peeling. Paint in thin, even layers allowing each coat to fully dry before adding another. Using too much water to thin acrylics can make colors pale or transparent. Don’t flood the piece.
Skipping the sealing stage can allow paint to rub or wash off. Always seal acrylic paint on bisque. Washing before paint is fully cured can also cause chipping or fading. Allow several days of curing before washing.
Troubleshooting
If paint rubs off, re-seal the piece with a spray acrylic sealer once the paint has fully cured. For pinholes or thin spots in paint coverage, use a small brush to touch up those areas. Let touch ups fully dry before sealing.
If paint is not adhering well, the bisque may not be properly cleaned. Gently scrub with soap and water, rinse, and let dry fully before trying to paint again.
Inspiration
Once you’ve learned the basics of painting bisque, it’s time to get creative. Here are some inspiring examples of painted bisque to spark your imagination:
Bright, colorful flowers: Paint vibrant pinks, purples, oranges on platters or mugs. Outline each petal and use dots to create a magical, mosaic effect.
Underwater scenes: Use different shades of blues and greens to create beautiful underwater worlds on tiles, plates or figurines. Add details like fish, coral and sea plants.
Woodland creatures: Paint sweet forest animals like deer, foxes, owls on egg cups or figurines. Use warm earth tones and don’t be afraid to add fun polka dots.
Abstract patterns: Start with a plain white base and add geometric designs in black and metallic gold. Try chevrons, polka dots, zig zags for a modern look.
Lacy designs: Use a very fine paintbrush to hand paint delicate floral designs. Outline in black and fill in with soft pastels for a vintage vibe.
The possibilities are endless when painting on bisque. Let your creativity run wild! Try out different color combinations, themes, and painting techniques for one-of-a-kind creations.