Can You Use Cookie Cutters On Clay?
Clay Crafts Get Creative With Cookie Cutters
Cookie cutters aren’t just for baking anymore. Using cookie cutters to cut shapes and designs out of modeling clay has become an increasingly popular DIY craft activity. Crafters of all ages are discovering the fun and creative potential of pressing cookie cutter shapes into soft clay. Young kids especially enjoy using the familiar cookies, flowers, stars and hearts shapes they know from baking to create their own clay masterpieces. But a common question arises – can you actually use cookie cutters intended for dough on clay? We’ll take a closer look at whether cookie cutters really work for clay crafting.
What Are Cookie Cutters?
Cookie cutters are small tools used to cut out standardized shapes from dough or other soft materials. They typically consist of a thin, sharp-edged outline made of stainless steel, aluminum, plastic, or copper. The iconic shape of a cookie cutter is a circle with a handle across the top, but they come in a wide variety of fun shapes like stars, hearts, animals, letters, numbers, and more.
Standard cookie cutter sizes range from 1-4 inches across. Small cutters in the 1-2 inch range are common for baking cookies. Larger 3-4 inch sizes work well for cutting shapes out of play dough. Mini cookie cutters under 1 inch are also available for delicate work.
The most popular cookie cutter shapes are simple circles, squares, triangles, rectangles, and Christmas-themed designs. But you can find cutters in almost any shape imaginable from moons, suns, and flowers to guitars, dinosaurs, and unicorns.
Using Cookie Cutters with Clay
Using cookie cutters with clay offers several benefits but also comes with some potential drawbacks to be aware of. On the plus side, cookie cutters provide a quick and easy way to cut out uniform clay shapes. The cookie cutter produces clean edges and precise forms, perfect for making reproducible shapes like beads, charms, earrings, ornament shapes, and more. Cookie cutters come in tons of fun themes and designs, allowing you to cut out detailed shapes like animals, flowers, letters, and numbers.
However, there are some cons to using cookie cutters with clay. The biggest issue is that cookie cutters can get stuck in the clay, making it hard to remove the shape. Clay also has a tendency to warp or slump, which can result in deformed shapes after cutting. Using lots of pressure to cut the clay can distort the shapes. Additionally, intricate cookie cutter designs may not hold their detail when cutting soft clay.
Here are some tips for best results when using cookie cutters with clay:
- Work with clay that is firm but still pliable. Clay that is too soft will slump while clay that’s too firm may crumble.
- Avoid overworking the clay when rolling it out, as this can make it sticky.
- Lightly flour the cookie cutter before each cut to prevent sticking.
- Don’t force the cookie cutter through the clay. Apply firm, even pressure straight down as you cut.
- Cut shapes in one motion without twisting the cutter.
- Refrigerate cut shapes for 10-15 minutes before baking to set the form.
With careful preparation and technique, you can successfully use cookie cutters to make clean cuts in polymer clay. Just be patient, work with well-conditioned clay, and avoid intricate shapes that may distort. The result will be uniform shapes with crisp edges, perfect for all kinds of clay craft projects.
Preparing the Clay
Properly preparing the clay is one of the most important steps when using cookie cutters. The clay must be adequately softened and conditioned, or else it will be too firm for the cookie cutters to cleanly cut through. Here are some tips for preparing clay before using cookie cutters:
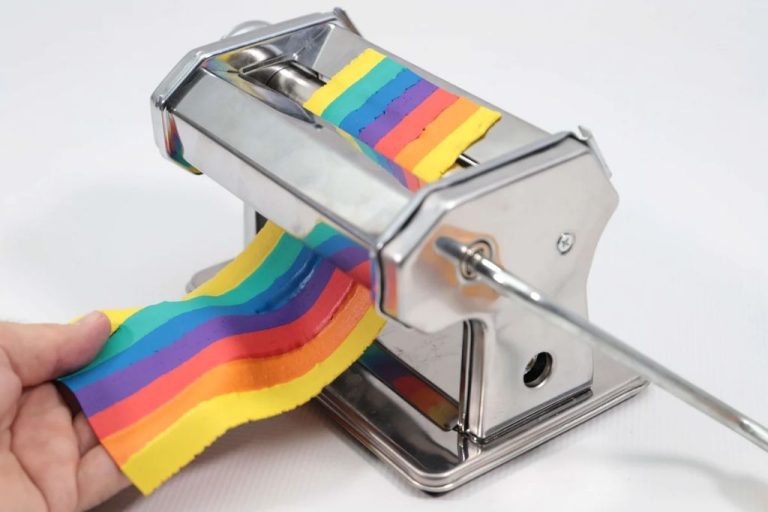
Start by conditioning the clay well. Knead it vigorously with your hands for several minutes until it becomes soft, smooth, and pliable. Conditioning mixes the clay and softens it by warming it up with friction. Pay special attention to any stiff or crumbly areas. The clay should bend and stretch without cracking. Well-conditioned clay will cut cleanly with cookie cutters.
Next, roll out the conditioned clay to an even thickness on a flat work surface using an acrylic roller or rolling pin. The clay should be rolled to approximately 1/4 to 1/2 inch thickness. Thicker clay may prevent the cookie cutters from cutting all the way through, while thinner clay can tear easily. Check that the clay isn’t sticking to the work surface and add sprinkle more flour or cornstarch if needed.
Working on a smooth, non-stick surface and rolling the clay to an appropriate thickness sets up the clay for success when using cookie cutters to cut shapes and designs.
Cutting the Clay
When using cookie cutters on clay, it’s important to apply an even, firm pressure so the shape cuts cleanly. Avoid wiggling the cutter back and forth aggressively, as this can distort the edges. Instead, try a gentle twisting or rocking motion as you press down. Lifting the cutter straight up will help keep the shape intact.
To prevent sticking, dust the cookie cutter with corn starch or talcum powder before each cut. Rotate the cutter a quarter turn between cuts to maximize the non-stick surface area. Work carefully and methodically when cutting out multiple shapes so they remain consistent.
Take care not to drag or twist the cutter as you lift it away, as this can warp the clay’s edges. If the shape does not release cleanly, continue applying firm downward pressure while gently wiggling the cutter side to side before lifting again. With practice and patience, you can cut perfect shapes every time.
Baking Considerations
When baking polymer clay creations made with cookie cutters, it’s important to follow the manufacturer’s instructions closely. Each brand of polymer clay has specific baking times and temperatures that must be adhered to in order to properly cure the clay.
Pay close attention to the recommended baking temperature, which is typically between 125°F and 275°F. Baking at too low of a temperature could result in undercured clay that remains sticky and soft. Too high of a temperature may burn or scorch the clay.
Refer to the packaging or manufacturer website for the exact time required as well. Thinner pieces will bake faster while thicker pieces require more time. Allowing the clay to bake for the full recommended time ensures proper curing throughout the entire creation.
Proper airflow is also key during baking. Avoid overcrowding pieces close together on the baking sheet. Leave at least 1 inch between pieces for air circulation. Only bake on one rack at a time in the oven as well. Good airflow prevents uneven baking.
By closely following the manufacturer’s instructions, polymer clay creations made with cookie cutters will bake up strong, durable, and able to last for years of enjoyment.
Troubleshooting Issues
Using cookie cutters on clay can sometimes lead to issues like sticking, misshapen cuts, or minor imperfections. Here are some tips for troubleshooting common problems:
Dealing with Sticking/Misshapen Cuts
If your cookie cutter is sticking to the clay and dragging it, try dusting the cutter with cornstarch or rubbing a tiny bit of cooking oil around the edges. You can also try chilling the clay for 10-15 minutes before cutting to firm it up. When cutting, press the cookie cutter straight down without wiggling it too much to get a clean imprint.
Fixing Minor Imperfections
If there are rough edges, cracks, or uneven surfaces on your cut clay pieces, you can easily smooth them out with your fingers, a craft knife, sandpaper, or a damp cloth. Let the clay firm up slightly before smoothing to avoid distorting the shape. Be gentle and work slowly to get the best results.
Cookie Cutter Alternatives
If you don’t have cookie cutters on hand, there are plenty of household items that can substitute. Here are some common items that work well for cutting clay shapes:
- The top of a soda or water bottle – trace around the cap for round shapes
- The rim of a glass, cup, or bowl
- Lids from containers – use the threads for fun patterned edges
- Straws or chopsticks for smaller shapes
- Jar lids, bottle caps, or coins
- Popsicle sticks, rulers, or playing cards to cut straight lines and geometric shapes
You can also sculpt shapes freehand without any tools. This takes practice, but allows for intricately shaped pieces. Here are some freehand sculpting techniques to try:
- Roll a ball of clay and use your fingers to indent and shape it into your desired form
- Roll out a flat slab of clay and cut shapes using a toothpick, skewer or letter opener
- Pinch off smaller pieces to sculpt detailed shapes like animals or figures
- Blend and smooth the clay with your fingers or a silicone sculpting tool
With some creativity, household objects and freehand sculpting allow you to craft clay into any shape without cookie cutters.
Fun Clay Cookie Cutter Projects
Cookie cutters can be used to create fun clay crafts beyond just simple shapes. Get creative with your cookie cutter clay projects by making:
Cute Jewelry Pendants
Make customized pendants by cutting small shapes out of clay with cookie cutters. Add an eye hook before baking so you can turn it into a necklace or pair of earrings when done. Heart, star, and flower shapes make for adorable polymer clay jewelry.
Ornament Shapes
Cookie cutters in holiday shapes like trees, snowflakes, and stockings are perfect for making homemade clay ornaments. Simply cut out the shapes, bake, and add a ribbon to hang on your Christmas tree or around the house.
Refrigerator Magnets
Flat shapes cut from clay work great as decorative yet functional fridge magnets. Let the kids make custom magnets from their favorite cookie cutter shapes. Bake the clay, then glue on a magnet back before displaying them on the refrigerator.
Conclusion
Using cookie cutters with clay can unlock a world of creative possibilities. The key points to remember are properly preparing the clay by kneading it and rolling it out to an even thickness. Make sure your cookie cutters are either metal, plastic, or wood to cleanly cut the clay without sticking. Chilling the clay and cutters can help get cleaner results too. Consider the size and thickness of your clay pieces when baking so they don’t crack. With some simple precautions, clay cookie cutters allow you to make charming clay shapes from dinosaurs to snowflakes. Cookie cutters and clay are a match made in creativity heaven.
Crafting with clay and cookie cutters exercises your imagination in fun new ways. The shapes and textures you can create are endless. Approach the project with patience and an openness to learn. Don’t be afraid to experiment and just enjoy the creative process. With practice, you’ll be amazed at the unique clay crafts you can shape and build using basic cookie cutters. So grab your favorite cookie cutter and a block of clay and let your inner artist play!

