How To Weave A Checkerboard Pattern Weaving For Beginners
Weaving a checkerboard pattern can add a pop of visual interest to any wall hanging, but the process might seem daunting if you’ve never tried it before. However, once you grasp the basic tabby weave technique, creating a checkerboard design becomes surprisingly easy. In fact, I was pleasantly surprised when I first attempted this project and found that it required minimal effort. With just a few simple steps, you can master the art of weaving a checkerboard pattern yourself.
1 Weave the first row with your first color

Begin by creating a traditional tabby weave pattern, selecting a yarn color that suits your taste. To start, bring the weft yarn across and then under successive warp threads, repeating this process until you reach the end of the initial row.
2 Weave the second row with your second color
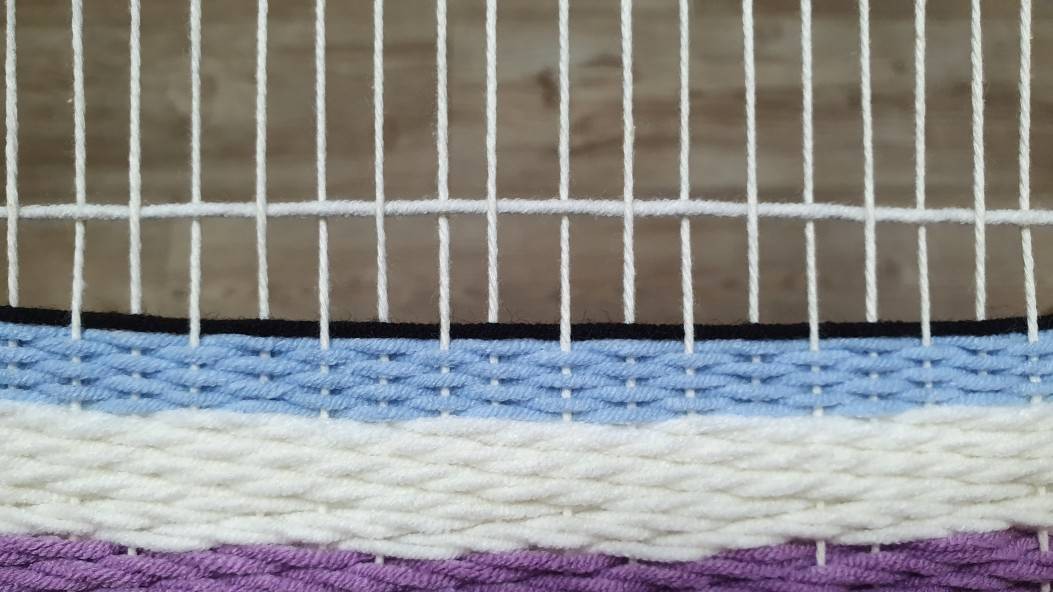
To build upon the foundation established in the initial row, it’s now time to employ the tabby weave once more. However, instead of repeating the same process, you’ll introduce a new dimension by utilizing a distinct weft yarn color and deliberately reversing the path taken with respect to the warp threads. This means that for each tabby weave stitch, you’ll pass your needle under the opposite set of warp threads compared to the original row.
3 Repeat steps 1 & 2
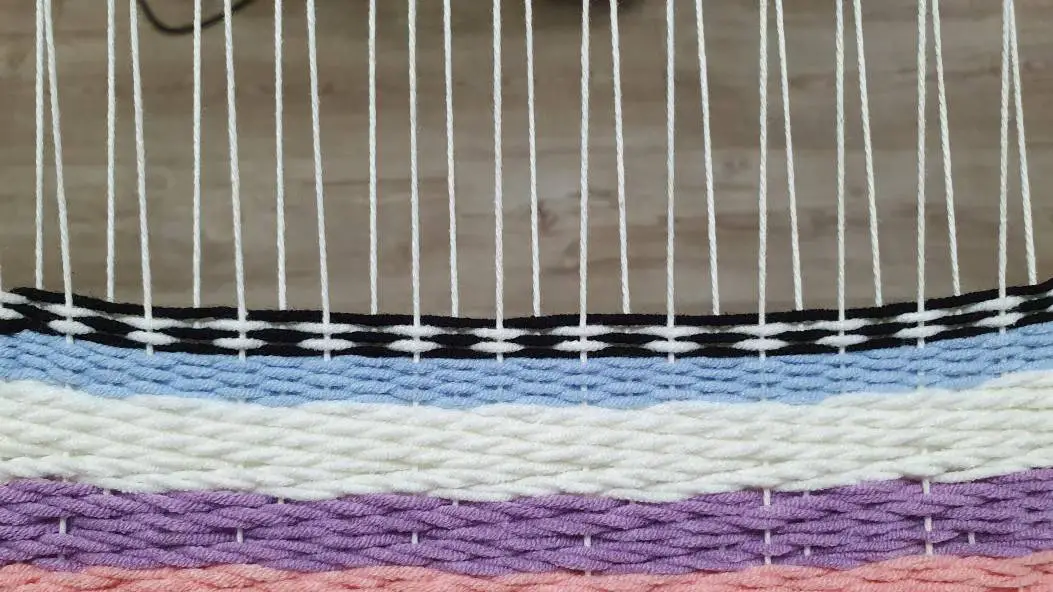
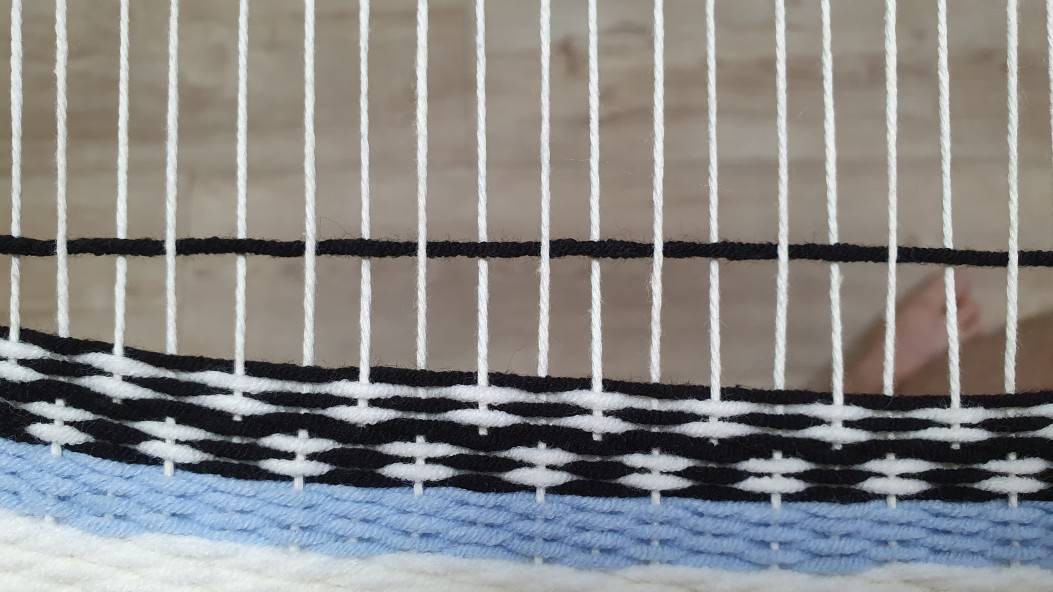
To achieve the desired pattern, it’s essential to carefully manipulate the weft yarn. When done correctly, you should start noticing small, square-shaped areas featuring alternating colors. This is because the tightly woven warp threads allow the weft to form distinct squares. If your warp thread density is exceptionally high, you may need to repeat this process a few more times to achieve the desired result. Alternatively, repeating these steps multiple times can yield vertical rectangles instead of squares, offering a unique visual effect.
4 Weave two more rows with your first color
To create a visually striking checkerboard pattern, you need to employ a specific technique that involves weaving two rows with the same color. This deliberate deviation from the traditional alternating pattern results in an offset effect that changes the color of the new squares. Imagine starting with a classic black-white-black sequence; by maintaining consecutive rows with the same color, you’ll transition into a white-black-white arrangement, giving your design a unique and intriguing visual appeal.
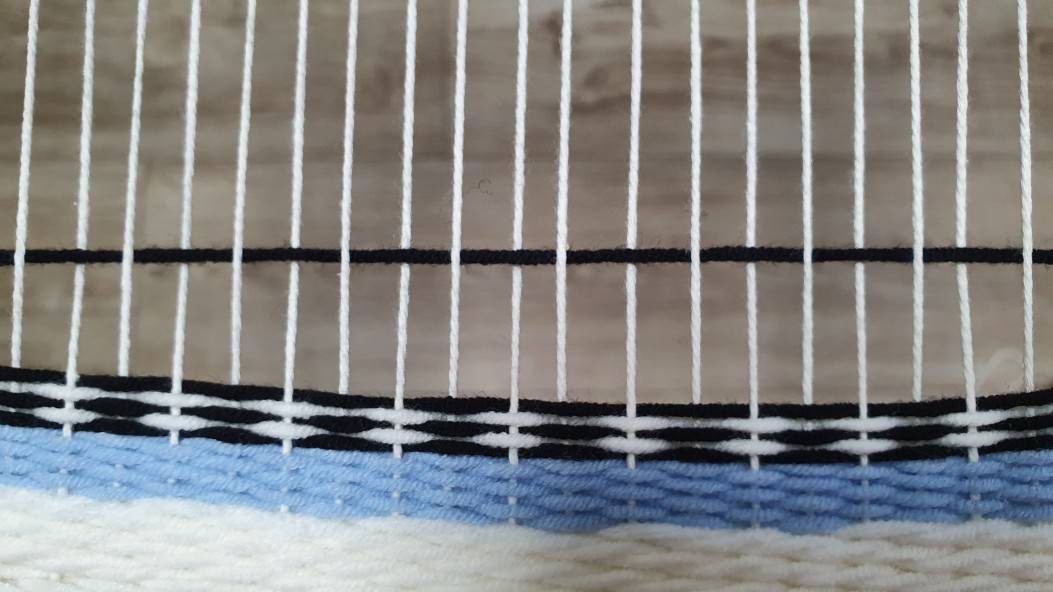
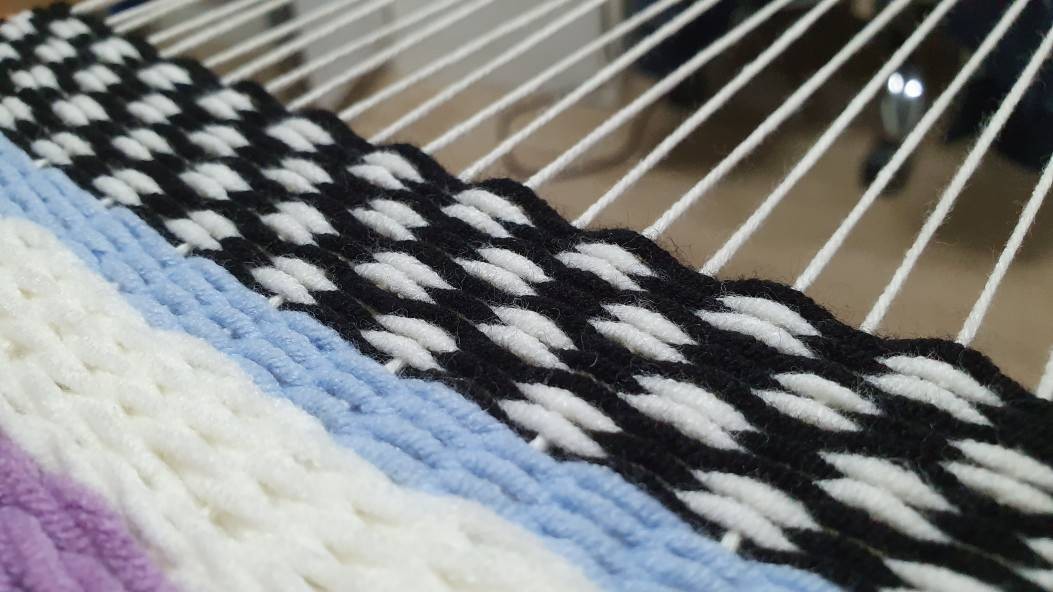
5 Alternate colors every row again
To reprise the chequered design, start by interweaving rows of alternating hues as before. Continue adding new layers until you’re satisfied that your squares have reached the desired size. Once you’ve achieved this, weave two consecutive rows featuring the same color to effect a color swap, thereby reviving the pattern’s distinctive checkered appearance.
6 Keep weaving

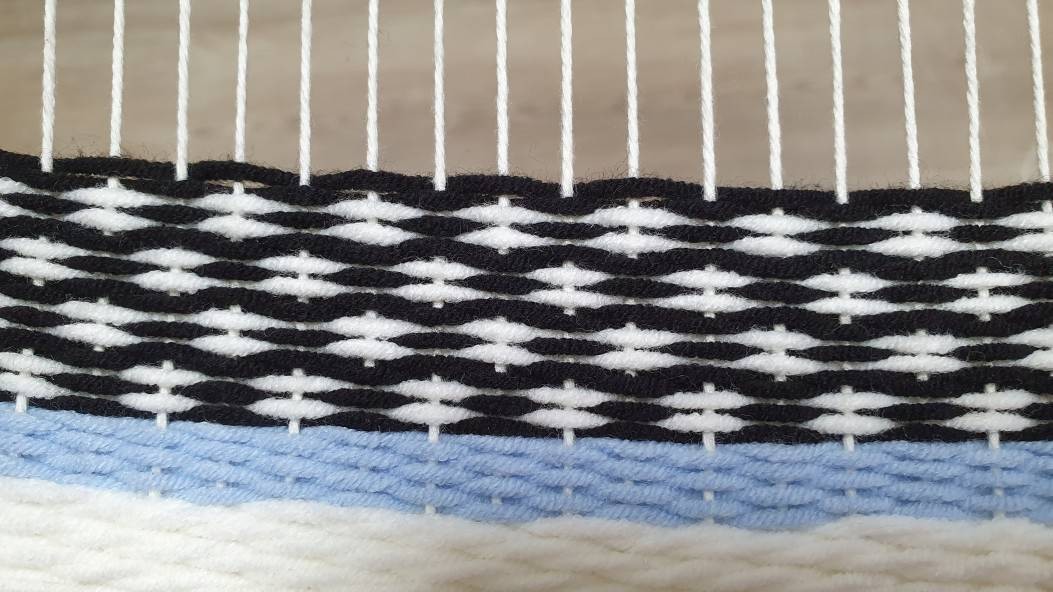
With the basic skills mastered, the possibilities are endless! You’re now equipped to create intricate checkerboard patterns that can be as long or as complex as you desire. We’d love to see what you come up with, so don’t hesitate to share your creations.