Clay 101: The Fundamentals Every Beginner Should Know
Clay is a type of fine-grained soil that has plasticity when wet, allowing it to be molded into shape. Clay has a long history as an art medium, dating back to ancient times. Evidence of clay pottery has been found from over 20,000 years ago [1]. Clay continued gaining popularity in ancient Egypt, Greece, and China as an essential material for making pottery, tiles, and bricks [2]. Today, clay remains a versatile and popular art medium due to its workability, affordability, and ability to be fired into permanent shapes and ceramics.
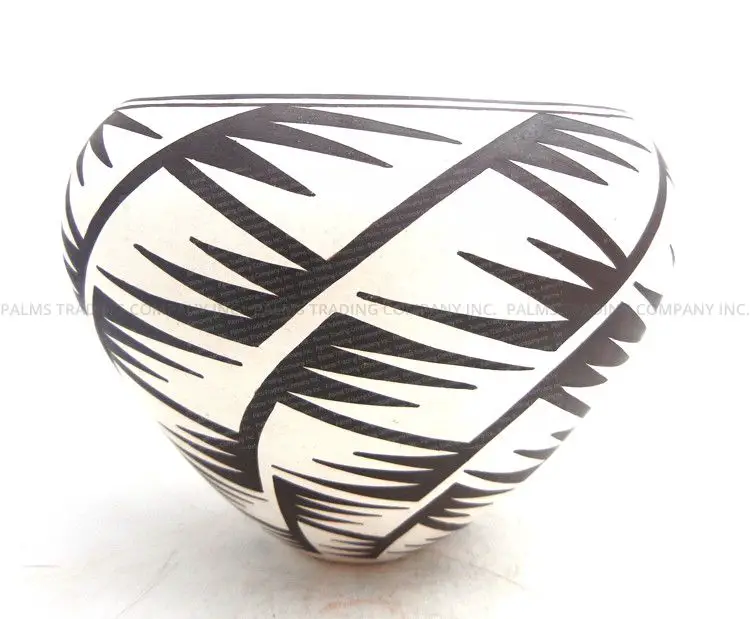
Clay is highly moldable when wet and can be shaped into endless forms and objects. When fired at high temperatures, clay undergoes physical and chemical changes, becoming permanently hard. This allows clay artworks to be functional as well as decorative. From pottery and sculpture to tiles and bricks, clay is an ancient yet timeless art material appreciated for its tactile nature and artistic possibilities.
Types of Clay
There are three main types of clay used for pottery and ceramics—earthenware, stoneware, and porcelain. Each type has distinct properties and characteristics.
Earthenware clay is the most common type of clay body and fires at lower temperatures between 1,800-2,100 degrees Fahrenheit. It has high plasticity and consists of high levels of iron and other impurities. Earthenware clay can only be used for items intended for decoration, not utilitarian ware intended for food usage, as it is porous after firing. Pros of earthenware clay are that it is easy to work with, economical, and rarely cracks or warps. Cons are that it is fragile with low strength, cannot hold liquid, and requires glazing. Common earthenware clays are terracotta and red stoneware.
Stoneware clay fires at higher temperatures between 2,100-2,300 degrees Fahrenheit. It is less porous than earthenware, allowing it to hold water. Stoneware clay has excellent workability and medium plasticity. Pros are good strength, lower porosity, and ability to withstand freezing temperatures. Cons are increased likelihood of warping or cracking. Stoneware clay is ideal for food-safe functional pottery and ceramic sculpture.
Porcelain clay fires at the highest temperatures between 2,300-2,500 degrees Fahrenheit and is highly non-porous and glass-like, making it ideal for tableware and art objects. It consists of kaolin clay and is white in color when fired. Pros of porcelain clay are high strength, hardness, and translucency. Cons are high shrinkage, brittle when thin, and difficulty achieving an even glaze color. Porcelain can only be used by experienced potters able to control the high firing temperatures.
Clay Tools
Having the right tools is essential for working with clay successfully. Here are some of the most important clay tools for beginners to have:
Pottery Wheel – The pottery wheel is used for throwing and shaping clay into cylindrical forms like bowls, vases, cups, and more. Pottery wheels allow you to center and raise the walls of clay pieces. Most wheels have variable speed settings and come in electric or kick wheel varieties source
Kiln – Kilns are used to fire clay and ceramics to harden and set them. Kilns heat pieces to extreme temperatures like 1800°F – 2300°F. There are various types of kilns like electric, gas, raku, and wood-fired kilns. Beginners often start with a small electric kiln. source
Trimming Tools – Trimming tools like loops, ribs, and metal scrapers are used when throwing on the wheel. They help shape, refine, and thin the walls of pottery pieces. Metal ribs create smooth surfaces while loop tools carve grooves and textures.
Modeling Tools – Modeling tools are for handbuilding and sculpting clay without a wheel. Paddles, ribs, loop tools, and wooden sticks help shape, blend, and sculpt clay. Specialty tools like dentistry tools, silicone tipped tools, and needle tools create details and textures.
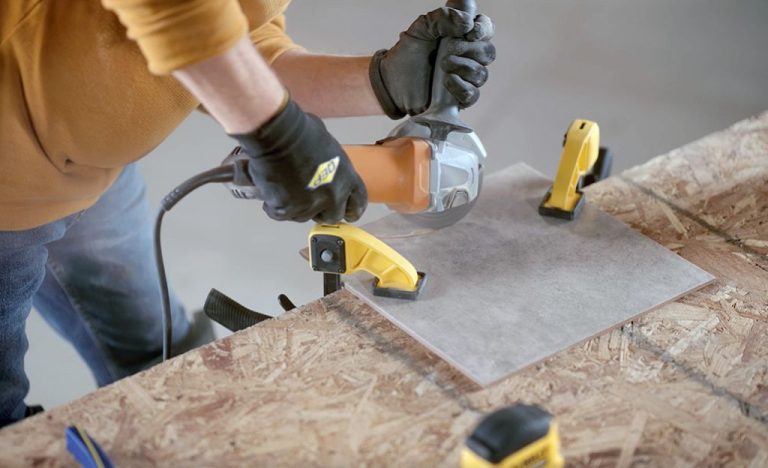
Cutting Tools – Tools like wires, wedges, and fettling knives cut and slice clay for smoothing surfaces, removing excess clay, and cutting slabs. A clay cutter wires slices clay uniformly.
Having a basic set of essential clay tools allows beginners to learn fundamental techniques like centering, throwing, trimming, handbuilding, sculpting, and finishing.
Clay Techniques
There are several main clay techniques that beginners should start with when working with clay. The top techniques to focus on as a beginner include:
Handbuilding
Handbuilding involves shaping clay without the use of a pottery wheel. Some common handbuilding techniques include:
- Pinch pots: Pinching clay into a basic pot shape using your fingers. This is one of the easiest techniques for beginners to start with (https://www.thecrucible.org/guides/ceramics/handbuilding/).
- Coil building: Rolling clay into ropes or coils then stacking them to build vessels or sculptures.
- Slab building: Rolling out flat sheets or slabs of clay that can be cut, shaped and joined together.
Handbuilding allows you to work at your own pace and create both functional and decorative clay pieces without needing a pottery wheel.
Wheel Throwing
Wheel throwing involves using a pottery wheel to shape clay into symmetrical forms like bowls, vases, cups, and plates. This technique takes practice to learn how to center the clay and control the spinning wheel. Beginners should start with small amounts of clay and simple shapes to get comfortable with the wheel.
Sculpting
Clay sculpting is shaping clay into artistic 3D forms like figurines, animals, abstract shapes, and reliefs. Sculpting uses a variety of handbuilding techniques like pinch pots, coils, and slabs to build up a sculpture. Beginners can start with small sculptural pieces to learn modeling techniques.
Molding
Molding involves pressing soft clay into a pre-made mold to pick up the reverse image. Beginners can buy simple plaster molds to experiment with moldingbowl shapes, tiles, and decorative pieces. This is an easy technique for reproducing the same shape multiple times.
Focus on these main techniques first to start understanding the versatility and potential of clay as a beginner. Be patient as you build skills through practice. Over time you will gain proficiency with clay and can try more advanced techniques.
Clay Safety
When working with clay, there are some important safety precautions to follow. Proper ventilation, cleaning, and storage of clay are essential to maintaining a safe working environment.
Clay dust can be hazardous if inhaled, so it’s critical to work in a well-ventilated area. Opening windows, using fans, or working outdoors can help improve airflow. Wearing a protective mask is also recommended, especially when mixing dry clay powder or sanding greenware.1
Frequently cleaning the studio space is vital. Sweeping can stir up clay dust, so wet mopping, using a wet/dry vacuum, or a vacuum with a HEPA filter is best. All work surfaces should be kept free of dried clay scraps. Proper clay recycling and disposal habits will also limit dust.
Clay storage is another area of concern. Premixed clays are ideal to avoid exposure to dry clay powders. Any clay powder should be stored in sealed containers in a separate room from the main workspace. Greenware and bisqueware should also be kept separate during storage and drying.2
Following basic studio hygiene and habits like washing hands after working, keeping long hair tied back, and wearing aprons can also improve safety. Taking precautions ensures clay remains an enjoyable, hazard-free medium.
Preparing Clay
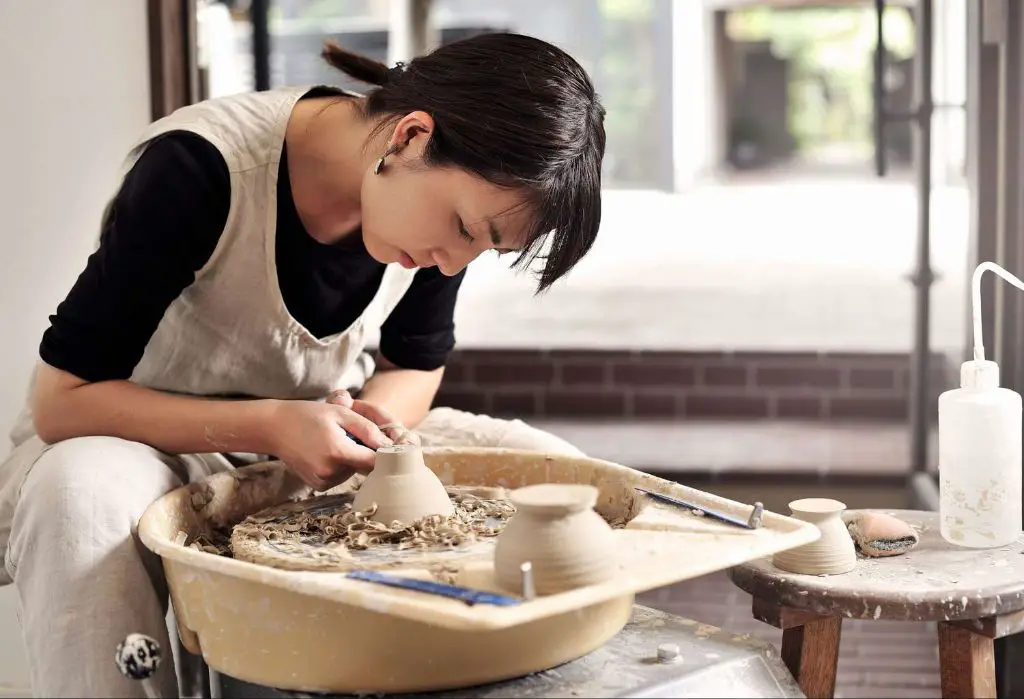
Before starting any clay project, it’s important to properly prepare the clay. Preparing the clay involves wedging or kneading it to achieve the ideal consistency. Clay that is too wet will be sticky and difficult to work with. Clay that is too dry can crack and break apart easier. The goal is to have smooth, elastic clay that holds its shape.
To prepare clay, start by cutting off a workable amount. Then, place the clay on a clean flat surface for wedging. To wedge, press down on the clay and push it away from you. Then roll it back toward yourself while continuing to apply pressure. This kneading action helps blend the moisture evenly throughout the clay and removes air bubbles. Continue wedging until the clay is smooth, uniform, and has the right consistency. It takes about 5-10 minutes to properly wedge moist clay.
Some clays can also be prepared using a pug mill machine. This device mixes and presses the clay into a uniform sheet or coil. However, hand wedging gives you more control over the consistency.
Once the clay is wedged, it’s ready to use for any project. Well-prepared clay will be easier to shape, hold finer details, and have less risk of cracking and breaking.
Source: How to Prepare Clay for Pottery
Clay Projects for Beginners
When you’re just starting out with clay, it’s best to begin with quick and simple projects to practice fundamental techniques. Here are some great starter projects for clay beginners:
Jewelry – Making beads, pendants and earrings are classic beginner clay projects. Use cookie cutters or clay tools to cut out simple shapes, then thread them onto wire or string to create jewelry. Let the clay air dry fully before wearing. Some good basic shapes to try are circles, squares, hearts and stars.
Magnets – Roll flat clay sheets and cut into interesting shapes like animals or geometric designs to make refrigerator or locker magnets. Make a hole before baking and add a magnet back after firing.
Mini bowls – Roll clay into balls, press into bowl shapes using your fingers and bake. Decorate with paints, glaze or leave plain. These can hold trinkets, jewelry, keys and more. Make a batch to give as gifts.
Mini animals – Use cookie cutters or sculpt clay into your favorite animals. Add details like eyes. Let air dry fully then give to kids as toys.
Decorative tiles – Roll flat sheets and use clay tools to imprint patterns, letters or shapes. Use as coasters, trivets for hot pans, wall decor or frame in a picture box.
Keychains – Make your own fun custom keychains by forming simple clay shapes like hearts, stars or animals and adding a key ring before baking.
With basic beginner projects like these, you can get comfortable using clay and be creative making fun decorative or functional items to keep or give as gifts.
Troubleshooting Issues
As a beginner, you’ll likely run into some common issues when working with clay. Here are some of the most frequent problems and how to avoid or fix them:
Centering Problems
If your clay is going off-center when you open it on the potter’s wheel, it likely means you didn’t center it properly. Make sure to firmly press the clay into a cone shape before opening. Apply even, steady pressure with both hands as you open the clay. It takes practice to perfect the centering technique!
Check out this video on how to center clay properly.
Cracking
There are a few reasons clay may crack during drying or firing:
- Letting it dry too quickly – cover pieces with plastic wrap or damp cloths to slow drying
- Dramatic temperature changes – avoid large fluctuations in temperature
- Improper clay thickness – very thin areas are prone to cracking
For minor cracks, you can try filling them with watered down clay slip. For pieces that crack extensively, they may be unsalvageable.
Breakage
Clay is fragile in its wet and unfired states. To prevent broken projects:
- Handle pieces gently while soft and leather-hard
- Let pieces dry thoroughly before moving them
- Fire properly to full hardness before glazing
- Transport ware carefully to prevent shocks/bumps
You can repair small breaks with slip or scoring and joining broken edges. But large cracks may mean starting over.
Patience and care will prevent many broken disasters! It’s all part of the learning process.
Firing and Glazing
Proper firing is a crucial step when working with clay. Firing clay allows the material to become hard and durable through chemical and physical changes induced by high temperatures. There are generally three main stages of firing clay:
First, clay pieces are dried slowly to remove any moisture. During the drying process, it’s important not to rush drying too quickly, which can cause cracks as the clay shrinks. Pieces should be dried thoroughly before firing.
The next stage is bisque firing. This initial firing turns the clay into ceramic material by heating it to approximately 1600°F – 2000°F. Bisque firing prepares the clay to receive glazes and finishes. The clay becomes porous and able to absorb liquids like glazes after bisque firing. According to The Pottery Wheel, firing clay too quickly during the bisque stage can cause cracking or explosion.
Finally, glaze firing hardens and seals the glazed object. Glazes vitrify and become glass-like when fired at around 2200°F. The glaze melts and fuses with the clay body to form a sealed nonporous surface. Typical glaze firing is usually around 15-60 minutes at peak temperature. It’s important to carefully control the glaze firing schedule according to the clay body and glaze specifications.
Kilns allow for precise control over the firing stages, heating elements, and temperatures. From small hobby kilns to large industrial kilns, having the proper equipment is key to successful firing. With the right understanding of the firing process, high quality clay objects can be achieved.
Next Steps
Once you have mastered the fundamentals of working with clay, there are many exciting next steps to take your skills to the next level. Here are some ideas for where to go from here:
Intermediate Techniques
After getting comfortable with basic handbuilding and wheel techniques, you can start to explore more advanced methods like slump molds, draping, faceting, and altering forms. Learning intermediate techniques will allow you to create more intricate and detailed pieces.
Advanced Processes
As you gain proficiency, consider exploring advanced ceramic processes like casting, mold making, nerikomi, raku firing, luster finishes, and mixed media. Taking workshops is a great way to be introduced to new advanced techniques.
Continuing Education
Many local arts centers, colleges, and studios offer continuing education classes in ceramics for all skill levels. These are a great way to further develop your skills by learning from professional ceramic artists and instructors.
You may also want to consider multi-day workshops, artist residencies, or enrolling in an adult community education program.
Join a Ceramics Studio
Studio memberships provide access to studio space, equipment, and a creative community. Sharing a studio with other ceramic artists allows you to exchange ideas, get feedback, and be inspired.
Attend Ceramics Conferences
Industry conferences like NCECA allow you to take part in workshops, see demonstrations, browse emerging techniques and products, and connect with other ceramicists.
Consider submitting your work to be juried into these conferences once you are ready.
By continuing to push your skills through ongoing education, studio access, and connecting with the ceramics community, you will be able to grow exponentially as an artist.