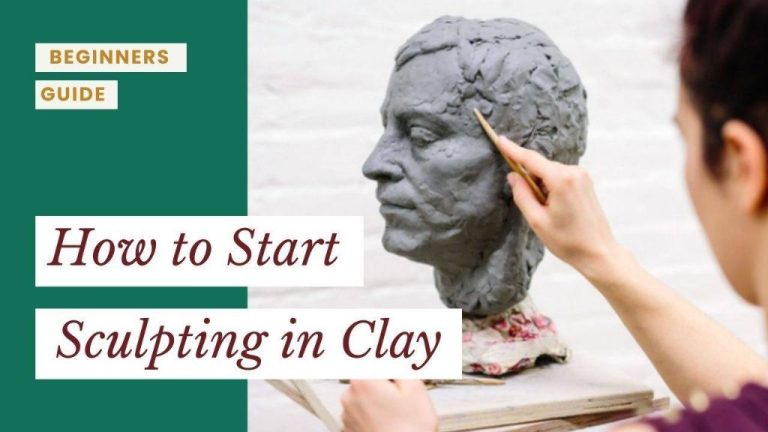
Essential Tools For Clay Beginners
Clay is an extremely versatile material that can be molded into a variety of shapes and forms. It’s an accessible art medium that only requires a few basic tools and supplies to get started. Clay is also an enjoyable hobby that provides a creative outlet and therapeutic benefits. This guide will provide an overview of essential tools for clay beginners, covering everything you need to begin sculpting and crafting with clay.
Clay is a fine-grained natural material that is plastic when wet and hard when fired at high temperatures. There are several types of clay used in pottery and ceramics, including earthenware, stoneware, and porcelain. When starting out, an air-dry clay is easiest to work with. As you gain experience, you may want to explore polymer or oven-baked modeling clays. Whichever type you choose, sculpting with clay can be a fun, engaging hobby.
Clay
There are three main types of clay that beginners should be aware of – polymer clay, air-dry clay, and firing clay. [1]
Polymer clay is made of PVC resin and plasticizers. It cures at low temperatures through oxidation, hardening without needing to be fired in a kiln. Polymer clay is easy to work with, flexible, and doesn’t dry out. It’s great for jewelry, figurines, and decorative items. However, it’s not waterproof or food-safe.
Air-dry clay is made of natural clay and binders. As the name suggests, it dries and hardens at room temperature. It’s inexpensive, readily available, and easy to work with. However, air-dry clay is quite brittle once dry. It’s suitable for crafts, decorative items, and smaller sculptures.
Firing clay requires high temperatures in a kiln to permanently harden through sintering. Types like stoneware, porcelain, and earthenware fall under this category. Firing clay can be shaped when wet, scratched when leather-hard, and glazed when dry. For beginners, stoneware with added grog provides good workability. [2]
The type of clay impacts its properties like plasticity, shrinkage, porosity, color, and strength. Beginners should choose an appropriate clay based on their desired use, level of experience, and available equipment.
Clay Tools
Some of the most essential clay tools for beginners include basic sculpting tools, loop tools, ribs, cutters, and wire
(Source). Sculpting tools like metal or plastic knives, spatulas, and modeling tools allow you to shape, smooth, carve, and create textures in the clay. Loop tools have a variety of shaped wire ends that can be used to refine details and get into small crevices. Ribs can smooth and blend the clay, while cutters like tissue blades, craft knives, and plier cutters help cut precise shapes. Wire is great for creating armatures and stability inside a sculpted piece.
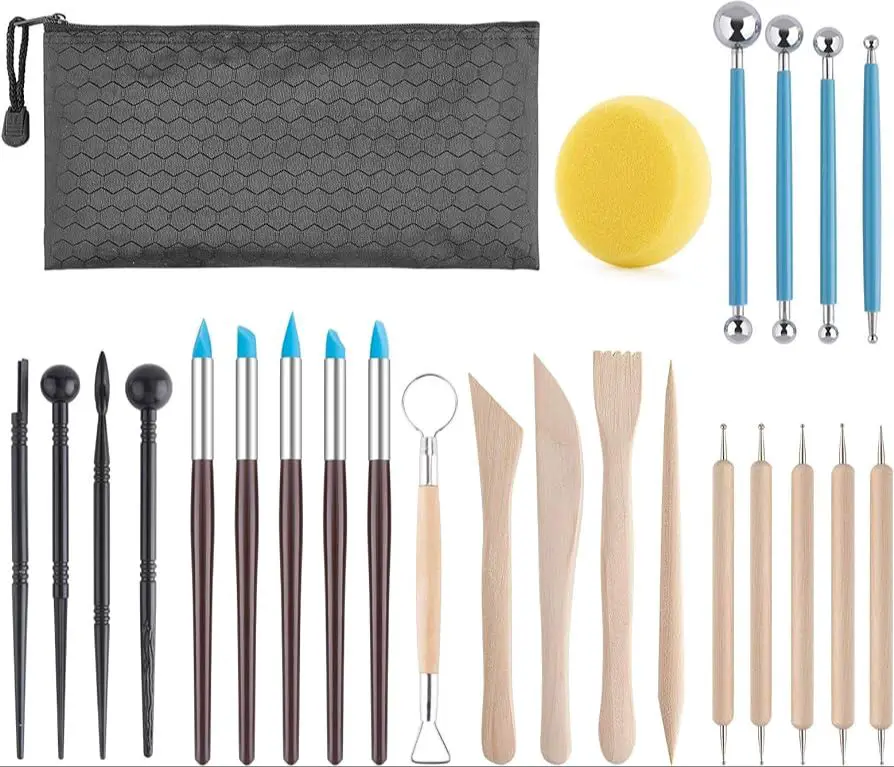
Beginners should start with a basic set of these tools that covers a variety of shapes and textures. For example, a set may include knives, loops, ribs, and cutters that all allow a beginner to manipulate the clay in different ways as they learn sculpting techniques. It’s better to begin with a starter variety rather than buying specialized tools upfront. As a beginner gains experience, they will get a feel for which tools they prefer to work with.
Work surface
The work surface material you choose for working with clay can make a big difference in your sculpting experience. Some key factors to consider are stickiness, durability, portability, and cost. Many potters recommend avoiding surfaces like glass, metal or marble that are too smooth and allow clay to slide around. Instead, look for materials with just the right amount of texture like canvas, wood or plastic.
Canvas is a popular choice because it provides grip but doesn’t stick too much. You can buy canvas-covered boards or glue canvas onto a smooth worktable. The fabric weave gives just the right amount of texture for rolling out clay. Canvas is also lightweight and portable. Some potters suggest roughing up the surface a bit with sandpaper to reduce sticking. Just be aware that canvas can absorb water from the clay over time.
Wood surfaces like birch plywood are another good option. The porous texture helps prevent sticking. Wood tables are very durable and withstand years of heavy clay work. Just avoid treated woods which could potentially leach chemicals. Smooth planks should be roughed up first. Wood needs to be sealed to prevent swelling and warping from moisture.
Plastic boards made of HDPE provide excellent non-stick properties. They are waterproof and can be easily cleaned. Plastic is very portable and comes in a range of sizes. Textured plastic gives better grip versus smooth. Consider roughing up smooth plastic with sandpaper first. Plastic can develop fine scratches over time which may need occasional smoothing.
Rolling Pin
A rolling pin is an essential tool for working with clay. Rolling pins are used to roll out clay into flat, even sheets or slabs. There are two main types of rolling pins – acrylic and wood.
Acrylic rolling pins are lightweight and easy to clean. They tend to be thinner than wood rolling pins. The smooth, nonporous surface prevents the clay from sticking. Acrylic rolling pins are best for getting an even, uniform thickness when rolling out clay. Some acrylic rolling pins have texture, which can impart patterns onto the clay surface.
Wood rolling pins are heavier and provide more control when rolling. They come in various thicknesses – a thicker rolling pin exerts more pressure to flatten and smooth the clay. Wood rolling pins can have a smooth surface or a textured surface. Textured wood rolling pins add interest to the clay surface.
For beginners, a medium thickness acrylic or wood rolling pin with a smooth surface is a good choice. The smooth surface prevents sticking, while the medium thickness provides enough weight to roll out the clay evenly without requiring too much pressure.
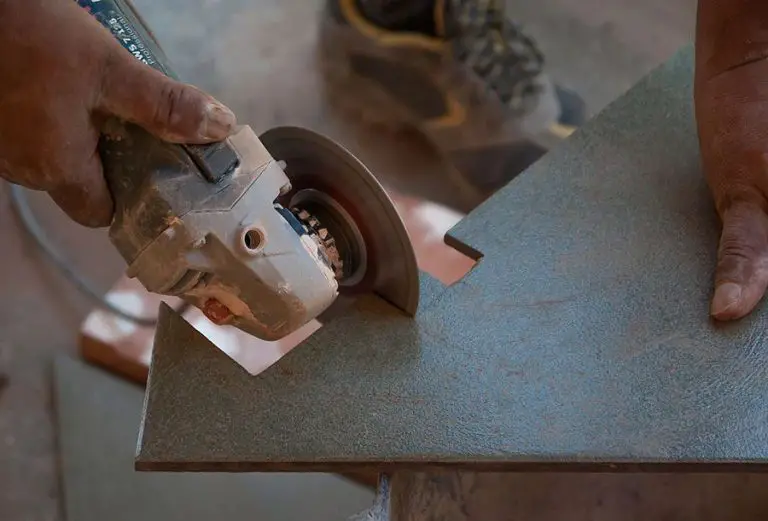
Cutting Wire
Cutting wire is an essential clay tool used to cut clay into desired shapes and sizes. According to Midsouth Ceramics, cutting wires feature braided steel wire with handles on both ends designed specifically for cutting blocks of clay and removing clay forms.
Cutting wires come in varying thicknesses of stainless steel. Thicker wires are best for cutting through large slabs of clay, while thinner wires allow for more intricate and detailed cutting. As Babylon Cutters explains, the wire is pulled through the clay to cut it into the desired shape and size. Cutting wire is useful for dividing large clay pieces into smaller sections.
When selecting a cutting wire, consider the thickness needed for the clay type and size you typically work with. Stainless steel offers durability and strength to slice cleanly through clay. Maintaining the cutting edge will lead to smooth, even cuts.
Armature
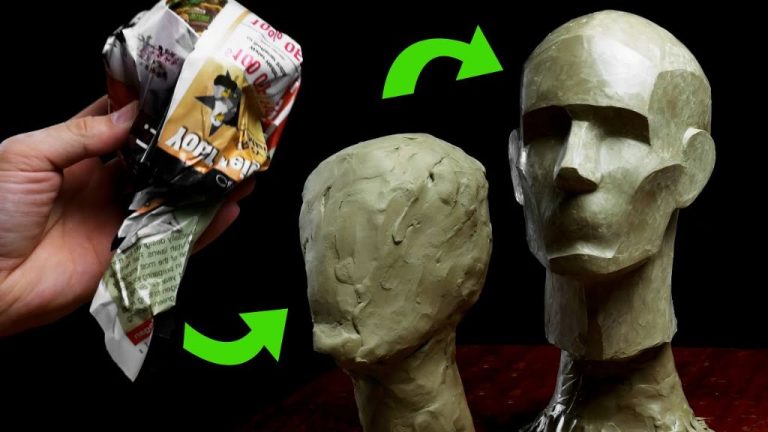
An armature provides internal support for clay sculptures. The most common materials used for armatures are wire and aluminum foil. Wire allows you to create a rigid framework that will support the weight of the clay. Aluminum foil can be shaped easily into smooth curved forms. Other materials like wood, plastic, and even crumpled newspaper can also be used as armature components if needed.
For wire armatures, thicker gauges of wire will be sturdier for larger sculptures. Sculpture wire, aluminum armature wire, and galvanized steel wire are good options. Premade wire armatures are also available. To build your own, pliers and wire cutters will be helpful tools to have. Bend, twist, and wrap the wire using pliers to create your desired framework. Foil armatures can be shaped by hand, or over an object as a form. Crumple up small foil balls, then secure them together with wire.
Cover the armature fully with clay, blending and smoothing the clay over the form. Use acrylic roller tools to help reach into deeper areas. Let the clay firm up slightly before sculpting finer details so the armature provides needed support. A good armature will be hidden beneath the outer clay layer, providing structure to your sculpture.
Source: https://www.sculpey.com/blogs/blog/incorporating-mixed-media-and-armature-into-a-sculpture
Accessories
Some key accessories that are essential for beginner clay sculptors include clay rollers, carving knives, sponges, and softeners.
A clay roller is a vital tool for flattening and stretching clay to achieve an even thickness and surface (Source). Rollers allow you to roll out smooth slabs and sheets of clay quickly. Look for rollers with a wood or acrylic barrel and smooth handles.
Carving knives, like X-Acto or pottery loop knives, enable detailed cutting, scraping, and carving of clay (Source). Opt for various shaped fixed and interchangeable blades. Proper clay carving knives make sculpting intricate shapes and details much easier.
Sponges can be used to blend and smooth clay, remove excess water, and create interesting textures. Look for cosmetic wedges or sea sponges. Soft makeup sponges work well for smoothing seams and edges.
Clay softeners and conditioners allow you to soften polymer clay and keep it malleable. They prevent drying and cracking. Softener fluids or gels are essential when working substantial projects over multiple sessions.
Safety
When working with clay, proper safety measures are important to protect your health. Here are some tips for staying safe:
Proper ventilation – When using polymer or oil-based clays, work in a well-ventilated area to avoid breathing in fumes. Open windows and use a fan to circulate fresh air. If ventilation is poor, consider wearing a respirator.
Choose safe materials – Polymer clays, air-dry clays, and natural clays like pottery clay are generally non-toxic options. Avoid clays containing silica dust.
Keep your workspace clean – Wipe down surfaces frequently while working to prevent dust and debris buildup. Always wash your hands after working with clay. Properly dispose of rags used to wipe up clays.
Taking basic safety steps will allow you to enjoy sculpting clay while avoiding potential health hazards. Pay attention to labels and instructions for the type of clay you are using.
Getting Started with Clay Sculpting as a Beginner
As a beginner, it’s important to start with simple and fun clay sculpting projects to learn the basics. Some ideas include making basic shapes like balls, coils, and slabs to understand how the clay moves and responds. Simple beginner projects include making pinch pots, coil pots, clay animals or creatures, simple figure sculptures, geometric shapes, tiles or plaques, jewelry pendants, and more.
Check out these Youtube channels and playlists for beginner clay sculpting tutorial videos:
- Make It Cute – Fun polymer clay tutorials
- The Pottery Wheel – Handbuilding techniques
- Sculpting 101 – Sculpting figures
Look for beginner clay sculpting classes at local ceramic studios, arts centers, or community colleges to learn techniques from experienced teachers. Classes allow you to meet other beginners, get feedback, and access studio tools. Alternatively, round up a few friends for a clay night to learn together and share supplies.
Local clay guilds and sculpture societies offer additional learning opportunities through meetings, workshops, open studio time and more. Joining a group helps connect you into the wider clay community. Check for a local chapter of the National Sculpture Society or Potters Council.