How Are Clay Figurines Made?
Clay figurines have been an important part of human culture for thousands of years. Over 30,000 clay figurines have been excavated, dating as far back as the Stone Age. They were first made as early forms of religious art, depicting rituals and beliefs about the afterlife. Figurines found in early burial sites were included as grave goods, placed with the deceased to represent gods, servants, and status symbols that would serve them in the next life. In ancient times, figurines acted as representations of deities for worship. They later became a folk art tradition across many cultures, used to portray common people, animals, popular stories, and mythical creatures. Clay continues to be a popular material today for creating figurative sculptures and decorative objects. It is an affordable, natural, and versatile medium that allows artists to sculpt the most intricate details. The process of handcrafting a clay figure is both artistic and meditative. Clay figurines connect us to humanity’s ancient impulses for artistic expression, symbolic meaning, and our fascination with capturing the human form.
Gathering Materials
The type of clay is one of the most important materials for making clay figurines. There are several common types used:
Earthenware Clay
Earthenware clay is a common modeling clay that air dries to a terra cotta color. It’s an inexpensive clay that’s easy to work with and good for beginners. Earthenware clay can be fired at lower temperatures but is quite porous and fragile after firing.
Stoneware Clay
Stoneware clay is dense and durable with a smooth texture. It fires to a gray, tan, or white color at high temperatures around 2200°F. Figurines made from stoneware clay are water-resistant and strong.
Porcelain
Porcelain clay is very fine and smooth. It fires to a pure white color at extremely high temperatures over 2300°F. Porcelain is ideal for intricate figurines with delicate details. However, it’s challenging to work with as it dries quickly and is prone to cracking.
Shaping the Clay
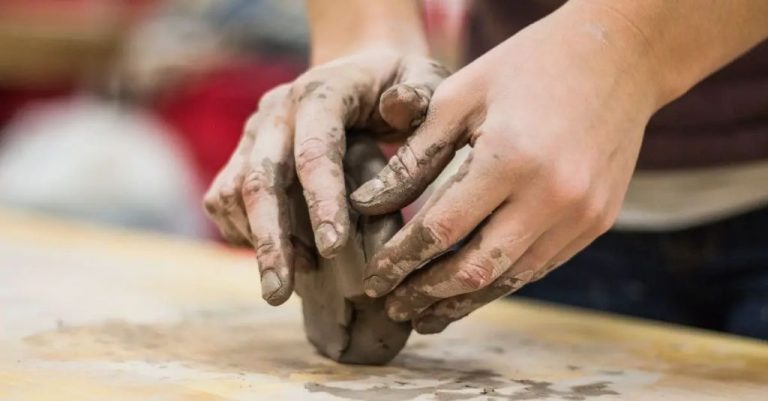
Proper clay preparation is crucial for successfully shaping clay figurines. The clay must be wedged or kneaded to remove air bubbles and evenly distribute moisture. This creates a uniform texture and plasticity, allowing the clay to be sculpted without cracking or crumbling.
There are several techniques for shaping the prepared clay:
- Hand building – Sculpting the figurine by hand using methods like pinch pots, coils, slabs, etc. This involves rolling clay into ropes, slabs or balls and combining them to build the form.
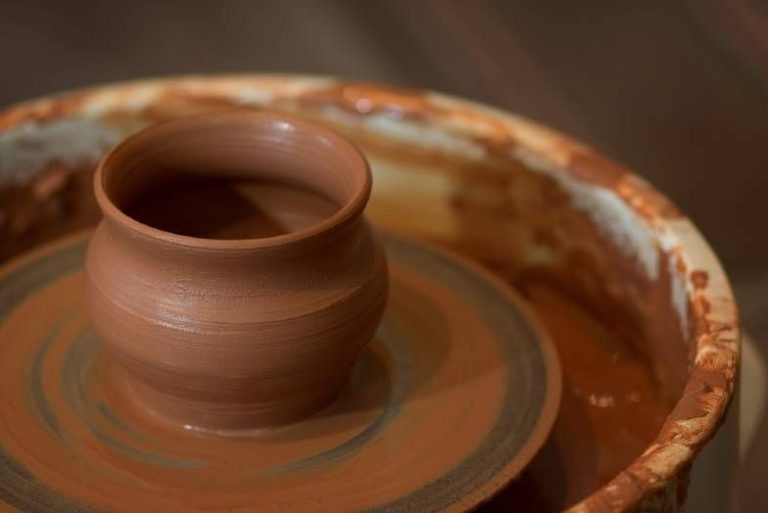
- Wheel throwing – Throwing the clay on a pottery wheel to create basic forms like cylinders, bowls, etc. Wheels allow symmetry and uniform walled pieces.
- Molds – Pressing clay into plaster molds to create detailed forms. Molds expedite repeated designs but limit uniqueness.
The shaping method depends on the clay viscosity, the figurine design, and the artisan’s preference. Hand building facilitates creativity but wheel throwing and molds accelerate production. Artisans may combine techniques for both expression and efficiency.
Textures and Details
Once the basic shape of the clay figurine is formed, the next step is to add finer details like textures, patterns, and distinguishing features. This is done using a variety of specialized sculpting tools and techniques.
One way to add texture is by imprinting the clay. The artist can use items found in nature like leaves, seeds, seashells, or bark to press into the surface. Man-made objects like lace, mesh, or buttons can also imprint interesting patterns.
Detailing tools like metal loop tools, rubber ribs, or wooden skewers can indent lines to denote hair, clothing folds, scales, feathers, etc. Pointed tools can add dots and dimples for pores, scales, or skin textures.
Clay sculpting wires are useful for scraping fine lines or drawing freehand patterns. Sponges can dab small indentations. Needle tools can etch extremely fine details like wrinkles around eyes or mouth.
Fingertips are also great for imprinting fingerprints that give a handmade, imperfect feel. Pressing gently into softer clay areas like cheeks, elbows, or clothing can add realistic depth.
These textures and details bring clay figurines to life, creating visual interest and personality. They transform an ordinary lump of clay into a unique character full of intricate patterns and one-of-a-kind features.
Drying and Firing
Once the figurine is formed and carved to the desired shape, it must be allowed to dry thoroughly before firing in a kiln. Letting clay dry is a crucial step, as any moisture left in the clay will cause cracking or even explosions from the rapid expansion of turning to steam in the kiln. To properly dry clay without cracking, it helps to allow gradual, even drying.
Some tips for drying clay figurines:
- Allow the clay to dry slowly at room temperature. Avoid quick drying near heat sources.
- Cover the damp clay with plastic wrap or a damp cloth to slow moisture loss.
- Allow thick parts to dry longer than thin parts.
- Turn the piece periodically so it evenly dries.
- Wrap wire through armatures to strengthen joints as the clay shrinks.
Once fully dry, the clay is ready for the initial bisque firing. Bisque firing involves heating the clay to approximately 1800°F to harden and prepare it for glazing and decorating. Clay changes chemically when fired, becoming harder, more durable, and less porous. The bisque firing step creates the permanent sculpture ready to be embellished. Firing typically happens in a kiln, with control over temperature and heating speed.
Decorating
After the initial firing, clay figurines are ready to be decorated to add color and visual interest. There are several techniques used to decorate fired clay:
Painting – Acrylic and watercolor paints are commonly used to hand paint clay figurines. Paint can be applied in layers to create depth and dimension. Metallic paints can also be used for accents.
Glazing – Liquid glazes are painted onto the surface and fuse with the clay during firing. Glazes come in various finishes like glossy, matte, or crackled. Multiple glaze layers and colors can be used.
Staining – Stains contain pigments suspended in liquid and work by soaking into unglazed terra cotta clay. Stains create an elegant, translucent effect.
Crackle Glaze – A special glaze technique where the glaze creates an all-over cracking pattern during firing. This aged, antique look is popular on clay figurines.
Decorating the fired clay adds beauty, color, and visual interest to clay figurines. The choices are endless when it comes to painting, glazing, staining, and specialty glaze techniques.
Final Firing
The final firing, also known as the glaze firing, is the most critical step for finishing clay figurines. This firing is done at a much higher temperature, usually between 2,200°F – 2,300°F (1,204°C – 1,260°C). The key purposes of the glaze firing are to fully mature the clay body, melt the glazes to a glossy finish, and permanently harden and set the figurine.
Clay undergoes an important chemical change during the high heat of the glaze firing as any remaining water molecules are driven off, flux materials melt, and silica and alumina combine to form glassy phases. This transforms the clay into a strong, non-porous ceramic material.
Similarly, specially formulated glazes mature and melt during the final firing, coating the figurine in a decorative, glossy finish. The melted glaze permanently fuses with the clay body beneath through liquid sintering. Careful control over the firing temperature, ramp rate, and soak times ensures the glazes fire properly without defects.
The final result after glaze firing is a sturdy, resilient clay figurine encased in a protective vitreous coating. With the clay fully vitrified and the glaze surface smooth and glassy, the figurine will not degrade over time, preserving the artisan’s creation.
Finishing Touches
After the clay figurine has been decorated and fired, there are often some final finishing touches that can help complete the piece. Adding a base or stand can help stabilize the figurine and provide an attractive finish. Bases may be made of wood, glass, metal, or clay. Some figurines, like miniature dolls, may need tiny accessories like miniature hairpins, shoes, or jewelry to help bring them to life. These details can be glued on after firing.
For a more polished look, some artists choose to mount their figurines on custom acrylic stands or inside glass domes. This helps protect and display the finished piece while adding to the overall presentation. Other finishing touches involve minor repairs like smoothing rough edges or filling small cracks that may have occurred during firing before applying a final sealant or protective coating.
The possibilities for finishing touches are endless. It’s up to the artist whether to keep the figurine simple and let the sculpture speak for itself, or add accents and displays to enhance the overall aesthetic. Either way, taking the time to properly finish a handmade clay figurine helps ensure it will be treasured for years to come.
Types of Clay Figurines
There are many different types of clay figurines that artists make using various techniques. Some of the main categories include:
Portrait Figurines
These are clay sculptures depicting people. They may represent historical figures, celebrities, or fictional characters. Classical Greek and Roman figurines often portrayed gods, goddesses, and important figures. Some modern portrait figurines try to capture a live likeness of the subject.
Animal Figurines
Clay animal figures have been made for thousands of years. Examples include ancient Chinese tomb figurines of horses, cows, pigs, and mythological creatures. Contemporary animal figurines may portray pets, farm animals, or wildlife.
Traditional Figurines
These represent traditional characters and themes from various cultures. For instance, nativity scene figurines depict Biblical figures like Mary, Joseph, and baby Jesus. In Mexico, clay skeleton figurines and skulls are made for Dia de los Muertos. Russia has a long tradition of crafting clay figurines such as peasant girls, soldiers, and fairytale characters.
Abstract Figurines
Not all clay sculptures depict realistic subjects. Abstract figurines use shape, form, and texture to create innovative modern art sculptures without recognizable subjects. These imaginative works allow the artist to experiment and express their inner emotions and ideas.
Famous Examples
Some celebrated clay figurines include the Terracotta Army warriors from ancient China, Michelangelo’s “Madonna of Bruges” sculpture, the mythological Venus figurines of the Paleolithic era, and modern works by acclaimed ceramicists like Paul Dresang, Marina Pallares, and Donna Rand.
Conclusion
Clay figurines have been popular art forms across cultures for thousands of years. Their longevity speaks to the creativity and artistry that goes into crafting these miniature sculptures. Key takeaways from the clay figurine making process include:
– The range of natural clays that can be used, each resulting in different textures, colors, and strengths when fired.
– The importance of properly preparing and wedging the clay to remove air bubbles and create a uniform material.
– Using basic modeling tools and one’s hands to carefully shape the clay into the desired form.
– Adding textures, patterns, and details to bring a figurine to life.
– Allowing sufficient drying time before firing to prevent cracking.
– Firing at the right temperatures to harden and set the clay permanently.
– Decorating with glazes, stains, and paints for vibrant effects.
The entire process requires creativity, patience, and practice. But it enables artists to produce stunning clay figurines that can become lasting works of art.


