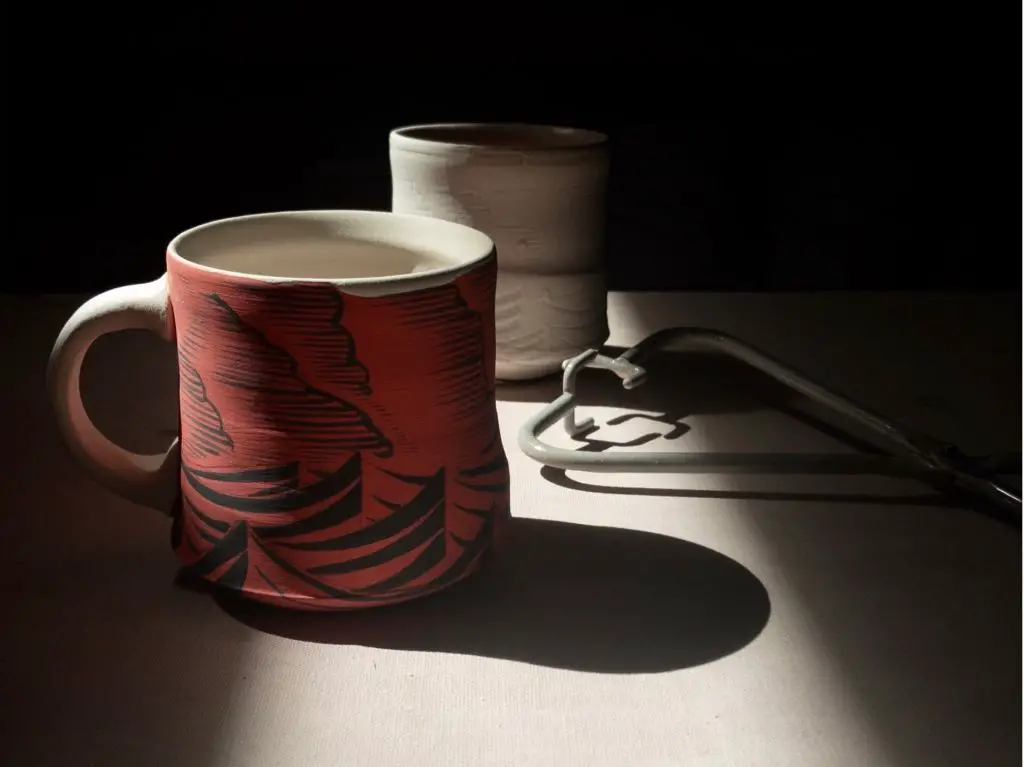
How Can I Repair And Fill In Missing Pieces Ceramic Items?
Assess the Damage
The first step when repairing a damaged ceramic item is to thoroughly assess the damage. Look closely at the size, location, and shape of any missing pieces or cracks. This will help determine the best repair method.
Pay attention to the depth and width of any cracks or chips. Very fine hairline cracks may not need repair, but larger cracks that go deep into the material will require filling to prevent further damage. Examine the shape and contours of any missing sections – are the edges sharp and clean or jagged and uneven?
Also note the location of the damage. Repairs on functional surfaces like the bottom of a mug will endure more wear and require stronger materials. Damage in visible areas may need more cosmetic repairs so the fix blends in. Areas with intricate surface detail or glazes may also be trickier to match.
Thoroughly cleaning the damaged area will also allow for better assessment. Look for any small flecks that may fit back into chips. It’s also important to check for and remove any sources of continuing damage like pests or sharp surfaces causing new scratches.
Taking time to carefully analyze the specific damage will lead to better results when choosing a repair method and materials. The size, shape, location and severity of the damage will inform what needs to be done for an effective and lasting repair.
Clean the Area
Before repairing the missing area, it’s important to thoroughly clean the damaged ceramic piece. This removes any loose pieces, debris, or contaminants that could interfere with the repair.
Use a small brush or vacuum with a brush attachment to gently remove any loose ceramic shards or dirt from the missing area and surrounding surface. Avoid using anything abrasive that could further damage the piece. According to sources, “Daily maintenance should be sweeping/dust/damp mopping with a neutral detergent. Do not use harsh cleaners (acids or alkaline) since it can damage the grout …” (source).
You can also use a damp cloth to wipe away debris. Allow the piece to fully dry before moving on to the repair steps.
Choose a Repair Material
When choosing a material to repair broken ceramics, two-part epoxy adhesives tend to be the best option. Epoxy creates strong, long-lasting repairs that can withstand high temperatures and moisture. According to ceramicartsnetwork.org, clear 5-minute setting epoxy works well for most ceramic repairs.
Two-part epoxy consists of a resin and a hardener that must be mixed together in equal parts before use. It cures transparent and dries hard and smooth. Epoxy is especially useful for repairs where the mended piece will be functional and need to hold up to wear.
Super glue or cyanoacrylate adhesives provide another option for minor ceramic repairs. They cure rapidly and form strong bonds, but tend to be more brittle than epoxy. Super glue is best for small cosmetic repairs where strength is less critical.
Acrylic resins can also be used for repairing ceramics. They bond well and some formulations can be sanded and painted once dry. However, acrylics lack the strength and water resistance of epoxy. They are better suited for decorative repairs than structural ones.
Prepare the Repair Material
Follow the manufacturer’s instructions carefully when preparing your repair material. Epoxy putties, like Milliput, require kneading the two parts together thoroughly until uniform in color. The epoxy will begin curing immediately when the parts are combined, so only mix as much as you can use in the working time. Ceramic adhesives, like two-part epoxy, need to have the resin and hardener measured precisely and stirred completely to activate the bonding process. Avoid introducing air bubbles as you mix. Follow all label directions for proper mixing ratios, working times, and cure times.
Fill the Missing Area
Once you have prepared your repair material, it’s time to fill in the missing sections. According to Lakeside Pottery, you’ll want to apply the epoxy mixture to one side of the broken ceramic using a pin tool, paper clip or wooden stick. Spread the material smoothly into the gap or hole, pressing it firmly into place. Try to match the original contour and texture of the ceramic piece as closely as possible.
Let the filler cure fully, following the manufacturer’s instructions. This may take anywhere from 5-24 hours depending on the material used. Resist touching or moving the piece until the repair has dried completely. The repaired section should now be solidly filled in and ready for smoothing and finishing.
Smooth and Shape
Once the repair material has hardened enough to sand and shape, it’s time to blend it into the original ceramic. Start by gently sanding the filled area using increasingly finer grit sandpaper. You want to smooth out any bumps or ridges so that the repair is flush with the ceramic surface.
As you sand, sculpt and shape the repair material to match the contours and design of the original ceramic piece. Work slowly and carefully to avoid removing too much material. The goal is to blend the repair seamlessly into the surrounding ceramic. When sanded smooth, the repair should be indistinguishable from the original.
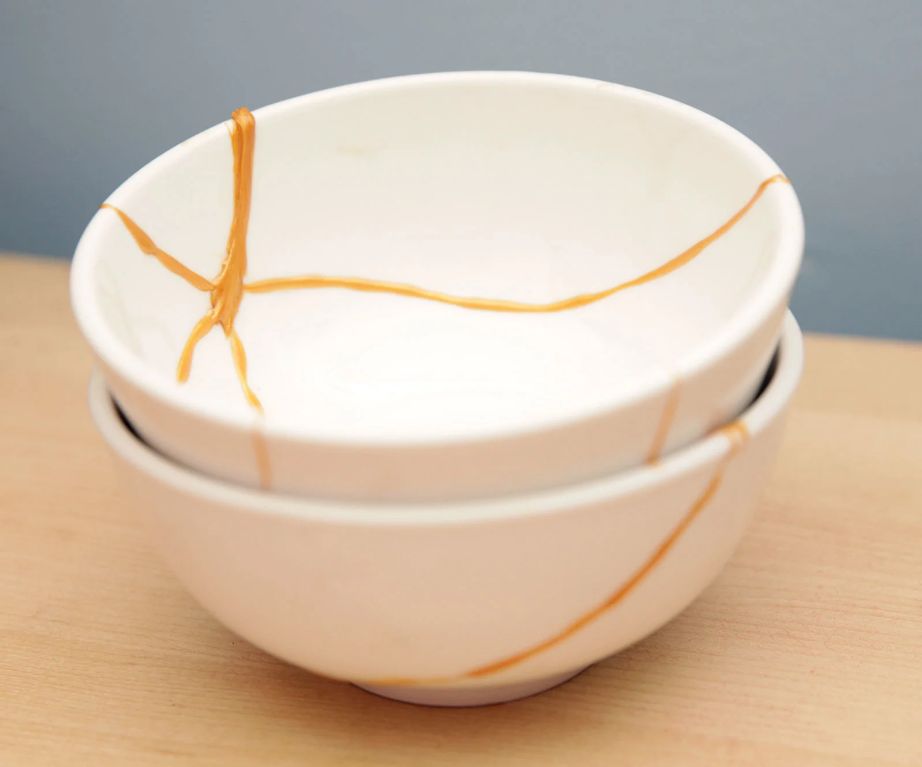
Finish and Seal
After repairing and filling in the missing pieces of ceramic, it’s important to properly finish and seal the repair. This helps protect the repair, make it food-safe if needed, and give an attractive finished appearance.
There are a few options for finishing and sealing ceramic repairs:
- Paint – Acrylic paints formulated for ceramics can be used to paint the repair and match the color of the original ceramic piece. Allow paint to fully cure before sealing.
- Glaze – Ceramic glazes provide an attractive shiny finish and create a glass-like coating. Raw clay repairs will need an underglaze first. Glazes require firing in a kiln to cure properly. (1)
- Sealant – Clear ceramic sealants like varnish, polyurethane, or epoxy resin can be brushed over the finished repair. Multiple coats are recommended for best protection. Look for food-safe options if needed. Allow sealants to fully cure before use.
Whichever method you choose, be sure to carefully follow all manufacturer’s instructions for application and curing. Properly sealing and finishing the repair will help it endure regular use and cleaning.
Cure and Dry
After applying the repair material, allow adequate time for it to fully cure and dry before handling the repaired item. The specific cure time depends on the type of material used. For example, epoxy repairs can take anywhere from 5 minutes to 24 hours to cure, depending on the formulation.
It’s important not to handle or disturb the repaired area until it has fully cured. This allows the repair material to harden and build strength. If disturbed too soon, it could compromise the bond and structural integrity. Letting the repair fully cure also prevents accidentally smearing or marring the surface finish.
For small repairs with quick-set epoxies, the cure time may only be 10-15 minutes. However, for more extensive repairs, slower-curing epoxies that take 12-24 hours are often recommended. This provides maximum strength. Refer to the product instructions for the recommended cure time of the specific material used.
Make sure the repaired area has fully hardened before washing, sanding, painting, or subjecting it to any force or impact. Test that the repaired section feels solidly bonded. If needed, allow a few extra hours or days beyond the minimum listed cure time, especially for major repairs. Rushing the cure could undo all your hard repair work.
With patience during the curing stage, epoxy and adhesive repairs can form very strong, long-lasting bonds. Allowing the proper full cure time is the final step to ensuring your ceramic repair is successful.
Test Strength
After the repair has fully cured, it is critical to test the strength of the bond before putting the ceramic item back into use. According to research by Sanal et al. (2020), evaluating the shear bond strength of the repair is important to ensure it can withstand daily wear and tear. Try gently flexing or applying pressure to the repaired area and inspect closely for any cracks or weaknesses. If the bond seems sturdy, conduct stress tests like firmly gripping the item or adding weight on top of the repaired section.
Additionally, it is recommended to perform a “scrape test” by gently dragging a sharp tool over the surface as described by Alsunbul (2023). If the scraper does not catch or tear away the repair material, this indicates good integration between the original ceramic and fill material. Compare the strength to an undamaged area to ensure even performance. Only return the ceramic item to regular use if it passes visual inspection and stress/scrape testing.
Care Guidelines
Once your ceramic repair is complete, it’s important to handle the item gently to avoid future damage. According to the Ceramic Cleaning and Care guidelines from the Canadian Conservation Institute, repairs are an important part of an object’s history and should be documented [1]. While the repaired area may be structurally sound, it can be more vulnerable to chipping or cracks compared to the original material.
When cleaning ceramics, use a soft cloth dampened with water or a mild detergent and avoid abrasive scrubbing. Handle the item carefully without any sudden movements or drops, which can cause cracks in repaired areas. It’s also best to avoid placing extremely hot or cold items directly on top of a repaired ceramic, as temperature shocks can damage the structural integrity. With proper gentle care and handling, your repaired ceramic can remain beautiful while preserving its unique history.