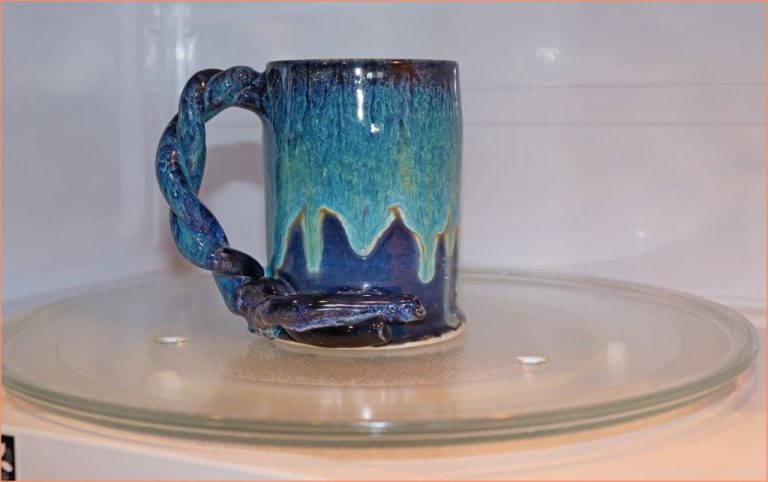
How Should I Let My Air Dry Clay Dry?
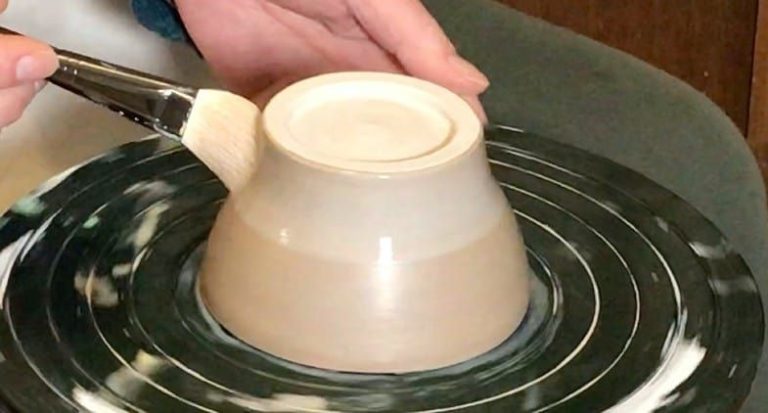
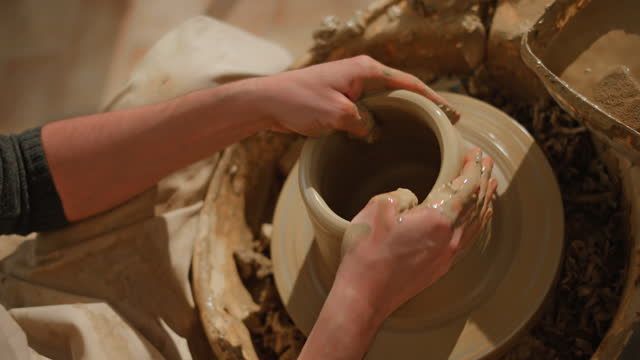
Air dry clay, also known as self-hardening clay, is a modeling and sculpting medium that dries naturally at room temperature without the need for a kiln or oven. Unlike traditional pottery clays, it does not contain any water-soluble compounds but uses PVA or other types of polymer plasticizers to keep it moldable until it dries and hardens through evaporation.
The key to properly drying air dry clay is controlling the moisture evaporation. If dried too slowly in overly humid conditions, air dry clay can become soft and weak due to the plasticizers remaining. But drying it too quickly can lead to cracking on the surface. Finding the right balance for your specific piece is essential.
Room Temperature Drying
One of the easiest ways to dry air dry clay is to simply leave it out at room temperature. This takes advantage of the natural drying process without adding any external heat sources. Just be sure to place the clay in a spot where it won’t be disturbed and has good airflow.
When drying clay at room temperature, expect it to take 24-48 hours if the clay is 1/4” thick or less. For larger pieces, drying could take 3-5 days. Thinner pieces will dry faster, while thicker pieces take longer. Keep this in mind when planning your project timelines.
As the clay dries, it will lighten in color and feel firmer to the touch. If you imprint the clay with your fingernail, the impression should remain without deforming, indicating the drying process is complete. The clay may still feel cool to the touch at first even when dry.
Room temperature drying is ideal if you want to avoid rapid drying that could cause cracking. The slower pace allows moisture to evaporate evenly throughout the clay. Just take care to keep the clay away from direct sunlight or heating/cooling vents that could cause uneven drying.
Storing the clay in a clean, dry location with good airflow is the key for successful room temperature drying. Avoid covering the clay or placing it in an enclosed container until fully dry.
Using a Dehydrator
Using a food dehydrator is a great way to speed up the air drying process for air dry clay. The low, consistent heat from a dehydrator removes moisture from the clay evenly and prevents cracking or pieces drying at different rates. This allows projects to fully dry in hours instead of days.
To use a dehydrator, set the temperature to around 110-120°F. This provides gentle, ambient heat perfect for clay. Place clay items on dehydrator trays, allowing space between pieces. Monitor drying and rotate trays periodically for even results. Clay thickness affects drying time, but most pieces will fully dry in 2-6 hours. Thicker pieces may require 8-12 hours.
A dehydrator ensures clay dries properly, without cracking from rapid drying. The ambient heat accelerates drying time from days to hours, while still drying the clay gradually. Food dehydrators provide the ideal environment for faster air drying.
Using a Fan
Air drying clay often needs a few days to thoroughly dry. If you’re impatient or need your clay pieces dried faster, using a fan can speed up the drying time. Simply point a fan towards your clay pieces to circulate the air around them. This airflow evaporates the moisture in the clay more quickly. Fan drying tends to work best with thinner pieces of clay since the airflow can penetrate them easily. Position the fan several feet away to avoid blowing the pieces over. Monitor the clay closely and turn the pieces periodically so they dry evenly. In just a day or two, your clay pieces will be ready for painting, baking, or other finishing steps. Using a fan cuts the drying time in half compared to just air drying without a fan.
Using a Hair Dryer
Drying air clay with a hair dryer on a low heat setting is a convenient and effective option. The key is to not hold the dryer too close to the clay or use too high of a heat setting, as this can cause cracking or scorching.
Set your hair dryer to the lowest heat setting. Hold it at least 6 inches away from the clay, moving it around to evenly dry all surfaces. The air flow will gently remove moisture from the clay without overheating it. Check the clay often and once the exterior feels dry to the touch, you can move the dryer closer for 1-2 minutes to fully harden the interior.
Keep the dryer moving and don’t concentrate on one spot for too long. Rotate your sculpture periodically for even drying. Clay dries from the outside in, so you may need to periodically stop drying to allow moisture to wick to the surface before continuing.
A hair dryer can dry small pieces in 10-20 minutes. Larger pieces may take an hour or more of periodic drying sessions. Let the clay cool completely between sessions. A hair dryer produces gentle, even heat that won’t cause cracking if used correctly. It’s a fast, accessible way to harden air dry clay sculptures.
Drying in the Sun
One of the easiest ways to dry air dry clay is outside in direct sunlight. The sun’s rays will gently warm the clay, slowly evaporating the water content. Place your clay sculptures or pieces on a waterproof surface or tray in an area that receives full sun for many hours during the day. Avoid any shaded areas, as the drying will be slower there. Orient your clay so all sides receive equal sunlight exposure. Flip pieces periodically to ensure even drying on all surfaces.
Drying clay in direct sun can take 1-3 days on average depending on the size and thickness of your pieces, your climate, and weather conditions. Check the clay each day – when it’s fully dry it should feel solid, should not indent when pressed gently, and any moisture should be completely evaporated. Sun drying works best in hot, low-humidity environments. Keep in mind that sunlight can slightly fade colored clays over time.
Make sure to bring pieces in at night or if it rains. Avoid drying clay in extreme heat over 90°F as it may crack. Drying in the sun can be a natural, effective method when done properly.
Drying in the Oven
One of the fastest ways to dry air dry clay is to bake it in the oven. When using this method, take care not to overheat the clay as this can cause cracks or burns. Follow these steps for safely drying clay in the oven:
1. Preheat the oven. Set the temperature between 200-275°F. Lower temperatures are better for minimizing cracking.
2. Prepare the clay. If the clay piece is thick, insert toothpicks halfway through to allow airflow and prevent cracking. Also check for air bubbles and smooth over the surface.
3. Place clay in oven. Put the clay on a cookie sheet or baking rack lined with parchment paper. This allows air circulation for even drying.
4. Bake the clay. Place the tray in the center of the oven and bake for 1-3 hours. Start checking it after an hour. The clay is done when it has firmed up and is dry to the touch.
5. Cool completely.When the clay is finished baking, allow it to cool down fully before handling to prevent cracking.
Drying clay in the oven speeds up the process significantly. Just be sure to keep a close eye on it and not overbake, as too much heat can damage the clay. With the right temperature and technique, the oven works great for drying air dry clay.
Storing After Drying
Once your air dry clay has fully dried, proper storage is important to keep it in ideal condition for future projects. Here are some tips for storing dried clay:
- Keep dried clay in a sealed airtight container like a plastic bin or ziplock bag. This prevents moisture from re-hydrating the clay.
- Store clay in a cool, dry location away from direct sunlight which can cause fading. A closet, cabinet or drawer works well.
- Consider adding a desiccant pack to the storage container to absorb any excess moisture.
- For especially large quantities, divide clay into smaller bags or bins for easy access without exposing all of it to air.
- Clean clay thoroughly before storage to prevent dust and debris from getting sealed into the container.
- Label storage containers with the type of clay and date to keep your inventory organized.
- Avoid storing clay in areas with temperature extremes like attics or basements which can affect clay over time.
With proper storage, your dried clay should remain usable for many months or even years. Just monitor periodically for moisture and keep sealed in an ideal climate controlled area.
Common Drying Issues
Air dry clay can develop some issues during the drying process if not dried properly. Here are some of the most common problems and how to avoid them:
Cracking
If air dry clay dries too quickly, it can crack as it shrinks. Cracking happens because the outer surface dries faster than the inner clay. To prevent cracking, dry air dry clay slowly at room temperature. Avoid methods like sun drying, heat lamps, or hair dryers which dry the clay unevenly.
Bubbling
Bubbles or air pockets can form when clay is not rolled out evenly to remove trapped air before sculpting. Bubbles can also happen if liquid clay is applied too thickly over an existing piece. To prevent bubbling, condition clay properly, roll out evenly, and apply liquid clay in thin layers.
Peeling and Flaking
If clay pieces are handled before completely dry, the surface can peel or flake off. Allow clay sculptures to dry completely all the way through before touching or moving them. It can take 24-48 hours or more for air dry clay to dry fully.
Warping
Improper drying can cause clay sculptures to warp or bend out of shape. To prevent warping, dry clay slowly at room temperature, turning periodically. Avoid placing clay directly in front of fans, heaters or in hot areas like direct sunlight.
By properly conditioning, sculpting, and drying air dry clay slowly, most common issues can be avoided. Taking the time to let clay dry thoroughly before handling will result in smooth, sturdy finished pieces.
Conclusion
When drying air dry clay, the most important factors to consider are temperature, air flow, humidity, and drying time. The best methods utilize moderate warmth, steady airflow, low humidity, and patience. Rushing the drying process can lead to cracking or explosions from trapped moisture.
Room temperature drying is the simplest but slowest method. Using a dehydrator, fan, or hairdryer will speed up drying time. Just be sure not to overheat the clay. Drying in the sun can work but keep the clay out of direct sunlight to prevent cracking. Oven drying requires very low temperatures and monitoring to prevent burning the clay.
Store fully dried clay in airtight containers. Before using dried clay, knead it well to restore flexibility. With proper drying and storage methods, air dry clay can last for years.
By following the techniques outlined here, you can successfully dry air dry clay to maximize its shelf life and usability for countless creative projects.