How Do I Start Working With Clay?
Clay is a malleable material made from minerals, water, and organic materials that can be molded into a variety of shapes and then hardened through firing or baking. Some of the key properties of clay that make it ideal for sculpting include its plasticity when wet, ability to harden when dried or fired, workability, and stability. Clay sculpting dates back to prehistoric times and continues to be an important sculpting medium today. From functional pottery to decorative sculptures, clay allows artists to create three-dimensional works of art, pottery, and more. With an understanding of the types of clay, essential tools, and basic sculpting techniques, even beginners can start exploring the endless creative possibilities of clay.
Types of Clay
When starting out in clay sculpting, it’s important to understand the different types of clay available. Two main categories of sculpting clay are water-based clay and oil-based clay.[1]
Water-based clays include pottery clay, polymer clay, and air-dry clay. Pottery clay requires firing in a kiln to permanently harden it. Polymer clay cures in a regular oven and hardens as it bakes. Air-dry clay dries and hardens at room temperature without needing to be fired.
Oil-based clays are made from oils, waxes, and minerals. They are soft and pliable, and remain workable until the sculptor decides to bake the finished piece to harden it. Oil-based clays don’t dry out in the air, allowing more time for sculpting intricate details.
When choosing a clay, consider the project goals, desired durability, whether glazing is desired, and firing requirements. Polymer and air-dry clays are good starter clays before moving to pottery clay. Oil-based clays are great for sculpting fine details. Select a clay that suits your needs as a beginner sculptor.
[1]“Ultimate Guide to the Best Types of Clay for Sculpting.” Rachel De Barros, https://racheldebarros.com/ultimate-guide-to-the-best-types-of-clay-for-sculpting/
Essential Tools
Having the proper tools is crucial for working with clay successfully. Some essential tools for clay sculpting include:
Sculpting tools like wire loops, modeling tools, and pottery tools help shape and manipulate the clay. Wire loops are great for scraping away excess clay and smoothing surfaces. Modeling tools like ribs and shapers allow you to refine details. Pottery tools like ribbon tools, loop tools, and needle tools create textures and patterns.
The clay working surface is also important. Options include wood or MDF boards, canvas, tempered glass, and wedging tables. The surface must be smooth and resistant to sticking.
Finally, safety equipment like respirators, gloves, and aprons protect you while working with clay. An apron keeps your clothes clean, gloves prevent skin irritation, and a respirator filters out clay dust.
Getting the Right Consistency
One of the most important steps in preparing clay for sculpting is getting the consistency just right. Clay that is too wet will be mushy and difficult to work with, while clay that is too stiff and dry can crack as you sculpt. The ideal consistency is somewhere in between – smooth, firm, but still pliable.
Kneading and wedging are key techniques for working the clay and getting out any air bubbles. Knead the clay for 5-10 minutes, pressing and folding until it becomes uniform in texture. Wedging involves cutting the clay in half, slamming it back together, and repeating. This kneads the clay while also elongating air pockets to be pushed out.1
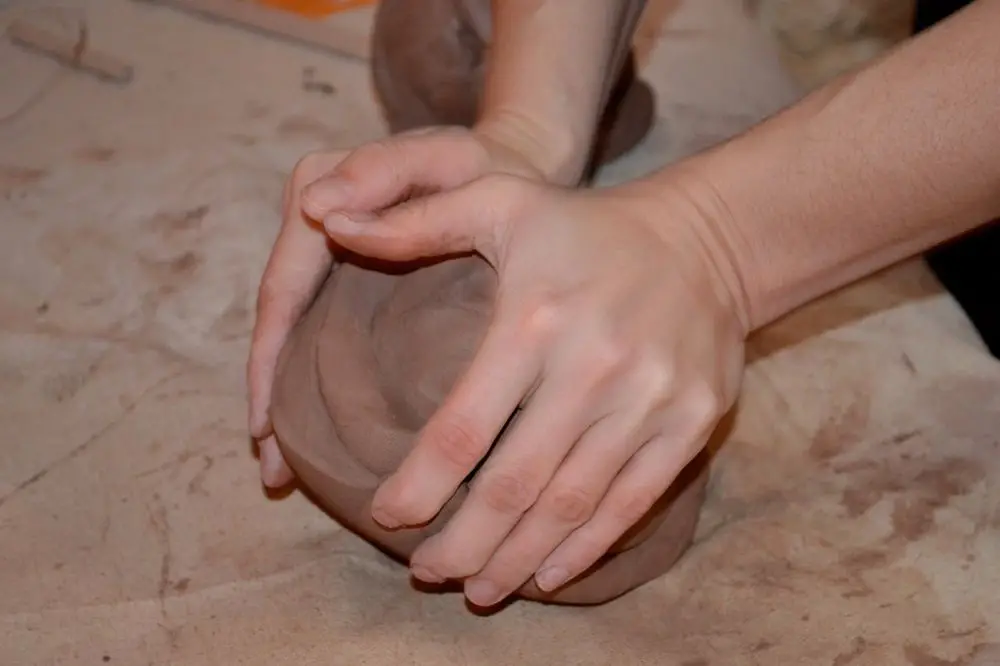
You may need to adjust moisture levels in the clay by adding water or oil. If the clay is too dry, add water a few drops at a time, kneading between additions. Oil makes clay more pliable without adding moisture. For polymer clay, a clay softener liquid can help achieve the perfect sculpting consistency.2 Take the time with this step, as properly prepared clay will make the entire sculpting process easier and lead to better results.
Sculpting Techniques
There are a few basic sculpting techniques beginners should start with before moving on to more advanced methods:
Pinching
Pinching is one of the most basic and intuitive sculpting techniques. It involves taking a ball of clay and using fingers and thumbs to pinch, pull, and squeeze the clay into the desired shape. This technique is great for creating organic forms like animals or figures. Pinch pots are a common beginner project that solely utilizes the pinching technique.
Some tips for effective pinching:
- Keep clay moist and kneaded so it is pliable.
- Use finger pads for best control.
- Rotate the sculpture as you work to shape all sides.
- Go slowly to avoid unintended collapses.
Coiling
Coiling involves rolling clay into long snake-like coils then stacking them to build up forms. Coils can be stacked vertically, horizontally, or in spirals. Consider starting with basic coil pots or bowls before attempting more intricate coiled sculptures. The thickness and spacing of coils will impact the final texture.
Some tips for successful coiling:
- Roll coils to consistent size by using a guide.
- Score and slip coil surfaces to help them adhere.
- Blend coils together smoothly for a unified look.
- Let lower coils become leather hard before adding upper coils.
For more on getting started with clay coiling techniques, check out this resource: Clay sculpting techniques for beginners.
Slab Building
Slab building requires rolling out flat, even sheets of clay then cutting and assembling them to create forms. Simple slab projects like boxes, trays, and plaques can help you master the basics. Pay attention to getting consistent thickness and achieving sharp clean edges when cutting.
Tips for slab building:
- Roll slabs on an even, non-stick surface with guides for uniform thickness.
- Cut slabs using wire tools or fettling knives for clean edges.
- Score and add slip to slab edges before joining.
- Smooth seams and add texture as desired.
Adding Texture
Texture brings surfaces to life and defines form. Beginners can start with simple techniques like:
- Pressing – Using hands, tools, or objects to imprint patterns.
- Carving – Cutting into leather hard clay to create lines, grooves, etc.
- Incising – Dragging sharp tools through softer clay to scratch designs.
- Sgraffito – Scratching through colored slip to reveal underneath clay.
Take inspiration from nature, textiles, or your own imagination when deciding on textures. Remember less is often more, so focus on strategic areas.
Creating Armature and Frames
When sculpting larger pieces or figures that need structural support, it’s important to build an armature or internal framework. This is especially true when working with plasteline or polymer clays that can become heavy and sag without internal reinforcement.
Armatures can be made from various materials like wire, wood, or pipe cleaners. Thicker wire works well for limbs and thinner gauges can be used for fingers and details. Wooden dowels or sticks make sturdy supports for torsos and bodies. Pipe cleaners are useful to bulk out thinner areas like hands or ears.
To start, rough out the basic shape with wire to represent the major forms. Secure joints by tightly wrapping and twisting the wires together. Use pliers to bend and shape the wire into naturalistic poses. Wooden supports can be taped or wired to the frame where needed. Then fill out the shape with pipe cleaners to add volume.
It’s important to create a solid base for the armature to stand on. Make sure joints are tight and limbs are securely fastened. Test the balance and pose before applying clay. A sturdy armature will provide crucial interior support as you sculpt your figure.
For more information check out these helpful resources:
https://www.pinterest.com/pin/193162271497458578/
https://www.figurines-sculpture.com/armature.html
Baking and Firing
Bisque firing refers to the initial firing of greenware or unfired clay pieces. This process converts the clay from its moist, moldable state into a permanent solid object. Bisque firing typically takes place between 1,750-2,100°F. At these high temperatures, chemical and physical reactions occur within the clay that cause the clay particles to bond together permanently. This results in a hard, porous bisque piece.
Most clay pieces undergo a second firing after applying glazes or other surface decorations. This process is known as glaze firing. Typical glaze firing temperatures range from 2,100-2,300°F. At these temperatures, the glaze will melt and fuse with the bisque to create a smooth, impervious surface. Some common glazing techniques include brushing, dipping, pouring, and spraying.
It’s important to follow the manufacturer’s suggested firing schedules for the specific clay and glazes used. Pay close attention to the target cone, maximum temperature, and hold time. Using an electric or gas kiln equipped with a pyrometer allows for precise control over the firing process.
Some safety tips for firing include:
– Wear protective eyewear and respiratory gear to avoid inhaling dust or fumes
– Leave adequate space around pieces to allow for heat expansion
– Use kiln posts/stilts for support and to avoid glaze sticking
– Carefully control kiln ventilation to regulate oxygen levels
– Allow adequate cool down time before unloading fired pieces
With proper preparation, bisque firing and glazing will result in finished ceramic artworks and functional pottery ready for display and use.
Safety Tips
When working with clay, it’s important to take proper safety precautions to avoid potential health hazards. Here are some tips to keep in mind:
Ensure proper ventilation when sculpting or firing clay. Some clays release harmful dust or fumes, so work in a well-ventilated area and use a respirator or dust mask. Open windows, use fans, or sculpt outside if possible. Refer to product safety sheets to understand specific risks of the clay type you are using.1
Avoid skin contact when possible. Wear gloves when handling clay and clean tools to reduce exposure to silica dust. Wash hands thoroughly after working with clay. Change clothes if they become dusty. Some clays can cause skin irritation, rashes or dryness. Discontinue use if any reactions occur.
Work cleanly and carefully. Don’t blow excess dust off work surfaces, as this can circulate dust into the air. Wet mop floors and wipe down tables instead. Avoid eating or drinking while sculpting to prevent accidental dust ingestion.
Take caution when firing clay. Follow kiln operating instructions carefully and only fire in well-ventilated areas. Allow adequate cooling time before removing fired pieces from the kiln.
Store clay properly in sealed bags. Clean up thoroughly after each work session. Follow all manufacturer safety recommendations for the specific type of clay being used.
Projects for Beginners
When starting out with clay sculpting, it’s best to begin with simple projects to learn the basics. Some good ideas for beginner clay sculpting projects include:
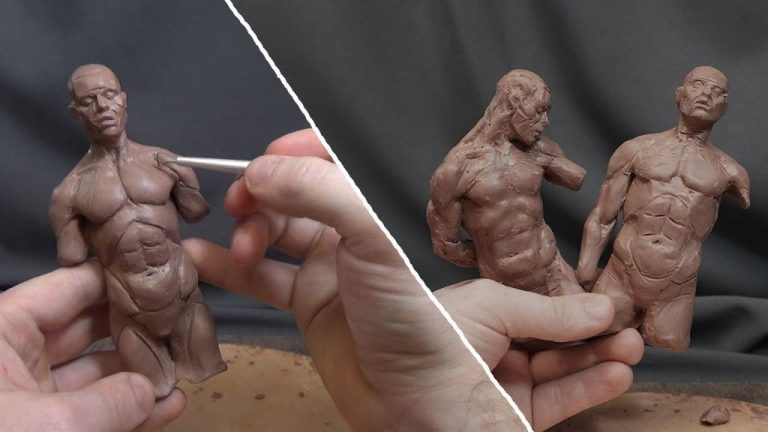
Simple figures – Sculpting a basic human or animal figure is a classic beginner project. This helps you practice shaping clay into a three-dimensional form.
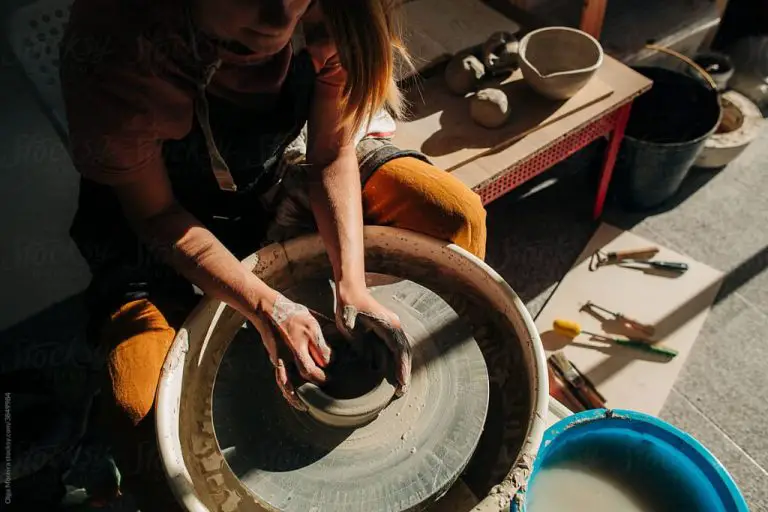
Bowls – Creating functional items like bowls and cups allows you to practice thinning and smoothing clay using basic handbuilding techniques.
Jewelry – Mini sculptures like beads and pendants are fun beginner projects. These small items are quicker to complete and you can turn them into wearable art.
Holiday ornaments – Seasonal decor like Christmas tree ornaments or menorah decorations make great starter projects. You can make simple shapes like stars, balls, dreidels, etc.
For some easy clay sculpting projects for beginners, check out this Pinterest board. Start simple and don’t get discouraged. With practice, you’ll be sculpting more advanced works in no time!
Additional Resources
There are many additional resources available to further expand your knowledge as you’re getting started with clay. Here are some recommendations:
Books
Some excellent books for beginner and intermediate potters include:
– The Complete Guide to Mid-Range Pottery Glazes by Jeff Zamek
– Handbuilding with Clay by Carol and John F. Staub
– The Potters Studio Clay and Glaze Handbook by Ronna P. Morton
– Mastering the Potter’s Wheel by Ben Carter
Online Tutorials
Many talented potters offer online tutorials and demonstrations to teach techniques. Some great YouTube channels to check out include:
– HsinChuen Lin
– The Pottery Wheel
– Ceramic Arts Network
– Simon Leach Pottery
Local Classes
Look for pottery studios in your area that offer beginner wheel throwing and handbuilding classes. Many ceramic shops and community art centers will also have class options. Taking a class is a great way to get hands-on instruction and meet other aspiring potters in your community.

