How Do You Add Water To Dry Clay?
Hydrating clay is an essential first step before working with polymer or air-dry clay. By adding water, dry clay becomes pliable and ready for sculpting, molding, and crafting. This article provides a step-by-step guide to properly hydrating clay, ensuring it reaches an optimal consistency for any project.
We’ll cover choosing the right type of clay, calculating the water ratio, soaking and kneading techniques, and how to store hydrated clay. With the right preparation, clay can be transformed into beautiful works of art, functional pottery, and endless creative designs.
Gather Materials
Before hydrating clay, you’ll need to gather the necessary materials:
-
Clay – Choose an air-drying clay or polymer clay. Have at least 1-2 lbs available.
-
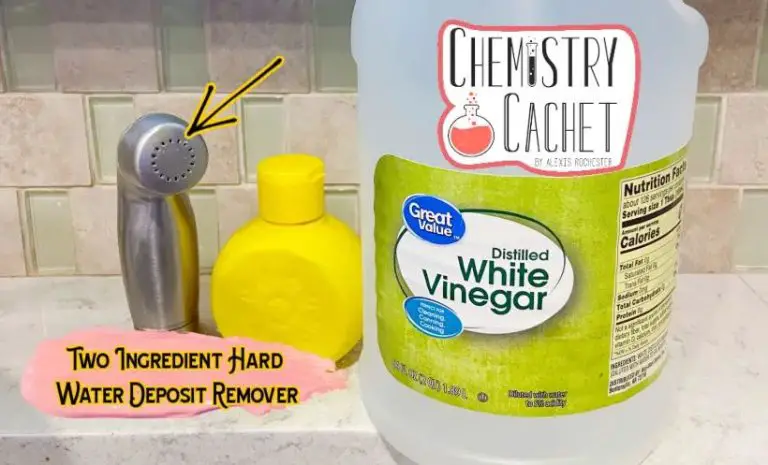
Water – Distilled or bottled water is best. Have at least 1 cup on hand.
-
Container – A plastic container, bowl or bucket works well.
-
Sculpting tools – These include wooden or rubber tools for shaping the clay after hydrating it. Grab any tools you plan to use for your project.
Having all materials ready will make the process easier and faster.
Choose the Clay
Clay can be divided into three main categories based on its properties: earthenware, stoneware, and porcelain. Each type of clay has distinct characteristics that are better suited for certain applications.
Earthenware clay is very plastic and easy to work with, making it a good choice for beginner potters and sculptors. It fires at lower temperatures compared to other clays, usually between 1800-2100°F. The finished product is porous and somewhat absorbent. Earthenware works well for items like flower pots, tiles, and decorative pieces.
Stoneware clay is denser and less porous than earthenware. It becomes vitrified and watertight after firing between 2100-2400°F. The low absorbency makes stoneware suitable for functional wares like mugs, plates, and bowls. Stoneware also stands up well to repeated use. The color is often gray or brown.
Porcelain clay is white, translucent, and very fine. It fires at the highest temperature, up to 2,600°F. Porcelain is non-porous, hard, and durable. It is commonly used for items like dinnerware, art pieces, figurines, and sanitary ware. However, porcelain can be more challenging to work with compared to other clays due to its stiffness and sensitivity to water content.
When hydrating clay, choose the type appropriate for your desired end result. Earthenware works well for simple projects while porcelain suits more advanced wares. Consider the firing temperature, color, plasticity, porosity, and intended application when selecting clay.
Prepare the Clay
An important step before adding water to clay is to prepare the clay by wedging or kneading it. Wedging and kneading helps distribute any existing moisture evenly throughout the clay and breaks up any hard sections. To wedge, cut the clay into several pieces, slam and squeeze the pieces together on a hard surface, then reform into a ball and repeat. To knead, press, fold and squeeze the clay continually, rotating as you go. Spend 5-10 minutes wedging or kneading until the clay feels uniformly soft and pliable. This preps the clay to absorb water evenly when hydrating.
Select a Container
When selecting a container to hydrate your clay in, it’s best to use non-porous materials like plastic, metal, or glass. Avoid using materials like wood, cardboard, or fabric, as these porous surfaces will absorb water and dry out your clay. Here are some good options for soaking clay:
- Plastic buckets or bins – Look for 2-5 gallon buckets or bins with lids. Plastic won’t affect the clay and allows you to soak large amounts.
- Plastic bowls – Choose large, deep plastic bowls which give clay room to expand. Disposable plastic containers work well.
- Bathtubs – Bathtubs provide plenty of space for hydrating clay. Be sure to thoroughly clean when done.
- Glass or stainless steel containers – These non-porous materials won’t interfere with clay but may be heavy when full.
Select a container that gives clay enough room to soak and expand fully. Avoid crowding too much dry clay into a small space. For best results, choose plastic containers like buckets or bowls when hydrating clay.
Add Water
When adding water to dry clay, it’s important to add the right amount. Too much water can lead to clay that’s sticky and difficult to work with. Start by adding cool or room temperature water. Avoid using hot water as it can shock the clay.
Add water gradually, a little bit at a time. After adding some water, mix and knead the clay to evenly distribute the moisture. The clay should become less crumbly and dry. Continue adding small amounts of water until the clay reaches the desired consistency.
As a general rule, add about 1/4 to 1/2 cup of water per pound of clay. However, the exact amount can vary based on the specific type and brand of polymer clay. Press a small piece of clay between your fingers. Properly hydrated clay should be smooth, flexible and moldable without sticking too much or feeling sticky.
Be careful not to over-hydrate the clay with too much water. This can make the clay difficult to harden properly and cause cracks. If the clay starts feeling overly sticky while kneading, resist adding more water. You can always let the clay rest and then reassess if it needs more moisture.
Soak the Clay
Once you’ve added water to the clay, it’s time to let it soak in. The ideal soaking time will vary based on the thickness and dryness of your clay.
For most clays, a soaking time of 10-15 minutes is sufficient. Very thick or very dry clays may require 20-30 minutes of soaking to fully hydrate.
As the clay soaks, check the softness frequently by pressing into it with your finger. The clay is ready when it reaches an even, flexible consistency throughout. At this stage, the clay should bend gently without cracking.
Soaking for too long can oversaturate the clay, making it sticky and difficult to knead. Check the clay often until it reaches the perfect hydration.
Knead the Clay
Kneading is a crucial step for evenly hydrating clay. As the clay soaks, periodically massage and knead the clay to evenly distribute moisture throughout. This prevents dry spots or overly saturated areas.
To knead, press your fingers into the clay and push forward, folding the clay over itself. Then push down and forward again continuously. Do this for a few minutes at a time every 10-15 minutes while the clay is soaking.
Kneading helps blend the water into the clay, removes air pockets, and makes the clay smooth, uniform, and workable. Well kneaded clay is supple and elastic. Insufficiently kneaded clay will be prone to cracking and breakage.
Continue kneading until the clay is a uniform consistency with no dry patches. Correct moisture disperses evenly through kneading. The clay is ready when smooth, pliable, and not sticky.
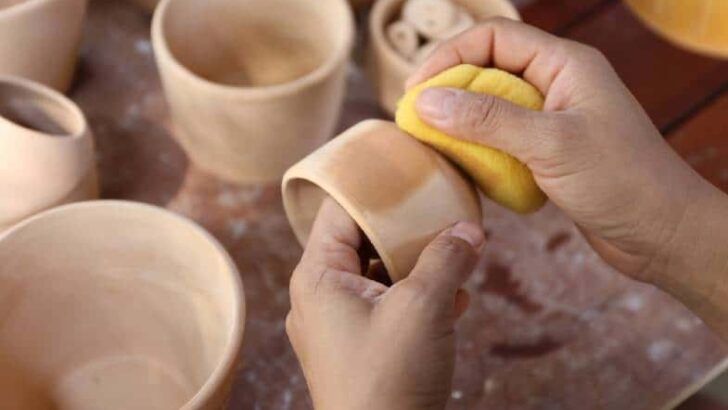
Check Consistency
After kneading your clay for some time, it’s important to check the consistency to ensure proper hydration. The ideal texture of
hydrated clay should be smooth, soft, and pliable but not sticky or tacky.
Test the softness by pressing into the clay with your finger – it should indent easily without cracking. Well-hydrated clay will bend
and flex without breaking apart. Try rolling a piece into a coil or ball. The clay should hold its shape without becoming misshapen.
Check that the clay is not too wet by looking for stickiness. Wet clay will cling to hands and tools. On the other end of the spectrum, if
the clay is too dry, it will crack and crumble when manipulated. Hydrated clay should feel cool, moist, and smooth to the touch.
Kneading will help distribute moisture evenly throughout the clay. Continue kneading and testing consistency until the clay is
uniformly soft, pliable, and not tacky. The ideal flexible clay texture will make sculpting much easier.
Store Hydrated Clay
Once you’ve hydrated your clay, it’s important to store it properly to retain moisture and keep it workable for future projects. The best way to store hydrated clay is to seal it in an airtight plastic container or bag. This prevents the clay from drying out. Make sure to press out any air bubbles before sealing the container.
Try to store the clay in a cool, dry place away from direct sunlight. Avoid freezing the clay, as this can cause the water to expand and damage the clay structure. Freezing can make clay difficult to work with later. Refrigeration is acceptable for short-term storage up to 1-2 weeks, but room temperature is ideal for longer storage.
With proper airtight sealing and storage conditions, hydrated clay can retain its moisture and plasticity for months. Just remember to knead the clay again before using if it has been stored for a while, as some moisture may still evaporate over time.