How Do You Dry Air Dry Clay So It Doesn’T Crack?
Air dry clay is a modeling material made from clay and other additives that allows it to harden at room temperature without needing to be fired in a kiln. It’s popular for crafting and modeling as it’s easy to work with and economical. However, air dry clay is prone to cracking as it dries. This happens because air dry clay contains water that allows it to be molded. As the clay loses this moisture during the drying process, it shrinks slightly causing stress that can lead to cracks. Knowing the right techniques when working with air dry clay is key to minimizing cracking for smooth dried sculptures.
Store Properly Before Use

It’s important to properly store air dry clay when not in use to prevent it from drying out and cracking. Air dry clay should be kept sealed in an airtight bag or container to lock in moisture. As soon as you open a new package, reseal it in a plastic bag, pressing out excess air. You can also store unused clay in a resealable plastic container or jar. Make sure to completely seal the opening with plastic wrap before screwing on the lid. Leftover clay that’s been exposed to air can be rehydrated with a damp paper towel and sealed in a bag or container to restore moisture.
Condition the Clay
Before sculpting with air-dry clay, it’s important to properly condition the clay to prevent cracking and breakage once dried. Air-dry clay often arrives stiff and dense right out of the package. Kneading and warming the clay prior to sculpting allows the material to become more malleable and workable.
To condition air-dry clay, start by kneading it vigorously with your hands for several minutes. This helps distribute moisture throughout the clay and breaks down any hard, stiff areas. Work the clay until it becomes uniformly smooth, soft, and pliable. Avoid over-kneading though, as this can introduce air bubbles.
You can also condition clay by warming it up. Try rolling it into a ball and massaging it between your palms. The friction and body heat will help soften the material. For quicker conditioning, you can microwave the clay for 10-15 seconds or run it under warm water. Just be careful not to overheat the clay, which can dry it out.
Properly conditioned clay is smooth, soft, and malleable. It should not contain any cracks, crumbles, or hard spots. Take the time to knead and warm your clay before sculpting. This pre-conditioning allows for easier shaping and detailing, and reduces the chances of breakage and cracks forming as the sculpture dries. For best results, condition all your clay at once before beginning a project. (Introduction to Clay Sculpting)
Sculpt Even Thicknesses
When sculpting with air dry clay, it’s important to avoid areas that are too thin or too thick. Thin areas, like protruding limbs or edges, are prone to cracking and breaking off as the clay dries and shrinks. On the other hand, thick or bulky sections will dry much slower on the inside than on the outside. This means the exterior could harden first and pull away from the soft interior, causing cracks and splits.
To prevent uneven drying and cracking, aim to sculpt roughly even thicknesses throughout your piece. For smaller sculptures, a thickness of 1/4 to 1/2 inch is ideal. Larger pieces may be up to 1 inch thick. Avoid exceeding 1 inch, as the center will take a very long time to fully cure. Also avoid thinly tapered tips, which can easily snap off.
As you sculpt, periodically check thick and thin areas by pressing gently into the clay. Adjust and add clay as needed to even out the thickness while the clay is still soft and pliable.
Allow Clay to Firm Up Before Detail
One of the keys to preventing cracking when air drying clay is to let the clay firm up a bit before adding intricate details or carvings. When clay is still very moist and pliable, it is more prone to cracking as it dries. This is because the soft clay shrinks and pulls as the moisture evaporates. Sharp lines or thin protrusions made in the clay while still wet are vulnerable to these shrinking forces.
It’s best to wait until the clay has firmed up somewhat and is no longer sticky to the touch before engraving or carving finer aspects. Allow a few hours for the clay to set up initially after sculpting the overall form. Then check the firmness before creating details like facial features, patterns, or textural elements. The firmer clay will hold finer shaping without risk of cracks from drying.
Patience is key when air drying clay to prevent flaws. Waiting for the clay to gain structure before detailing allows moisture to evaporate evenly throughout and minimizes shrinking forces that lead to cracks.
Dry Slowly
One of the keys to drying air-dry clay effectively without cracking is to dry it slowly. Air-dry clay needs time for the moisture to evaporate gradually. If it dries too quickly, the outer surface will contract and harden faster than the inner clay, causing cracks and fissures.
To dry the clay slowly, control the temperature and humidity of the environment. Ideal conditions are around 70°F and 40-60% humidity. Avoid excess heat from direct sunlight or other sources, as this will speed up drying. Similarly, very dry, arid conditions can dry the clay too quickly. Controlling humidity can be achieved by placing the clay in an enclosed space or covering it with plastic wrap while leaving openings for some air circulation.
According to artist tips on Gathering Beauty, “Keeping air dry clay work in an enclosed space while drying helps maintain even humidity and slows down drying time”. Letting clay dry naturally without excess heat allows moisture to evaporate uniformly throughout.
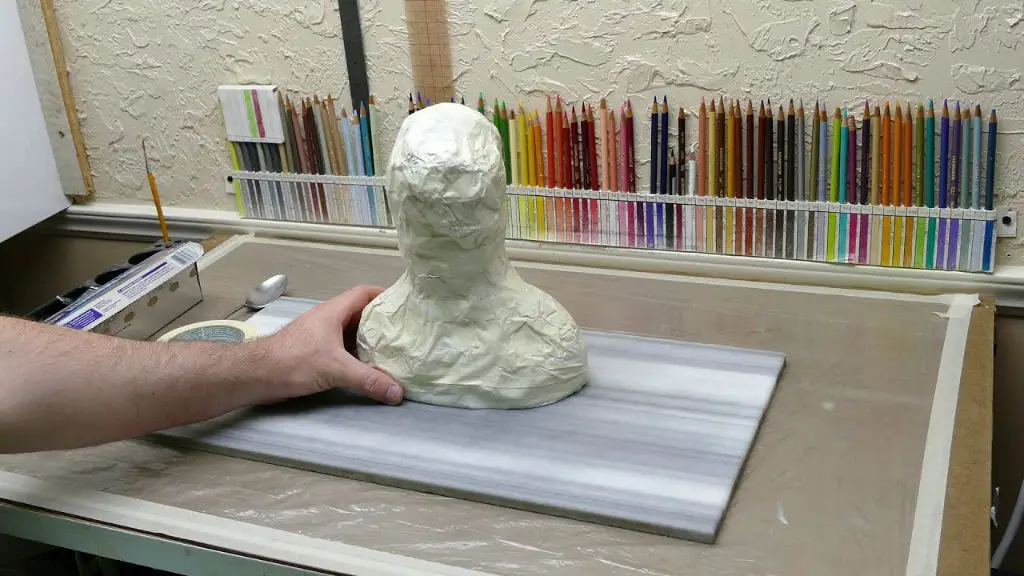
Support Sculpture While Drying
As air dry clay sculptures dry, they can become heavy and brittle. Properly supporting the sculpture as it dries is crucial to prevent cracking and breakage. Place the sculpture on a flat, sturdy surface like a baking sheet lined with aluminum foil. Avoid setting sculptures directly on wire racks, as small contact points can lead to cracks. For pieces with extending limbs or overhangs, use wadded up aluminum foil or rolled clay to create supports. Attach extra supports at weak points and under heavy areas. Check on the sculpture regularly and add or adjust supports if needed. Relief sculptures can be left flat, but add something underneath protruding areas for support.
According to https://www.susiebenes.com/blogs/airdryclayart/a-method-to-the-madness-drying-air-dry-clay-effectively, line a baking tray with aluminum foil to help prevent sticking and cracking while drying your sculpture.
Apply Sealer
Once your air dry clay sculpture is completely dry, it’s important to seal it to protect the surface. The best sealer to use for air dry clay is an acrylic sealer, preferably in a matte or satin finish. Using a matte acrylic sealer helps prevent discoloration and provides an even, durable seal (Source). Apply 2-3 thin, even coats of acrylic sealer, allowing each coat to fully dry in between. Using thin coats prevents cracking or peeling. Allow the final coat to dry for 24 hours before handling the sculpture. Sealing air dry clay pieces with an acrylic sealer helps protect the clay from moisture, adds durability, and prevents paints or stains from soaking into the surface over time.
Avoid Direct Sunlight
One of the biggest mistakes when drying air dry clay is to place it directly in sunlight. Although the sun’s warmth may seem like it would help the clay dry faster, the intense heat and UV rays will actually cause the clay to cure improperly.
When exposed to direct sunlight, the outer surface of the clay will dry rapidly. However, the interior of the clay will remain moist. This moisture disparity leads to cracking, peeling, and other defects.
For best results, air dry clay should be kept in ambient room temperature out of direct sunlight. One source recommends, “Keep your creations away from direct sunlight while the clay is drying. Find a shaded spot or work indoors.” (Trinity Creative Tutorials)
If you want to speed up drying time, use a hair dryer on a cool setting or place the clay near a gently blowing fan instead of placing it in direct sun.
Conclusion
Air drying clay without cracks takes a little planning and care. Properly conditioning the clay before sculpting, creating even thicknesses, allowing the piece to firm up before adding detail, slow drying, supporting the sculpture, and sealing it are all techniques that will help minimize cracking. With the right preparation and drying approach, you can successfully make sculptures with air dry clay that turn out smooth and crack-free. Using a few simple techniques goes a long way in preventing frustrating cracks and breaks. Just take your time, avoid direct sunlight, and don’t rush the drying process. If you follow these guidelines, your air dry clay creations will have the best chance of drying beautifully.