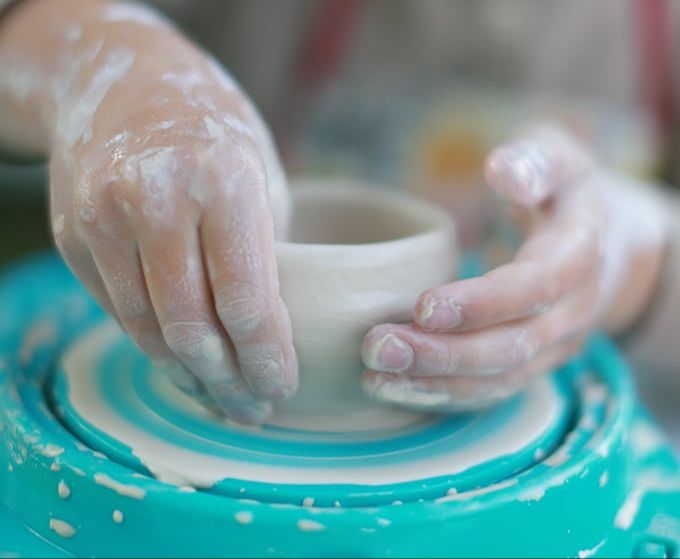
How Do You Harden Modeling Clay?
Modeling clay is a pliable material when wet that can be molded into different shapes and designs. When exposed to air, heat, or other drying methods, modeling clay will harden and become permanent, allowing the sculpted designs to maintain their form. There are a few main techniques used to harden modeling clay so creations do not lose their shape over time.
This article will provide an overview of the most common methods used to harden air-dry, polymer, and natural clays. Techniques covered will include baking, air drying, using a dehydrator or oven, applying heat with a hair dryer or microwave, freezing, and adding protective glazes or varnishes. With the right technique, modeling clays can be transformed from a soft, moldable material into a hardened, permanent medium for creative arts and crafts.
Baking
Baking is the most common and effective method for hardening modeling clay. When clay is baked in an oven, the heat causes a chemical reaction that permanently hardens the clay. Baking allows the sculpted pieces to be more durable and retain their shape over time.
The ideal baking temperature for modeling clay ranges from 230°F to 275°F (110°C to 135°C), depending on the specific clay brand and instructions. Sculpey Original Clay, one of the most popular oven-bake clays, recommends baking at 275°F for 15 minutes per 1⁄4 inch of thickness.1 Higher temperatures and longer baking times will increase the strength and durability of the finished piece.
To bake modeling clay, first check the package for specific temperature and time guidelines. Preheat the oven to the recommended temperature. Place the clay sculpture on a baking sheet lined with parchment paper or aluminum foil. Bake for the specified time, checking occasionally near the end to prevent over-baking. Allow the clay to cool completely before handling.
In most cases, modeling clays can be baked in a standard kitchen oven. For smaller pieces, a toaster oven may also be used. Take care not to exceed the recommended temperature as too much heat can scorch the clay.
Air Drying
Air drying is one of the easiest techniques to harden modeling clay. When exposed to open air over time, modeling clay will naturally lose moisture and harden.[1] The amount of time required will depend on the climate conditions and thickness of the clay.
In a dry environment, thinner pieces made with air dry clay can harden fully within 24-48 hours. Larger or thicker clay sculptures may take 3-7 days to completely harden.[2] In more humid climates, drying time will be slower across the board. Rotating pieces while drying can help moisture evaporate evenly. Storing projects in an air conditioned room can also accelerate drying time.
The main drawback of air drying is the longer wait time compared to other techniques. However, it requires no additional tools or equipment. Air drying is best for smaller, thinner clay pieces. For larger sculptures or faster hardening, other techniques may be preferred.
Using a Dehydrator
A food dehydrator can be used to dry modeling clay much faster than air drying. Dehydrators blow hot air around the modeling clay, helping to draw moisture out of it more quickly.
The ideal temperature setting for drying modeling clay in a dehydrator is between 95-115°F. At lower temperatures, it will take longer for the clay to fully dry. Higher temperatures can cause the clay to crack or become brittle.
Drying time can vary based on the size and thickness of the clay pieces, but most modeling clays will be fully dried within 1-6 hours in a dehydrator. Thinner pieces may only take an hour, while thicker sculptures may need up to 6 hours. Check the clay periodically to ensure it has dried fully and evenly.
Setting the dehydrator to 100-110°F and letting the clay dry for 2-4 hours is usually sufficient for most projects. Just be sure not to overlap or stack clay pieces, as this can prevent thorough drying. Letting air fully circulate around each piece is key.
Heating in an Oven
One of the easiest ways to harden modeling clay is by heating it in an oven. Polymer-based clays like Sculpey can be firmed up by placing the molded clay on a baking sheet or ceramic dish and baking at 215-300°F for 10-30 minutes.

It’s important not to bake the clay at temperatures that are too high, as this can cause the clay to melt or burn. Refer to the manufacturer’s instructions for the proper baking temperature and time for the specific type of modeling clay. In general, baking at around 275°F for 15 minutes will harden most brands of polymer clay effectively.
The advantage of using the oven is that it heats the clay evenly throughout, resulting in uniform hardness. Just be cautious not to overbake, and start checking on the clay a few minutes before the recommended baking time.
Using a Hair Dryer
One way to quickly harden modeling clay without using an oven is with a hair dryer. Using a hair dryer on a cool setting allows you to speed up the air drying process of the clay. However, it’s important not to hold the hair dryer too close to the clay or leave it blowing on one section for too long. Doing so can overheat the clay, causing it to burn, crack, or become misshapen.
When using a hair dryer to harden modeling clay, keep the dryer 6-10 inches away from the surface of the clay and constantly move it around to evenly distribute the air flow. Only use a cool setting, and dry for short intervals of 2-5 minutes before giving the clay a break to cool down. Check the clay frequently, and once it has firmed up and is no longer sticky to the touch, the modeling clay should be hardened.
According to polymer clay experts, a hair dryer can harden sculpts in as little as 15-20 minutes if the temperature is around 275°F. However, it’s better to go slowly to prevent overheating the clay. With the proper distance and frequent breaks, a hair dryer can be an effective way to speed up air drying time for modeling clay. (source: https://www.reddit.com/r/polymerclay/comments/10stkid/how_long_does_it_take_for_polymer_clay_harden_by/)
Microwaving
Microwaving can be a quick way to harden modeling clay, but it requires care to avoid uneven drying or damage.1 The high heat of a microwave can cause moisture to evaporate rapidly from the outer surface while the interior remains soft. This can lead to cracks as the exterior hardens.2
To microwave modeling clay safely, only microwave for 10-30 seconds at a time. Allow the clay to cool slightly between intervals to let the heat distribute evenly throughout. Check for cracks or overly dry areas and stop microwaving if any appear. Microwaving works best for small, thin pieces of clay rather than large sculptures or thick pieces.
Keep the clay moist by putting a cup of water in the microwave with it. Covering the clay with a damp paper towel or putting it in an airtight container with a damp towel can also help retain moisture while microwaving. Avoid overheating or microwaving too long, as this can cause clay to become brittle or combust.
Freezing
Freezing modeling clay can make it temporarily harden and firm up. When clay is frozen, the water inside expands as it turns to ice, which causes the clay to become more rigid. However, this effect is only temporary. According to a discussion on Reddit, “If cooled (in the fridge or freezer, or just when no longer being manipulated), polymer clay will temporarily ‘firm up’ but that’s not the same as being cured/hardened.”
Once frozen clay is brought back to room temperature and thawed, it will soften again. The freezing process does not permanently harden the clay. As explained on Reddit, “Cooling makes polymer clay rigid enough to hold shape temporarily, but it returns to its original uncured state as it warms.”
So while freezing clay can be useful for storing unfinished pieces or transporting them, it does not create a permanent hard finish. The modeling clay will need to be hardened using another method, such as baking or air drying, for a long-lasting result.
Adding Glaze or Varnish
Applying a sealant like glaze or varnish will help harden the outer layer of modeling clay.
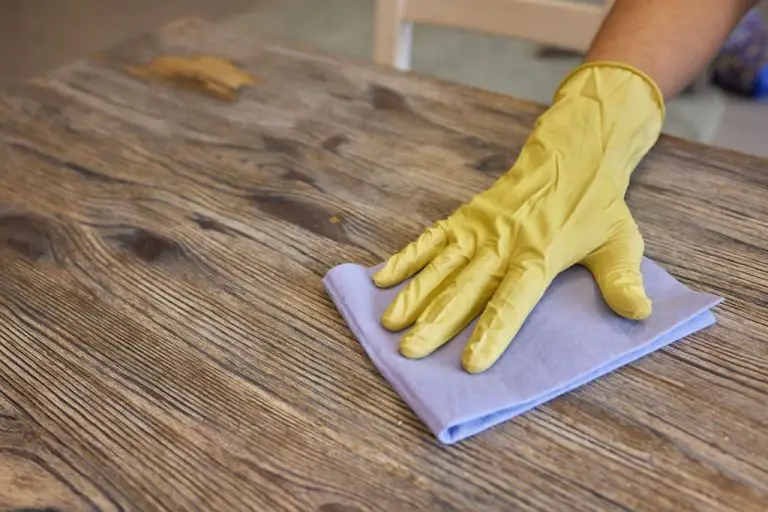
To apply a glaze or varnish, first make sure the clay is completely dry. Using a brush or cloth, apply a thin layer evenly across the surface of the clay. Let dry completely. Apply another layer if desired for a glossier finish. Be sure to work in a well-ventilated area when applying glazes and varnishes as the fumes can be strong. Refer to the manufacturer’s instructions for specific drying times.
Polymer glazes and varnishes designed for clay work best, such as Varathane (https://thebluebottletree.com/understanding-polymer-clay-glaze-sealer-varnish/). They help seal and harden the clay while providing a glossy, finished look.
Conclusion
In summary, there are various techniques that can be used to harden modeling clay, depending on the type of clay and the desired firmness. Baking polymer clay in the oven at 215-300°F for 10-30 minutes is one of the most effective ways to permanently harden it. Air drying clays will harden naturally over time, and this process can be sped up by placing the clay in direct sunlight or near a heat source. Using a dehydrator, oven, hair dryer, or microwave are other options for rapidly drying air drying clays. Water-based clays can be hardened by freezing or adding glazes or varnishes. The optimal technique depends on the clay type, the project size and design, and the preferred timeframe.
Additional tips for achieving the perfect firmness include testing the clay regularly by squeezing it, tracking bake times, and tenting foil over projects in the oven to prevent over-hardening. Start with lower bake times and temperatures when experimenting. Store unused clay in air tight containers, and re-soften clay as needed by microwaving in short intervals or kneading in oil or water. With trial and error, you can master creating modeling clay projects with the ideal hardness.