How Do You Layout A Craft Room?
Setting up a craft room involves careful planning and layout to make the most of the available space. When designing a craft room layout, there are several key considerations:
- Space planning – Mapping out activity zones and furniture placement for an efficient workflow.
- Lighting – Incorporating both ambient and task lighting to illuminate all work areas.
- Furniture – Choosing the right work surfaces, seating, and storage solutions.
- Organization – Utilizing storage systems and organizational tools to keep all supplies accessible yet tidy.
- Wall storage – Maximizing vertical space with pegboards, shelving, cabinets.
- Flooring – Selecting durable, easy-to-clean flooring suitable for the space.
- Electrical – Having ample outlets spaced throughout the room.
- Ventilation – Adding a ventilation fan or air purifier to control fumes.
- Safety – Following craft room safety tips, like fire prevention.
Carefully considering these elements will help create an inspiring, functional craft area tailored to your hobbies, style, and space.
Space Planning
Space planning is a crucial first step when designing a craft room. Proper space planning involves measuring the room size and layout to determine the best use of the available space. It’s important to think about the different activity zones needed in a craft room, such as cutting and sewing, storage, computer desk, etc. Make sure to map out these zones on paper first to get a sense of the space requirements. Allow for at least 36-inches of workspace around any seated craft area for adequate legroom clearance. Pathways between activity zones should be at least 36-42 inches wide for comfortable navigation [1]. Consider any large equipment or furniture pieces and make sure there is enough space to accommodate them. Planning out the layout ahead of time ensures the craft room will be functional and efficient.
Lighting
Lighting is a crucial component of any craft room. You need ample natural light during the day and versatile artificial lighting at night.[1] Large windows allow daylight to illuminate your workspace. Skylights and light tubes also maximize natural light. Make sure windows have adjustable window treatments to control glare and UV rays.[2]
For artificial lighting, choose energy-efficient LED bulbs. LEDs last longer and run cooler than traditional bulbs. Install overhead fixtures that provide ambient lighting throughout the room. Opt for daylight or bright white bulbs between 5000K to 6500K to help you see details clearly.[2] Don’t rely solely on overhead lighting. You also need task lighting at your work area. Desk lamps, track lighting, under-cabinet lighting, and sconces are great for focused illumination right where you need it most.[1]
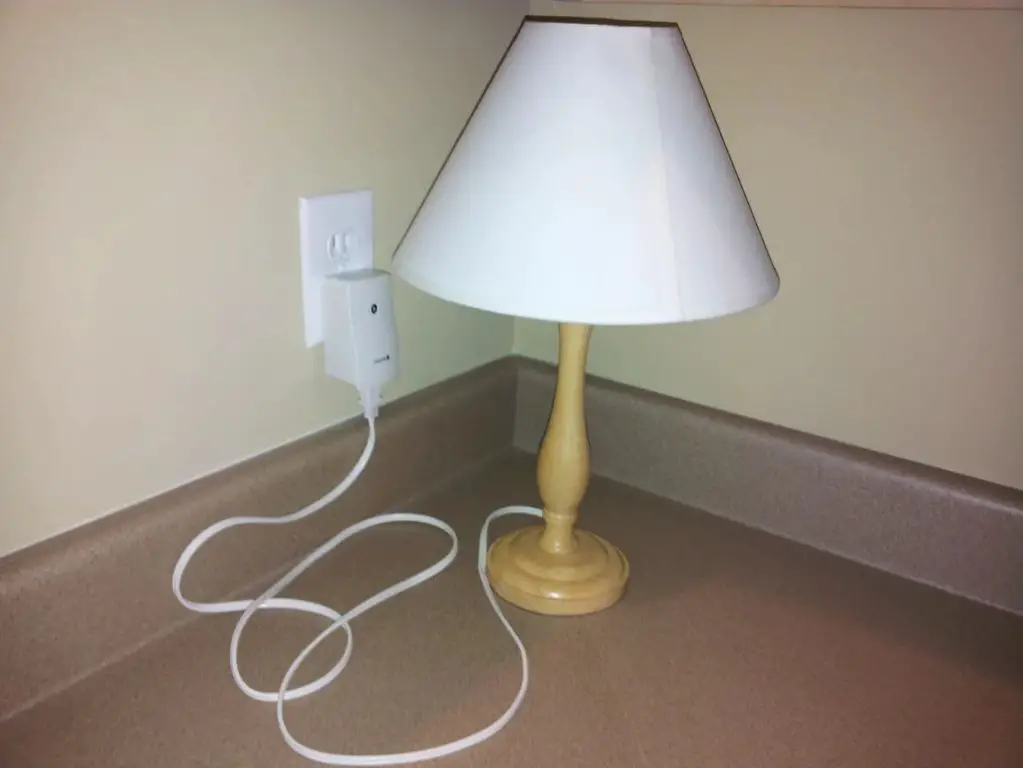
Position task lighting near your dominant hand to prevent shadows while working on projects. Dimmable lights allow you to adjust the brightness as needed. Portable floor and table lamps add flexibility to complement fixed overhead and wall lighting.[1]
[1] https://www.stampnstorage.com/crafted-spaces-illuminating-creativity/
[2] https://www.kichler.com/lighting-ideas/blog/craft-room/
Furniture
The furniture you choose for your craft room is key to creating an organized, functional, and inspiring space. Focus on furnishings that provide ample work surfaces, storage solutions, and display options.
For working on projects, look for sturdy tables that can handle craft supplies and tools without wobbling. Standing-height tables allow you to alternate between sitting and standing. Consider fold-down work surfaces on walls to maximize space.
Incorporate storage furniture like shelves, cabinets, drawers, and cubbies to corral all your craft supplies and tools. Look for pieces with doors to conceal messy spaces. Storage ottomans allow you to stash supplies inside.
Display shelves let you show off finished projects and decorative craft items. Floating shelves save floor space while wall mounts allow you to arrange shelves at different heights.
Organization
Keeping your craft supplies organized is key for an efficient and clutter-free workspace. Utilize storage bins and baskets to corral small items like embellishments, beads, and ribbons. Clear plastic bins make it easy to see contents while baskets in different sizes store larger supplies. Label all containers using a label maker or handwritten tags so you know exactly what’s inside without opening (source: https://www.firstdayofhome.com/craft-room-organization-ideas/).
Create a visible and consistent labeling system for frequently used supplies. Use letters or categories like “Embellishments” and “Adhesives” for quick identification. Store like items together and arrange supplies from largest to smallest. A visible labeling strategy prevents you from buying duplicates. Stick to a consistent system across all storage for a streamlined workspace (source: https://www.hgtv.com/design/decorating/design-101/12-amazing-craft-room-organization-ideas-pictures).
Wall Storage
Wall storage is crucial for maximizing space in a craft room. Here are some of the most popular options for craft room wall storage:
Pegboards
Pegboards allow you to hang tools, supplies, and accessories on pegs for easy visibility and access. Look for pegboards with a standard peg size and spacing to accommodate a wide range of accessories like shelves, baskets, and hooks. Pegboards come in various materials like wood, plastic, or metal. Consider mounting pegboards above workstations or high-traffic areas in your craft room.
According to Amazon, pegboards with additional storage like bins and baskets are popular options.
Slatwall Panels
Slatwall panels create customized storage with the ability to mount hooks, shelves, baskets, and other accessories anywhere on the panel surface. The slots offer flexibility to rearrange components as needed. Look for slatwall panels in materials like wood, MDF, or plastic. Use slatwall panels to organize tools, materials, or displays along a wall or work area.
Shelving
Wall-mounted shelving provides open storage for supplies and materials. Shelves come in many sizes, configurations, and materials like wood, metal, or glass. Consider the weight you need to support. Add dividers, bins, baskets, or boxes on shelves for categorized storage. Stagger shelving at different heights to optimize vertical wall space. Position shelving near workstations for quick access to supplies.
According to Best Craft Organizer, wall-mounted box shelving is an excellent way to maximize storage space in a compact footprint.
Flooring
When choosing flooring for a craft room, opt for materials that are durable, easy to clean, and comfortable for long periods of standing or sitting. Popular options include:
Vinyl flooring provides a budget-friendly, waterproof surface that is easy to wipe clean when accidents inevitably happen in a craft space. Look for vinyl plank flooring for a stylish wood look or vinyl tile for endless design options. According to 50 Floor, vinyl is one of the best craft room flooring choices.
Laminate flooring is another good option cited by Splitcoast Stampers users. It provides the look of wood with great durability. Just be sure to opt for a water-resistant laminate floor to protect against spills.
Cushioned anti-fatigue mats in front of workstations can provide comfort for long crafting sessions. Greatmats recommends flexible PVC mats that are easy to clean and kind on joints.
Electrical
Having adequate electrical outlets and power is crucial for a functional craft room. You’ll likely have multiple lamps, machines like sewing machines or vinyl cutters, as well as chargers for tablets, phones, and other devices that require consistent access to power.
When planning out your electrical, make sure there are ample wall outlets spaced every 4-6 feet apart around the perimeter of the room (https://looksgoodtous.com/craft-room-series-part-2-electrical/). Having outlets available on multiple walls gives flexibility in furniture placement. It’s ideal to have outlets placed above workstation areas or desks so devices can be charged conveniently.

Consider installing specialty outlets like USB chargers to accommodate all your devices. Dedicated 20-amp circuits will be necessary for large power draws like heat presses or laminators. Make sure your breaker box can handle the electrical load of your planned equipment and appliances to prevent tripping or blown fuses. Proper lighting like LED track lights are key and will be covered in the next section.
Ventilation
Proper ventilation is crucial in a craft room to manage fumes, odors, and dust. Many craft supplies and materials give off strong fumes that can cause headaches, dizziness, and other health issues if inhaled over time. Glues, paints, varnishes, inks, and solvents are common culprits. Fine particles from activities like woodworking, sanding, cutting, and sewing can also accumulate and cause breathing irritation. Ventilation helps clear the air and prevent these hazardous particulates from building up.
Consider installing a ventilation system or exhaust fan to actively circulate and exchange air. Fans should vent to the outdoors, not just recirculate air within the room. Place the exhaust fan near areas that produce the most fumes or dust like work tables, sinks, or storage shelves. Make sure the fan is powerful enough for the size of the space (measured in CFM or cubic feet per minute). Also open windows whenever possible for fresh air.
According to Craft Room Ventilation and other Safety Precautions, fans require non-sparking blades and explosion proof motors if working with flammable vapors. Avoid placing fans near any ignition sources. Proper ventilation helps remove hazards before they reach dangerous levels.
Safety
A craft room can involve the use of various tools, equipment, and materials that require safety precautions. Having the proper safety gear and practices in place helps prevent accidents and injuries.
It’s recommended to keep a well-stocked first aid kit in your craft room containing bandages, antiseptic, medical tape, etc. This allows you to quickly treat any minor cuts or burns (Source).
Also consider installing a small fire extinguisher suitable for electrical fires. Make sure it’s easily accessible in case of an emergency (Source).
Proper lighting is important for safety. Make sure there is adequate overhead lighting so you can see your work area clearly without straining your eyes.


