How Do You Make A Easy Clay Dragon Sculpture?
In this guide, we’ll walk through an easy way to make a fun clay dragon sculpture. With just a few basic supplies, you can let your imagination run wild to create your own unique dragon friend. Sculpting with clay is a great creative outlet that exercises your fine motor skills. The process of shaping the clay is both relaxing and rewarding. Plus, you’ll end up with an awesome decorative piece to display when you’re done.
To make your clay dragon, you’ll need the following supplies:
- Air-dry clay
- Rolling pin
- Toothpicks
- Acrylic paint
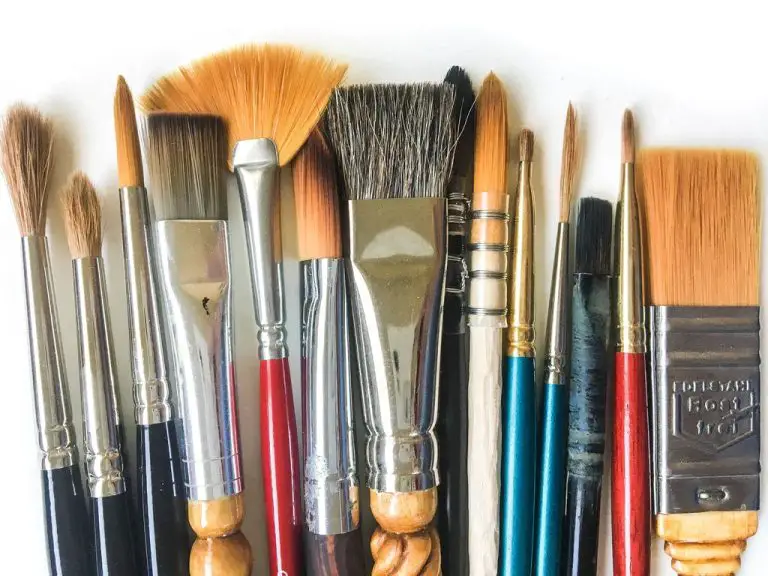
- Paintbrushes
- Clear acrylic sealer
With just these basic tools, you’ll be able to craft a fun dragon sculpture full of details and personality. The great thing about working with clay is there’s no need for any special artistic skills. You can shape, mold, and carve the clay into whatever you envision. Let your creativity run free and make a unique dragon that’s all your own!
Making the Body
The first step in creating a simple clay dragon is forming the basic body shape. To do this, take a chunk of clay and roll it between your hands to form an oval or egg-like shape. This oval will serve as the body and chest of the dragon.
Once you have the oval shape for the body, use additional smaller pieces of clay to attach four legs and a neck. Roll four balls of clay into cone shapes for legs and attach them to the bottom of the oval, letting them extend out. Then take a thick coil of clay and attach it to the top/front of the oval body to create the neck. The neck should be thick and extend upwards. Attaching the legs and neck will give your clay dragon a basic body structure to build upon.
Sculpting the Head
The dragon’s head is one of the most important parts to get right when sculpting your clay dragon. Start by rolling a teardrop shape for the snout using your fingers. Make sure the snout is the right size and shape in proportion to the body. Pinch and blend the teardrop into the neck and head.
Next, use small balls of clay to add the eyes. Position them on either side of the snout and flatten slightly. For horns, roll thin coils or pointed teardrop shapes. Attach them to the top of the head and curve as desired. Nostrils can be poked in with a toothpick or stylus.
To finish detailing the head, add any additional features like spikes, scales or a forked tongue. Let your imagination run wild! Sculpting all of the facial features brings your clay dragon to life.
Texturing the Body
Adding texture to the dragon’s body makes it look more realistic and interesting. This is done by using various clay sculpting tools to imprint scales, ridges, and other designs into the clay.
To add scales, use a rounded clay tool or toothpick to press small, overlapping circles into the clay. Do this in rows starting at the head and working down the body and tail. Add larger scales on the belly and smaller ones along the back and sides.
Use the sharp end of a sculpting tool to etch vertical lines down the dragon’s back to create a ridged spine effect. You can also add some horizontal line texture on the thighs and forehead to imitate wrinkles and folds.
Don’t forget the claws! Use a needle tool or toothpick to add talon details on the hands and feet. Make a series of short lines coming from each digit to resemble claws.
Adding these textures really brings the sculpture to life, making it look like a realistic dragon rather than just a smooth clay figure. Take your time with the detailing to get the textures just right.
Painting
One of the most exciting parts of making a clay dragon sculpture is bringing it to life with paint. However, it’s crucial to allow the clay to fully dry before starting the painting process. Applying acrylic paints to wet clay can cause the paint to crack or peel off as the clay continues drying and shrinking. A good rule of thumb is to let air dry clay cure for at least 24-48 hours before painting.
Once the clay is fully cured, start by base coating the entire sculpture with acrylic paint in your desired dragon colors. Acrylics work great for painting clay as they adhere well to the clay surface. Using a medium-sized brush, apply a smooth, even layer of paint over the body, head, wings, and other areas. Let the base layer dry completely before moving on.
Now the fun begins! Switch to smaller fine tip brushes to add details like scales, horns, claws, teeth, and eyes. Layering progressively lighter and darker shades of your base colors can create depth and highlights. Outlining each individual scale rather than dry brushing gives a more realistic dragon texture. Don’t forget tiny details like nostril holes, nails, and spine ridges down the back. Finally, finish by using a thin brush to carefully paint the eyes.
Varnishing
Varnishing is an important final step to protect your sculpture’s paint job. Polyurethane varnish provides a protective seal against moisture, UV rays, and normal wear and tear. To varnish, work in a well-ventilated area and carefully apply a thin layer of polyurethane varnish over the entire painted sculpture using a high-quality varnish brush. Avoid over-brushing or applying too much varnish at once. Allow the varnish coat to fully dry for at least 24 hours before displaying or handling the finished dragon sculpture. Applying a quality polyurethane or acrylic varnish ensures your handmade clay dragon will stay vividly colored for years to come.
Displaying Your Clay Dragon
Once your clay dragon sculpture is complete, you’ll want to display it properly to show off your hard work. Here are some tips for effectively displaying your dragon art:
Mounting the Sculpture on a Base or Stand
For stability and to help showcase your sculpture, mount it on a base or stand. This could be as simple as a wooden block or pedestal, or you could attach it to a decorative base. Secure the sculpture with clay, glue or other adhesives. Make sure the base is sturdy enough to hold the weight of the sculpture.
Places to Showcase the Finished Piece
Display your dragon on a shelf, bookcase, cabinet or table where it will stand out. For a desk or workspace, place it near your computer or monitor. Or put it in an entryway or living area where guests can admire your artistry. Rotate its position from time to time.
Lighting Considerations
Pay attention to lighting that highlights your sculpture. Overhead lighting works well. If the lighting is too dim, use a desk lamp or rotating display turntable with built-in lighting. Avoid intense direct sunlight which can fade paint over time.
With the right base, location and lighting, your handcrafted clay dragon will really come to life on display for all to enjoy!
Troubleshooting Issues
Clay dragons can sometimes develop problems during the sculpting and finishing process. Here are some common issues and how to fix them:
Cracking or Breakage
If your clay dragon develops cracks or breaks apart, there are a couple solutions. For small cracks, you can try rubbing a small amount of water into the cracked area to meld the clay back together. For larger cracks or breakage, you may need to re-moisten the broken section with water, press the pieces back together tightly, and allow to dry completely.
Paint Not Sticking
Make sure to varnish your dragon before painting to provide a non-porous surface for the paint to adhere to. If paint still won’t stick, try lightly sanding the area first to rough up the surface and provide more tooth for the paint. Avoid applying too thick of paint layers which can crack and peel.
Fixing Mistakes
Don’t be afraid to re-work sections if you make a mistake. As long as the clay remains flexible, you can continue to add clay to cover errors or smooth out imperfections. Wait until after painting to varnish, since varnishing makes the clay non-pliable.
Additional Decorating Ideas
Once your clay dragon sculpture is complete, you can have fun decorating it further to give it more personality. Here are some ideas for additional decor:
Adding glitter, gems, found objects
Glitter is a classic way to make your dragon sculpture sparkle. Consider adding glitter along the spine, wings, eyes or other key areas. You can mix glitter directly into paint or glaze before applying. Or you can brush on liquid glitter glue after painting. For extra shine, glue on flat-back rhinestones or gems over the body. Look around your home and yard for interesting objects like buttons, beads, shells, or stones to glue onto your sculpture as accents.
Making a habitat diorama base
Give your dragon a home by creating a mini habitat landscape base. Sculpt hills, trees, and other textures from clay, plaster, or foam. Add natural elements like moss or twigs. Or sculpt clay rocks or a mountain cave. You can even make a small castle or village if you want! Place your dragon sculpture on top of the habitat base you design.
Creating a dragon family
Make a whole family of dragons in different sizes and colors. Experiment with sculpting baby dragons, dragons with wings open or closed, sleeping dragons, fire-breathing dragons. Place them together on a base to create an interesting dragon clan display. Or tell a story by posing the dragons interacting.
Conclusion
By following this simple guide, you were able to create a unique clay dragon sculpture right at home. Let’s do a quick review of the process. First, we made the body by rolling and shaping clay balls and coils. Next, we sculpted an expressive dragon head and added textures like scales and spikes to the body. Then we painted our sculpture with acrylics and sealed it with a protective varnish. Now we have an awesome clay dragon ready for display!
Make sure to take photos of your finished dragon sculpture to share with friends and family. Seeing your clay artwork on display can also inspire ideas for your next creative clay project. Whether you want to sculpt more dragons, fantasy creatures, animals, or abstract art, the techniques you learned here will help you bring your imagination to life.
Working with clay and making DIY sculptures is an enjoyable hobby for all ages. The sense of satisfaction from molding a shapeless lump into an intricate figure is so rewarding. We hope this beginner’s guide provided a fun introduction to sculpting with clay. Keep being creative, and your skills will continue to improve with each new artwork. Your custom clay sculptures will soon become treasured keepsakes.