How Do You Make Clay Tobacco Pipes?
The art of making clay tobacco pipes dates back centuries. Though originally handmade by skilled artisans, pipe making later became an important cottage industry in places like England and France. These beautifully carved pipes were status symbols and functional artworks.
Today, clay pipe making remains a treasured craft. The basic process involves selecting the right clay, preparing it for use, carefully shaping the pipe, adding decorative elements, allowing it to air dry, firing at high heat, glazing if desired, firing again, and finishing touches. Pipe makers require an assortment of essential tools and skills to create these small but intricate objects.
The best clays for pipe making are fire clays or ball clays, which can withstand very high firing temperatures. Decorative and textured elements may be added by hand, stamping clay sheets before forming, or using custom molds. Firing techniques like raku can create dramatic smoked finishes. With care and practice, clay artisans can produce stunning tobacco pipes that stand the test of time.
Selecting the Clay
The type of clay used is crucial for making a functional and durable clay pipe. The clay must have certain properties to produce a high quality pipe.
Porosity is very important, as the clay needs to absorb moisture well but also release it slowly during the drying and firing process. Too much porosity can lead to cracks while too little can cause explosions or breakage. An ideal clay has moderate porosity.
Plasticity is also key – the clay needs to be moldable and flexible enough to shape into delicate thin-walled pipes, yet also strong enough to maintain its form during handling and firing without deforming. A plastic clay is essential.
The mineral content affects the clay’s firing temperature and color. Pipe clays require moderate firing temperatures under 2200°F. Pure white kaolin and porcelain clays fire too high, while highly impure clays fire too low.
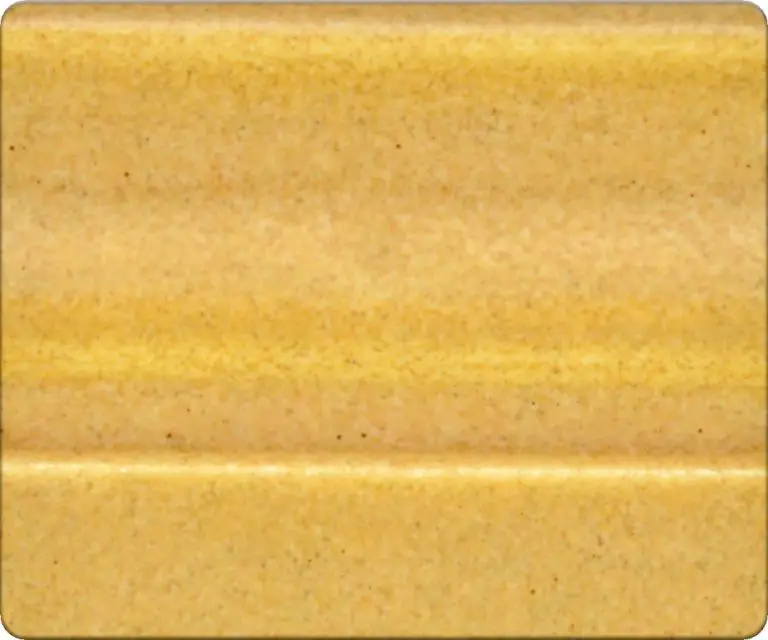
The most common clays used for pipe making are red and brown earthenware clays, buff and brown stoneware clays, and terra cotta. These provide an ideal balance of porosity, plasticity, strength, color, and firing temperature for sculpting and firing durable, high quality tobacco pipes.
Obtain clay from pottery supply stores or directly from clay manufacturers. Look for clay bodies specifically intended for pottery and ceramic work, rather than earthen construction clays which are too impure.
Preparing the Clay
Before the clay can be shaped into a pipe, it must be properly prepared. Two key steps in preparing the clay are wedging and kneading to remove air pockets, and achieving an optimal moisture content.
Wedging involves cutting the clay into chunks, stacking them, and then pushing them together to form a solid mass. This squeezes out any air trapped inside the clay. Kneading is then done by folding, pressing, and pushing the clay to continue working out air bubbles. Getting rid of air pockets is crucial to prevent cracking or exploding during the high temperatures of firing.
The moisture level of the clay must also be adjusted before shaping the pipe. Clay straight from an open bag or pile often contains too much or too little moisture. The optimal moisture content allows the clay to be flexible and moldable without becoming too wet and sticky. Wedging and kneading will help distribute moisture evenly. More water can be worked into dry clay, while excess moisture can be removed by continuing to wedge and knead the clay.
Shaping the Pipe
Once the clay has been prepared, it’s time to shape it into an actual pipe form. There are two main methods for shaping a clay pipe – using a mold or hand shaping.
If using a mold, the clay is pressed into a pre-formed mold cavity to create the basic pipe shape. Molds are often made of plaster or ceramic and allow efficient, consistent shaping. The mold should be lightly dusted with a release agent like talc so the clay doesn’t stick.
For hand shaping, a ball of clay is rolled and stretched to form the stem. Another ball is shaped into a cone or cylinder for the bowl, then attached to the stem. The shank is shaped to connect the stem and bowl. A needle tool can be used to pierce the shank airway between the bowl and stem.
When hand shaping, it’s important to compress the clay firmly and work slowly to avoid trapped air bubbles. Extra clay can be added to refine the shape as needed. The pipe should feel solid and sturdy once shaping is complete, before moving on to drying and firing.
Texturing and Markings
There are various options for adding texture and designs to clay tobacco pipes. One method is incising or impressing textures into the surface of the clay. Some common textures include:
Ribs – vertical thin lines that can be created by dragging a dull tool down the pipe’s surface. This creates a ribbed texture.
Ropes – twisting a thin coil of clay and applying it around the pipe bowl and shank. This adds a twisted rope appearance.
Fluting – making indentations with a rounded tool to create fluted grooves. This results in a parallel line texture.
Another technique is stamping – pressing pre-made stamps into the clay surface to create ornamental designs. Stamped impressions can include makers’ marks, flowers, animals, initials, family crests, etc. Stamping adds personalized decorative elements and visual interest to the finished pipe. Clay can be stamped when it’s soft, leather-hard, or dry. Stamp placement impacts design – they can be orderly or randomly overlapping. Stamping takes skill to create a visually pleasing layout that enhances the pipe’s aesthetic.
Drying the Pipe
After shaping the pipe, it needs to be thoroughly dried before firing. Clay contains water which must be completely removed prior to firing or the pipe may crack or explode in the kiln. There are two main ways to dry the shaped clay pipe:
Air Drying – Allow 1-2 weeks for air drying if the climate is warm and dry. Place the pipe in a well-ventilated area out of direct sunlight. Turn the pipe periodically to ensure even drying. Keep the pipe covered with plastic if the humidity is high.
Using a Dehydrator – A food dehydrator can dry a pipe in 1-2 days by applying low heat between 95-155°F. Place the pipe on dehydrator trays, leaving space between pipes for air circulation. Rotate the trays and check the pipes daily until completely dry.
Bisque Firing
Once the clay has dried completely, it is ready for the first firing called bisque firing. This is done at a relatively low temperature, usually around 1100°F to 2100°F. The purpose of bisque firing is to harden the clay before applying glaze. During this process, any remaining moisture evaporates from the clay and the material becomes less porous. When fired at the right temperature, the clay will become hard but not fused together.
Bisque firing is typically done in an electric or gas-powered kiln. Kilns allow for precise control over the temperature and heating rate to properly fire the clay. Firing too fast can cause cracks or warping. The clay also needs time during the firing process for water and carbon to fully burn off. A slower ramp up in temperature followed by a soak time just below the peak temperature is recommended to minimize defects.
Once bisque fired, the pipe can be lightly sanded or polished before applying glaze and doing the final firing. Bisque firing prepares the clay for the addition of colors, textures and finishes.
Glazing
The glaze serves an important purpose for clay pipes – it creates a glassy coating that makes the pipe nonporous, so that it can be used for smoking without imparting any unwanted flavors. There are many types of glazes to choose from, but a transparent lead-free glaze is often ideal for pipes.
The glaze must be mixed to the right consistency – not too thin or it will drip off the pipe, but not too thick either. A good rule of thumb is to aim for the consistency of heavy cream. The glaze is then applied by either dipping the bisque-fired pipe into the glaze mixture, or using a soft brush to carefully coat the outside of the pipe.
It’s important to fully cover the entire surface, including hard to reach areas like the pipe bowl and stem. But caution should be taken not to apply too thickly in any single area. Any drips or runs can be smoothed out with a brush dampened in water or glaze before the final firing.
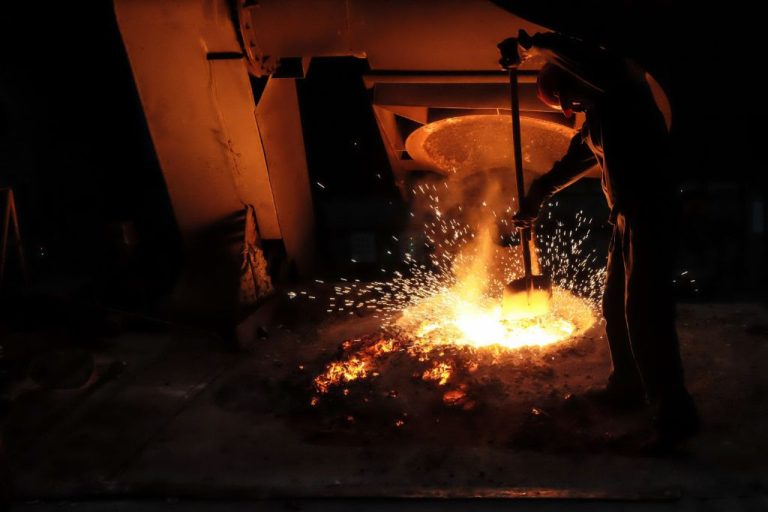
Final Firing
The final firing stage hardens the glaze and finishes the clay pipe. This firing is done at an extremely high temperature, usually between 2,200°F and 2,400°F. The high heat fully fuses the glaze with the clay body, resulting in a smooth, glassy finish.
There are a few kiln options for the final firing:
- Electric kilns – These kilns allow precise control over temperature. The temperature can be gradually raised to the optimal cone temperature.
- Gas kilns – Fire at a faster rate than electric kilns. They provide strong, even heat but can be more difficult to control the temperature.
- Wood-fired kilns – Burn wood to generate heat. The ash gives the pipe a unique natural finish. However, temperature control is more challenging.
No matter which kiln is used, it’s critical to slowly raise the temperature to the target range. Fast heating can result in cracks or breaks. Carefully monitoring the cone levels throughout ensures the clay and glaze properly fuse.
Finishing Touches
After the pipe has been fired, cooled, and glazed, it will need some final touches before it is ready to smoke. This includes polishing, cleaning, and preparing the stem.
Use very fine grit sandpaper or steel wool to polish the pipe and make it smooth. Carefully sand away any drips, uneven glaze, or rough spots caused by firing. Work progressively from coarser to finer grits until the desired smoothness is achieved.
Thoroughly clean the pipe bowl with pipe cleaners, cotton swabs, and isopropyl alcohol to remove any dust, debris, or residue from the manufacturing process. Make sure the pipe draw hole and airway are completely clear. Repeat cleaning until swabs come out clean.
The stem can then be prepared and added to the pipe. Acrylic and vulcanite are common stem materials. The stem may need to be sanded or polished to achieve a uniform finish that matches the bowl. Insert the stem and test the draw to ensure a proper fit and seal.