How Do You Make Green Patina?
What is Patina?
Patina is a layer of corrosion that forms on the surface of metals like copper, bronze and brass over time when exposed to the elements (Source: https://web.colby.edu/copiesfakesforgeries/files/2021/05/MULLER.pdf). It is a coating of various chemical compounds like oxides, carbonates, sulfides or sulfates.
There are two main types of patina – natural patina and artificial patina. Natural patina develops slowly over years through natural weathering and oxidization. It produces colors like green, blue, brown and grey. Artificial patina is chemically induced to quickly produce colors in days that would normally take years to develop with natural patina (Source: https://www.cambridgescholars.com/resources/pdfs/978-1-5275-5940-0-sample.pdf).
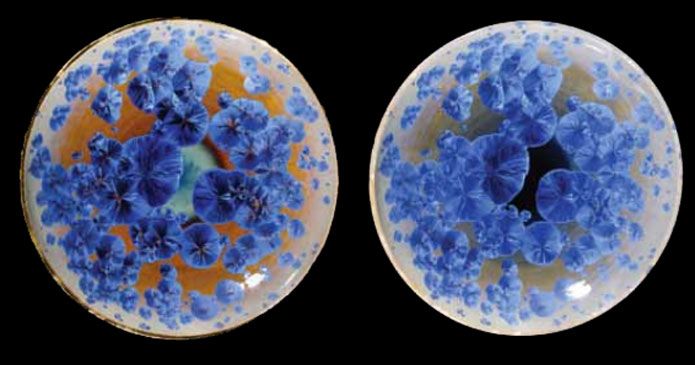
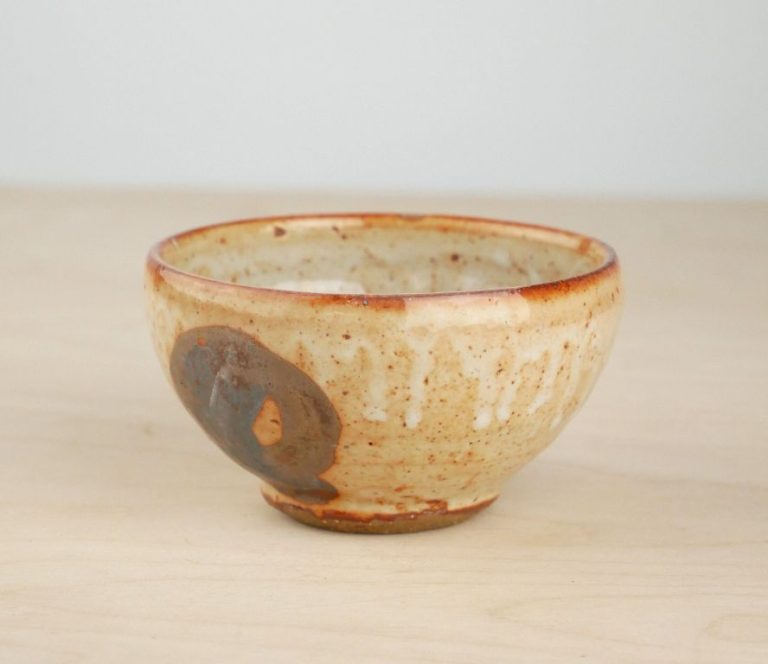
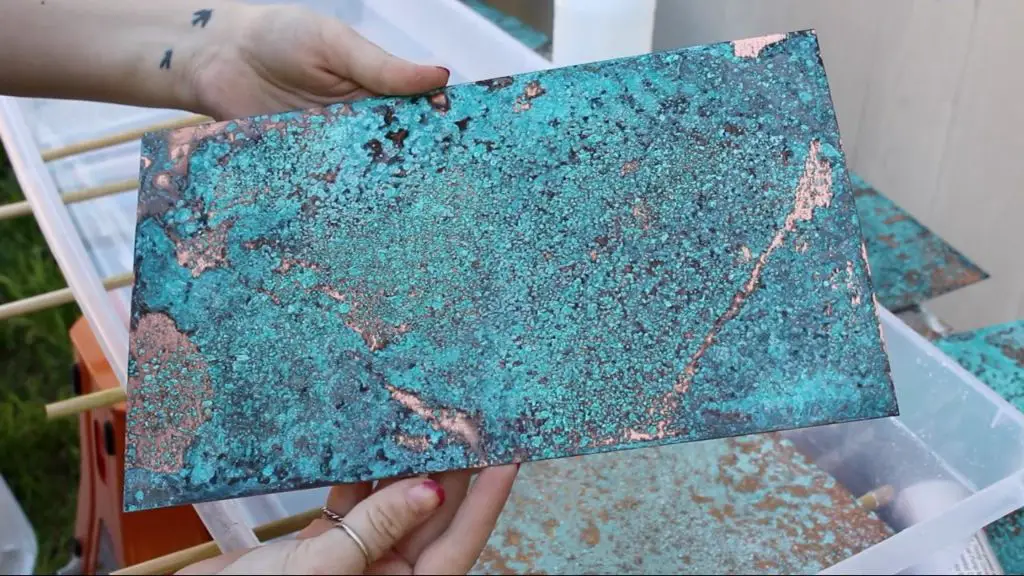
Common patina colors include green, blue, brown and grey. Green patina is one of the most popular. It is produced by a layer of copper carbonate and copper oxide. Blue and grey patinas are often copper sulfate. Brown patinas tend to be copper oxide.
Why Make Green Patina?
There are two main reasons people intentionally create green patinas: for aesthetics and protection. The green patina gives copper and bronze surfaces an aged, antique appearance that many find visually appealing. As the patina develops over time, it creates a unique, variegated finish full of character. Artists and jewelry makers will often force a green patina on their metalwork to achieve this artistic, aged look. The green patina has an old-world, almost romantic quality evocative of ancient artifacts and classic statues.
In addition to aesthetics, patinas serve a protective purpose for copper and bronze. As the patina forms, it creates a coating that seals and preserves the metal underneath. This is especially useful for outdoor copper architecture and bronze sculptures that are exposed to the elements. The patinated coating shields from corrosion, weathering, and other damage over time. Architects and metal artists frequently apply artificial patinas to new copper and bronze pieces to give them an instant protective layer. So in summary, green patinas enhance visual appeal through an aged look and act as a shield to maintain the good condition of copper and bronze.
Chemistry Behind Green Patina
The green patina that forms on copper is the result of a chemical reaction between the copper metal and oxygen in the presence of moisture and carbon dioxide in the air (1). This process is known as corrosion. Over time, the surface of the copper reacts with oxygen to first form copper(I) oxide which has a red or pink color:
Cu + 1/2O2 → Cu2O
In the presence of moisture and carbon dioxide, the copper(I) oxide further reacts to form copper(II) carbonate hydroxide which has a distinct green color:
Cu2O + H2O + CO2 → Cu(OH)2CuCO3
The basic copper carbonate patina layer forms as a result of this reaction. The patina protects the underlying copper from further corrosion by acting as a barrier between the metal and the atmosphere (1). This layer can range from light green to dark green or verdigris in color depending on factors like the length of exposure and weathering conditions.
(1) https://pubs.acs.org/doi/10.1021/acs.jchemed.0c00417
Methods to Create Green Patina
There are several methods for creating a green patina on copper:
Chemical Solutions
Some of the most common chemical solutions for making a green patina include:
- Liver of sulfur – This chemical solution reacts with copper to produce a grayish-green to black patina. It is commonly used by jewelry makers and artists.
- Ammonia – Ammonia fumes react with copper to create a blue-green patina. The copper piece can be submerged in ammonia or exposed to ammonia vapor.
- Salt water – A simple salt water solution (salt dissolved in hot water) will create a greenish patina over time. The higher the salt concentration, the faster the patina develops.
Heat/Torching
Using a torch or other heat source causes the copper surface to oxidize rapidly, resulting in colors from gold to brown to green depending on temperature and duration of heating. Torching is commonly used by metal artists and sculptors.[1]
Burying/Soil Method
Burying copper in moist soil or compost for several weeks will cause a natural green patina to form. The copper reacts with sulfur compounds, ammonia, and other elements in the soil. This eco-friendly method produces attractive organic patinas.
Spray/Brush-On Patinas
There are also commercially available patina solutions that can be brushed or sprayed onto copper surfaces. These are often acrylic-based formulas containing copper salts and chemical additives to accelerate the patina process. They allow precise control over the patina look.
Safety Precautions
Creating a patina involves using chemicals that can be hazardous if proper safety precautions are not taken. It is important to use gloves, a mask, and eye protection when working with patina chemicals. According to the safety data sheet from Sculpt Nouveau, patina solutions contain copper and other ingredients that are toxic if ingested or inhaled, and can cause skin irritation on contact (PATINA SDS English.pdf).
Always work in a well-ventilated area to avoid breathing in toxic fumes. The patina process produces ammonia gas which is hazardous if inhaled. Keep the work area clean and avoid any skin contact with the patina chemicals. Wash immediately with soap and water if skin comes in contact with the solutions. It is also important to follow all safety precautions outlined on the product labels and SDS sheets.
Taking proper safety precautions will help prevent injury when creating a green patina. Use appropriate personal protective equipment, work in a ventilated space, and avoid prolonged exposure through skin contact or inhalation (SAFETY DATA SHEET R 16 COPPER PATINA). With careful handling, the patination process can be accomplished safely.
Prep Work Before Patinating
Before applying a patina, it is important to properly prepare the copper piece. According to https://christinedebeer.ca/tutorials/patina-copper, the first step is to clean and polish the copper thoroughly to remove any residues or oxidation. This can be done by scrubbing the copper with steel wool or a copper cleaning solution. Once cleaned, one should mask off any areas where patina is not desired using painter’s tape. The copper should be handled carefully with gloves afterwards to avoid fingerprints.
It is also advised to set up a designated workspace for the patinating process according to https://www.worldcoppersmith.com/articles/copper-patina-guide/. This helps contain the chemicals and solutions used for patinating. The workspace should be well-ventilated and protected from spills. All necessary supplies should be gathered including patina chemicals, disposable gloves, containers for solutions, applicators like spray bottles or brushes, and sealants. Having the proper prep work done ahead of time ensures an efficient and successful patinating process.
Applying a Green Patina
There are several methods for applying a green patina to copper:
Chemical Method
The most common chemical method is to immerse the copper in a solution of water, salt, and vinegar. This will produce a blue-green patina over time. Here are the step-by-step instructions:
- Mix together equal parts white vinegar and salt in a non-metallic container. Use at least enough solution to fully immerse your copper piece.
- Completely submerge the copper in the solution for at least 30 minutes up to several hours. Longer immersion times will create darker patinas.
- Remove the copper from the solution and rinse thoroughly with water. Dry completely.
- Repeat the process if a darker patina is desired. The patina will continue to darken over several days.
You can also brush the vinegar-salt solution directly onto the copper surface. Let it sit for at least 30 minutes before rinsing off. This gives you more control over which areas develop patina.1
Heat Method
Heating copper with a torch or over a hot plate will also induce a patina. Follow these instructions:
- Heat the copper until it starts to turn a very faint brown or purple.
- Let the copper cool completely.
- Repeat the heating process until the desired patina color develops.
- Rinse and dry the copper after each heating.
This technique allows precise control for creating patina patterns and tones.2
Burial Method
Burying copper in moist sawdust, soil, or eggshells for several weeks will produce a natural green patina. Steps include:
- Find a plastic container with a lid, and fill with your chosen burying medium.
- Bury the copper completely in the medium, put the lid on, and store somewhere dark and room temperature.
- Check on the patina development after 2-4 weeks. Longer burial will create darker tones.
- Remove, rinse, and dry the copper once the desired patina is achieved.
This method provides a more organic, mottled patina effect.
Achieving Different Green Tones
The exact shade of green patina can vary dramatically based on the chemicals used, length of application time, and patination process. Here are some factors that affect the final color:
Chemicals – Different copper compounds like copper acetate, copper nitrate, ammonia, vinegar, and salt can create green patinas ranging from light seafoam green to dark forest green.
Time – The longer the patina solution sits on the copper, the darker the green tone will become. A brief 5-10 minute application creates a light green, while leaving it for hours or days results in a deeper green.
Process – Using heat or electricity to accelerate the patination reaction will lead to a darker green color. Gently brushing or spraying the patina solution creates a lighter tone than fully submerging the copper in the solution.
Examples of different green shades:
- Light green – Brief vinegar and salt application
- Medium green – Overnight soak in copper acetate
- Dark green – Prolonged heat-accelerated ammonia process
Sealing and Protecting Patina
Once you have achieved the desired green patina finish on your copper piece, it is important to seal and protect the patina if you want it to last. There are a few common methods for sealing copper patina:
Clear Coat Sealers – Applying a clear acrylic spray sealant or brush-on sealant can help prevent the patina from wearing off or reacting further. Clear acrylic sprays like Krylon’s UV-Resistant Clear Acrylic Coating or Sculpt Nouveau’s Clear Coat Sealer provide durable protection. When using a brush-on sealer like Renaissance Wax, apply a thin coat and buff gently.
Wax Coatings – Wax coatings like Renaissance Wax not only seal the patina but also provide a lightly protective coating that can be buffed to a soft sheen. The wax protects the surface from fingerprints, dust, and light abrasion. Wax coatings need to be reapplied every so often as they wear down over time.
Ongoing Care – Even with a sealant, patinas will gradually fade and change over time with use and exposure to air and moisture. Periodically removing tarnish and applying a fresh coat of sealer or wax will keep the patina vibrant. Avoid using harsh abrasives or cleaners which can strip the patina. Handle pieces gently to limit wear.
The key is finding a sealant that protects the patina while allowing the natural beauty and color variations of the copper to show through. Be sure to test products on small areas first and follow manufacturer instructions for best results.
Common Problems and Solutions
When applying a patina, some common problems can occur:
Splotchy or uneven patina
If the patina appears splotchy or uneven, this is often caused by not cleaning the surface thoroughly before applying the patina solution. Make sure to remove all oils, dirt and residue. It also helps to apply the patina solution evenly and systematically to avoid misses. Letting the solution sit too long before neutralizing can also lead to uneven tones (Source: https://www.reddit.com/r/StainedGlass/comments/xxandu/copper_patina_ruined_my_pieces_help/)
Too dark/light green tone
The green tone of the patina can be controlled by diluting the patina solution more or less, and by how long it sits before neutralizing. For a darker green, use a more concentrated solution and let it sit longer. For a lighter green, dilute the solution more and neutralize sooner. Doing test samples first helps dial in the right timing and dilution.
Patina wearing off over time
To prevent the patina from wearing off over time, it’s important to properly seal and protect the finish. Multiple thin layers of a clear acrylic spray sealant works well. Wax coatings also help protect the patina from handling and environmental exposure.