How Do You Make Homemade Bakeable Clay?
Bakeable clay, also known as polymer clay, is a type of modeling clay that cures when baked in a standard oven. It is made from materials like PVC, plasticizers, and pigments. Unlike air-dry clays, bakeable clays will remain moldable until you bake them. This makes them perfect for detailed modeling, sculpting, and decorative work. Some popular brands of bakeable clay include Sculpey, Fimo, and Cernit.
There are several benefits to making your own homemade bakeable clay rather than buying it premade:
- Cost savings – Making it at home can be significantly cheaper than buying polymer clay products.
- Custom colors – You can mix and blend colors to create any shade imaginable.
- Control ingredients – You decide what goes into the clay, allowing you to avoid any unwanted chemicals.
- Large quantities – Home recipes allow you to make clay in bulk for big projects.
- Fun DIY project – It can be enjoyable to create your own clay from scratch.
Overall, homemade bakeable clay provides an affordable, customizable material for arts, crafts, and other creative applications.
Ingredients Needed
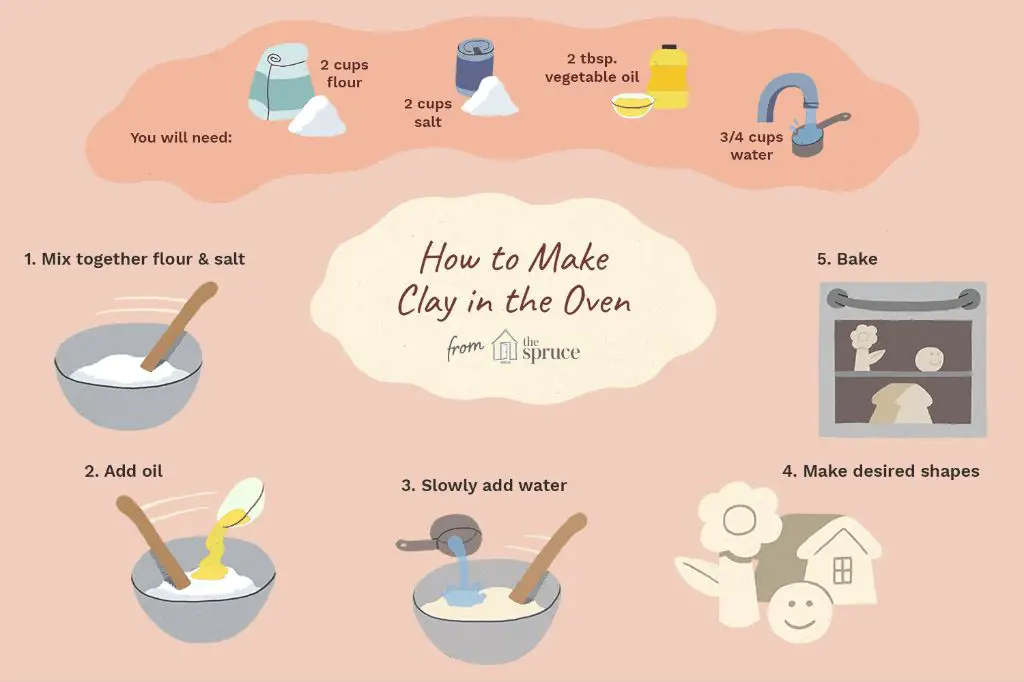
The main ingredients needed to make homemade baked clay are:
- All-purpose flour – This provides the base and bulk of the clay. You’ll need around 2 cups.
- Salt – 1/4 to 1/2 teaspoon of salt helps strengthen the clay. Table salt or kosher salt work well.
- Vegetable oil – Around 1 tablespoon of oil keeps the clay malleable without getting too sticky. Canola or olive oil are commonly used.
Optional ingredients include:
- Food coloring – Add a few drops to create colored clay. Liquid food coloring works best.
- Scents – A few drops of lemon extract, mint extract, or vanilla can provide nice aromas.
Recipe Ratios
The ratios of ingredients in homemade modeling clay recipes are crucial for achieving the right consistency and texture. Getting the proportions wrong can result in clay that is too soft and sticky, or too hard and crumbly. The key ingredients that need to be balanced are the thickening agents (such as flour, cornstarch, or baking soda), the binding agents (like oil, wax, or glue), and the liquid component (typically water or a solvent).
A good starting ratio is around 2 parts thickening agent, 1 part binding agent, and 1-2 parts liquid. For example, 2 cups cornstarch, 1 cup petroleum jelly, and 1 cup water. The thickening agents give body and structure, while the binders hold everything together. The liquid allows the ingredients to fully incorporate. Tweak the ratios depending on the specific ingredients used and the characteristics desired in the finished clay.
Some recipes call for equal parts flour and salt or cornstarch and baking soda. But you may need more or less liquid. When working with new ingredients, begin with smaller batches and adjust as needed. Let the clay fully dry to test if the proportions are right before making a large batch. Balancing the recipe ratios takes trial and error, but is worth the effort for durable, workable homemade clay.
Source: https://www.thoughtco.com/modeling-clay-recipes-604165
Preparation Steps
Making homemade bakeable clay starts with combining the dry and wet ingredients in a large mixing bowl. Use a spoon or spatula to stir the ingredients together until a dough forms. If the dough seems too dry, you can add a bit more water a tablespoon at a time. If it’s too sticky, add a bit more flour or cornstarch.
Once combined, turn the dough out onto a clean, flat surface that’s been lightly dusted with flour. Knead the dough for 5-10 minutes until it becomes smooth and elastic. This helps develop the gluten in the flour which gives the clay stretch and strength when sculpting 1. If the dough starts to stick, re-dust the surface with more flour.
After kneading, shape the clay into a ball and place it in an airtight container or plastic bag. Store homemade clay in the fridge for up to 3 weeks. Allow it to come to room temperature before sculpting for the best results.
Sculpting Techniques
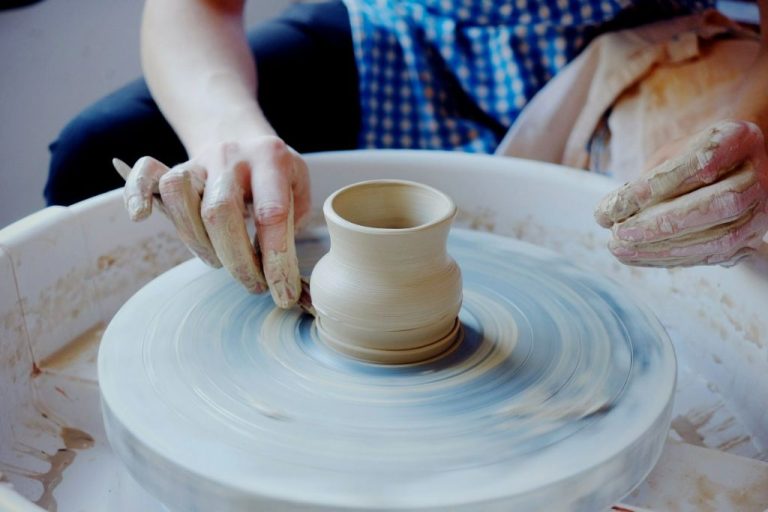
Modeling clay is an extremely versatile medium for sculpture. There are many techniques you can use to sculpt detailed shapes and textures with homemade bakeable clay:
- For smoothing surfaces, use your fingers dipped in water, plastic sculpting tools, or a rolling pin. Water prevents the clay from sticking and evens out fingerprints.
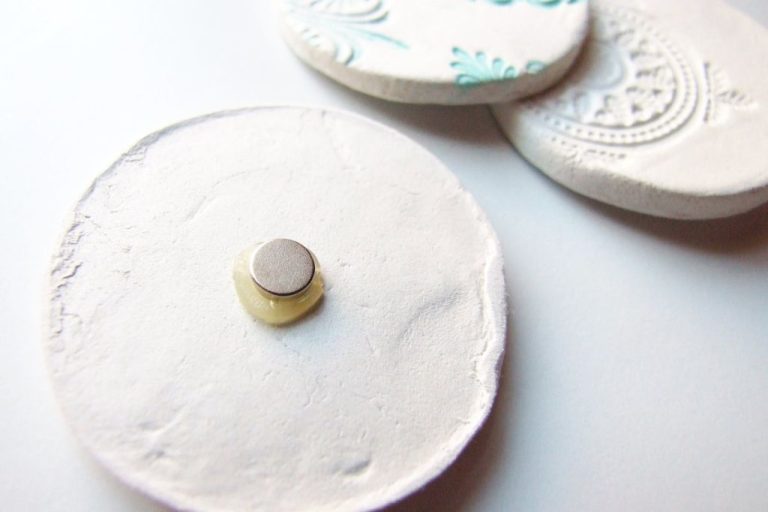
- For adding texture, press items into the clay like fabrics, stamps, stencils, or natural materials like leaves. You can also use sculpting tools to carve patterns and textures.
- To join two pieces of clay, score the surfaces by cutting crosshatch marks into them using a knife or sculpting tool. Apply water to the scored areas and press the pieces together firmly.
- Sculpt over foil balls or crumpled aluminum foil to create armatures and frameworks for strength in delicate areas like limbs.
- Use toothpicks, wire, wooden skewers or rolled up pieces of paper inside limbs or narrow areas to help support them.
With practice and creativity, you can sculpt highly detailed and realistic designs with homemade bakeable clay. Reference photos or objects can help when sculpting complex shapes. Take your time smoothing, carving and perfecting the details to achieve your desired result.
Source: https://lavillerayee.com/tools/
Baking Instructions
When baking your homemade bakeable clay sculptures, follow these tips to get the best results:
Preheat your oven to the suggested baking temperature, which is typically between 130°F to 275°F depending on the thickness and size of your sculpture. Thinner pieces can be baked at lower temps like 130°F while thicker pieces may need the full 275°F. Refer to your specific clay recipe for exact temps.1
Bake sculpts for the recommended time, which is usually 1-3 hours. Set a timer and check regularly toward the end to prevent over-baking. Underbaked sculpts will not fully harden.2
Place sculptures on a baking sheet or ceramic baking dish and avoid using any non-stick cookware as it can prevent proper hardening. Parchment paper can also help prevent sticking.
Allow proper air circulation inside the oven and leave at least 1 inch between sculpts. This prevents cracking or bubbling from humidity buildup.
After baking, turn off the oven but do not open it. Allow the sculpts to fully cool inside the oven before removing. Rapid temperature changes can cause cracking.
Once cooled, you can sand and paint your sculptures. Apply a clear acrylic sealer/varnish for durability and to protect your clay art.
Making Custom Colors
One of the great things about homemade bakeable clay is the ability to easily customize the colors. Here are some ideas for creating your own unique colors and effects:
Use natural dye sources like:
- Turmeric powder or extracted turmeric oil for a vibrant yellow
- Matcha powder for a nice green hue
- Beetroot powder for pinks and purples
- Blueberries or red cabbage for blue shades
- Paprika or chili powder for orange/red colors
- Spinach, nettle, or kale powder for earthy greens
You can also use liquid food coloring, mica powder pigments, or even eyeshadow. Metallic rub-ons can create a shimmery effect.
For the mixing technique, add the dye sources directly into the clay base a little bit at a time and knead it in thoroughly until you achieve the desired color saturation. Mixing in multiple colors can produce additional shades. Marble clay by layering contrasting colors. The key is to disperse the pigments evenly so the color looks uniform when baked.
Get creative with making gradient ombre effects, swirls, or color blocks! Custom colors allow you to match the clay to a theme or make unique homemade gifts.
Adding Scents
A great way to make your homemade bakeable clay even more creative is by adding scents. Some popular options for scenting clay are essential oils, dried flowers, and spices.
Essential oils like lemon, lavender, vanilla, peppermint, and chamomile can be mixed into the clay to provide pleasant aromas (Source). Add just a few drops at a time until the desired fragrance is achieved. Too much essential oil can make the clay sticky.
Dried flowers like rose buds, lavender, and chamomile can be ground into a powder and kneaded into the clay (Source). Spices like cinnamon, nutmeg, and rosemary also work well for scenting clay. Start with 1/2 teaspoon of dried flowers or ground spices per 1/4 pound of clay and adjust as needed.
When adding scents, be careful not to overdo it. Too much can make the clay oily and prevent it from hardening properly. Start with small amounts, mix thoroughly, and add more sparingly until the desired fragrance is reached.
Troubleshooting
Homemade bakeable clay can sometimes develop issues like cracking, stickiness, or drying out. Here are some tips for troubleshooting common problems according to The Blue Bottle Tree and Jessama Tutorials:
To fix cracking and breakage, try adding a few drops of lemon juice or vinegar to moisten and re-condition the clay. Kneading petroleum jelly into the clay can also help make it more flexible. Work the additive thoroughly into the clay. Let the clay rest for 30 minutes before continuing to work with it.
For sticky clay, dust it lightly with cornstarch or baby powder while conditioning it. This will absorb excess moisture that causes stickiness. Avoid over-working the clay, as too much handling can make it sticky.
If the clay has dried out, add just enough water or lemon juice a few drops at a time to bring it back to the proper consistency. Knead thoroughly until smooth and pliable again. Store unused clay in an airtight container or plastic bag to prevent drying out.
For more tips, refer to Jessama Tutorials’ guide on troubleshooting polymer clay problems.
Creative Uses for Homemade Bakeable Clay
Homemade bakeable clay opens up a world of creative possibilities. Here are some fun ways to use your homemade clay for arts, crafts, and gifting:
Craft Projects
Sculpt mini figurines, jewelry, bowls, cups, frames, and more. The lightweight, pliable texture of homemade clay is perfect for crafting. Make custom beads, buttons, knobs, and other embellishments to use on additional projects. Sculpt clay accents to glue onto vases, boxes, and other decorative items.
Gifting Homemade Clay Sculptures
Homemade clay makes heartfelt, handmade gifts. Sculpt unique gifts like pendants, coasters, bookends, or figurines and give them to friends and family. Write names, initials, or messages in the clay before baking for personalized gifts. Let kids make their own sculptures as gifts for grandparents, teachers, or parents.

