How Do You Start A Clay Sculpture?
Gather Materials for Sculpting
The first step in starting a clay sculpture is gathering the necessary materials. The key supplies you’ll need are clay, sculpting tools, materials for the armature or frame, and a workspace.
For the clay, choose an oil or polymer-based modeling clay. These clays stay workable and don’t dry out quickly while sculpting. Have at least 10-15 lbs of clay available to allow for flexibility in the sculpture size.
Sculpting tools like loop tools, ribs, wooden modeling tools, and wire loop cutters are essential. Have a range of sculpting tools on hand for different techniques like smoothing, cutting, carving, scraping, and shaping the clay.
The armature provides internal support for the sculpture. The frame can be made from wire, wood, aluminum foil, or other materials. Make sure to have enough supplies to create an armature appropriate for your sculpture’s size and shape.
Finally, set up a sturdy workspace like a table where you can sculpt comfortably. Protect the surface from clay and tools. Have water available for wetting the clay and keeping tools clean while working.
Prepare the Clay
Before starting a clay sculpture, it is important to properly prepare the clay by wedging and conditioning it. This helps remove air bubbles and make the clay uniform in consistency.
Wedging involves cutting the clay in half, slamming it down onto the work surface and kneading it together. Repeat this process, slicing and slamming the clay in different directions until it is smooth and free of air pockets. Try to wedge evenly and avoid overworking any one section.
Conditioning is kneading and massaging the clay to the proper consistency. Start by softening stiff clay by squeezing or rolling it. Then work it until it is smooth, elastic and responsive to touch. The clay should be soft but not sticky. Lumps or dry spots mean it needs more conditioning.
Pay attention to the moisture content of the clay. Adding water or a clay spray lubricant softens and moistens clay. Let the clay rest if it becomes too wet or sticky. Properly conditioned clay is crucial for easier sculpting and fewer cracks when drying.
Make an Armature
An armature is an important framework that supports the clay as you build your sculpture. Armatures can be made from different materials like wire, foil, wood, or plastic. The purpose of the armature is to provide structure and pose to your sculpture.
Wire armatures involve bending and twisting wire into the general shape of your planned sculpture. The thinner the wire, the more pliable and easy to manipulate. Aluminum wire is a good choice for strength and flexibility. Ensure the wire armature is secured in place with clay or adhesive before adding more clay.
Aluminum foil can also be molded into shapes for the armature. Crumple up sheets of foil and bend into the basic forms. Foil is very lightweight but can tear easily. It may work better for smaller sculptures rather than life-size.
For larger sculptures, wood or plastic armatures provide more stability. Wood can be cut, drilled, and pieced together into a sturdy frame. Plastic pipes or rods can also be joined to create a solid base. Ensure all structural elements are firmly connected.
The armature provides the general shape, proportions, and pose for sculpting the clay. Take time to make the armature robust and sized appropriately before adding clay. The interior armature foundation is key to supporting the outer clay layers and achieving your desired sculpture.
Sketch The Sculpture
Once you have your armature built, it’s time to start sketching out the basic shape and form of your sculpture. This is an important planning stage that will make the actual sculpting process easier. Start by making some rough sketches to map out the basic proportions and pose of your sculpture. Consider the main forms and shapes that will make up your composition. Try sketching from multiple angles so you can visualize the 3D form.
Use reference materials like photos, models, or live subjects to help render accurate contours and proportions in your sketches. Pay attention to important details like the eyes, nose, mouth, hands, and feet. Consider the viewpoints you want to depict in your sculpture and sketch accordingly. Define the major muscle groups, clothing folds, and other distinguishing forms.
Take your time at this stage to thoughtfully plan out your sculpture. Your sketches will serve as a guide as you build up the form. Don’t worry about making perfect drawings, the purpose is to map out the major shapes and flow of your sculpture. Let your sketches evolve as you refine the concept. Having a well-planned sketch will make the sculpting process much easier.
Build the Form
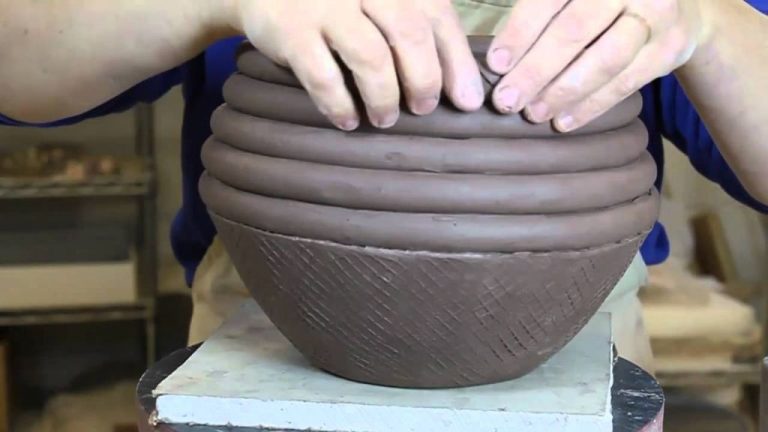
Once you have established the basic shape and structure of your sculpture with an armature, it’s time to build up the form with clay. Start by roughly shaping the main masses and proportions of your subject with slabs, balls, coils, and other basic clay shapes.
As you add clay, blend the seams and transitions between the pieces by smoothing and joining the clay together. Use clay sculpting tools like loop tools, ribs, and wooden modeling sticks to refine edges and blend problem areas. Always work with clean, damp tools and hands so you don’t drag dried clay crumbs across the surface.
Gradually develop the finer forms and anatomical details that bring your sculpture to life. Pay close attention to textures like wrinkles, hair, fur, scales, etc. and recreate them in the clay. Consider making maquettes or small studies to test textures and effects first. Use a variety of techniques like pinching, coiling, scraping, incising, stippling, and smoothing to capture realistic and tactile textures.
Step back periodically and look at your sculpture from multiple angles to ensure proper proportions. Take photos for reference too. Don’t rush, instead build up the form slowly and methodically to avoid cracks and collapses. Allow your sculpture ample time to dry and strengthen between working sessions.
Refine the Sculpture
Once you have built up the basic form of your sculpture, the next step is to refine the details. This stage is when you can really bring your sculpture to life with expression and personality.
Carefully study your sculpture from all angles and look for any areas that need more definition. Pay special attention to the face and eyes, as subtle changes here can dramatically impact the emotion and feeling of the sculpture. Use wooden or clay shaping tools to gently smooth edges, accentuate facial features, and add finer details.
Be patient and work slowly. Turn the sculpture around frequently to refine it from all sides. Use water or slip to moisten areas and smooth away fingerprints or imperfections in the clay surface. Let the sculpture dry slightly between work sessions to avoid distorting delicate details.
Creating lifelike hair, clothing folds, or other intricate elements takes time. Build up the texture gradually using loops, coils, or carefully cut slabs. Refine shadows and contours with subtle scraping or scoring to show form and depth.
Step back periodically to evaluate the overall composition. Make adjustments to the posture, gesture, or support structure as needed to enhance the sculpture. Pay attention to the interplay of light, shadow, and form. Your patience and care during this refinement stage will pay off with a distinctive, vivid finished sculpture.
Dry the Sculpture
Once your sculpture is fully formed, you’ll need to allow it to dry thoroughly before firing it. Air drying is the most common method for drying clay sculptures. To properly air dry the sculpture:
Place the sculpture on a drying rack or a layer of foam to allow air circulation underneath. Avoid resting the sculpture directly on a flat surface, as this can prevent even drying.
Allow adequate drying time. The drying time depends on factors like the size and thickness of your sculpture, the type of clay used, and the humidity and temperature of your environment. On average, thin pieces may dry in a few days while thicker sculptures can take weeks.
Rotate the sculpture periodically so all sides dry evenly. Check for cracks or warping as the clay dries.
Support all extremities like slender arms and legs with foam or soft materials to prevent sagging or breaking while drying.
Work slowly and patiently. Rushing the drying risks cracking or deforming the sculpture. Air drying slowly helps release moisture from the interior of the clay.
Keep the work area climate controlled. Avoid extreme temperatures or humidity which can dry the clay unevenly. Ideal conditions are around room temperature with average humidity.
Once the clay has dried thoroughly, it’s ready to be fired in a kiln. Take care when handling the dried yet unfired sculpture, as it remains fragile until fired. The firing process permanently sets the clay.
Fire the Clay
Firing clay is an essential step in finishing a sculpture made from ceramic clay. During firing, clay undergoes an irreversible chemical reaction called sintering, where the materials bond and become stronger and less porous. Firing happens inside a kiln, which heats the clay sculpture to very high temperatures, usually between 1,800-2,400°F depending on the type of clay used.
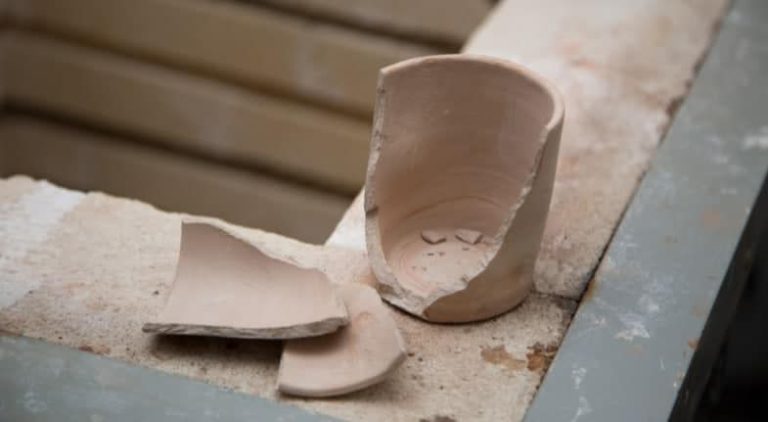
It’s crucial to choose the proper firing temperature and follow the kiln manufacturer’s recommendations. Firing clay at too low of a temperature means it won’t fully vitrify and become durable. Firing it too high can cause defects like scorching, cracking or even melting. Standard stoneware clays are often fired between 2,100-2,300°F. More delicate porcelain clays are fired between 2,200-2,400°F. Allow plenty of time for the clay to heat up, soak, and then cool slowly inside the kiln.
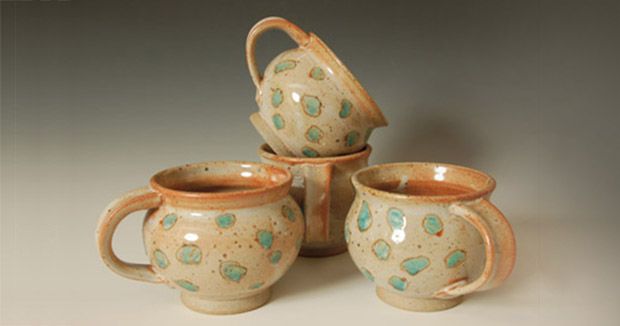
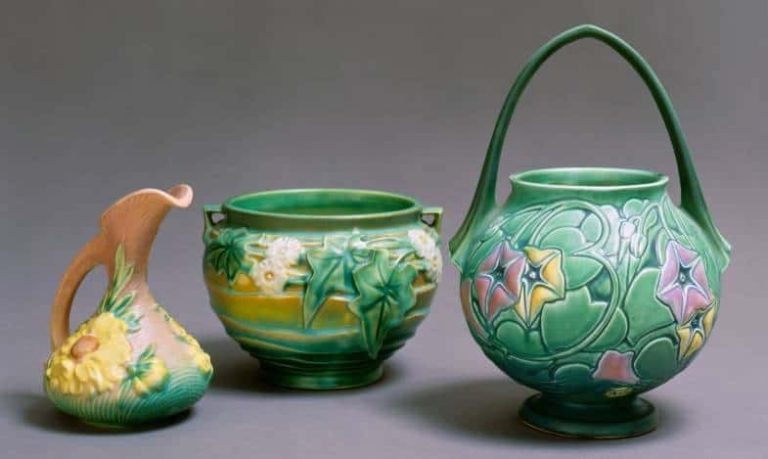
After the initial bisque firing, the clay sculpture will be porous and rough. Apply glazes or stains and fire again to get a glassy surface and rich colors. A clear glaze can be used to keep a natural clay color. Painted details can be added after firing by using acrylics, oils or other ceramic paints. Finally, apply a sealant if needed for indoor display. With proper drying, firing, and finishing, an expertly sculpted artwork will last for many years.
Apply a Finish
Once your clay sculpture is out of the kiln, you may want to apply a finish to enhance the look and protect the surface. This finishing step can really make your sculpture pop! There are several options for finishing clay sculptures:
Sealers – Applying a sealer is one of the simplest finishing techniques. Sealers like polyurethane provide a protective coating over the clay and help prevent chipping, cracking, and fading. Choose a water-based sealer for low-fire clay or a solvent-based sealer for high-fire clay. Apply 2-3 thin, even coats with a soft cloth or foam brush, allowing each coat to dry fully before adding the next.
Acrylic Paint – For colored finishes, acrylic paint works wonderfully on clay sculptures. Make sure to use paints formulated for ceramics/pottery. Thin the paint slightly with water so it flows on smoothly. Start with a base layer, then add additional colors for highlights, shadows, and details. Let the paint fully cure before applying a sealer on top.
Varnish – For a glossy look, varnish like polyurethane can be brushed over the dried clay surface. Use an oil-based varnish for a thicker, more durable coating. Water-based varnish dries faster but is not as protective over time. Apply varnish in a well-ventilated area using smooth, even strokes. Allow the varnish to dry for at least 24 hours before handling the sculpture.
Wax – Beeswax, carnauba wax, and sculpture wax help protect clay surfaces while providing a soft luster. Warm the wax slightly to make it spreadable. Apply a thin layer, rubbing it deeply into the clay. Buff with a soft cloth to make the surface shine. Reapply wax regularly, since it wears off over time. Wax brings out the natural color and texture of clay beautifully.
With the right finishing touches, your clay sculpture will really stand out! Don’t forget to sign and date your finished artwork.
Display the Sculpture
Once your sculpture is complete, you’ll want to display it properly to show off your hard work and artistic vision. Choosing the right stand, display case, and lighting can really enhance the look of your sculpture.
For displaying sculptures on a table or shelf, consider investing in a decorative stand. Look for sturdy stands made of metal, wood, or acrylic in simple designs that don’t distract from the sculpture itself. The stand should be proportional to the size of the sculpture. Place small sculptures on individual stands and larger pieces on larger pedestals.
For more security and protection, display the sculpture in a glass case or acrylic box. Look for casos/boxes with UV filtering to prevent fading. Make sure the case is large enough for proper ventilation. Some cases come with adjustable shelving so you can display multiple sculptures together.
Proper lighting can make all the difference. Position a spotlight or directional lighting to show off specific elements and details of your sculpture. Play around with the light source, intensity and shadows. Avoid direct sunlight which can cause damage over time. Go for soft, diffused lighting instead.
Also consider the environment you are displaying the sculpture in. Avoid areas with high humidity, extreme temperatures and direct air flow which could cause drying or cracking. Position the sculpture safely away from high traffic areas and curious hands. Find an elevated place to display your art so it can be properly viewed and admired.


