How Do You Start Sculpting With Clay?
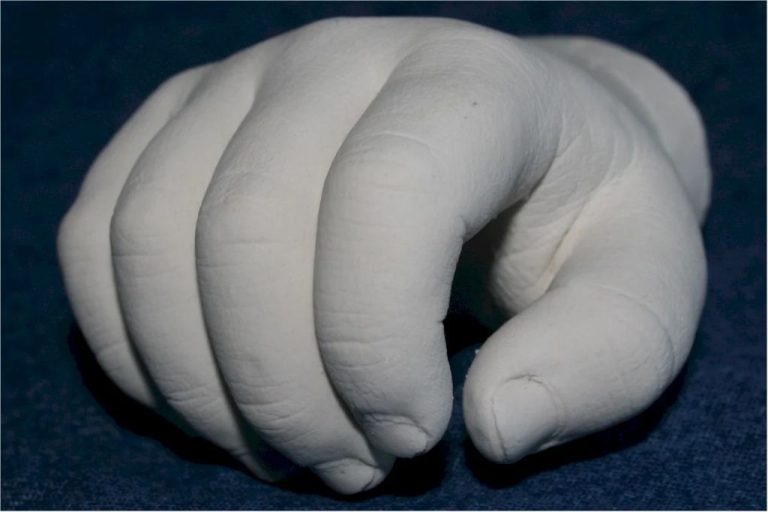
Clay sculpting is the process of using clay to create free-standing 3D art. The goal is to mold and shape the clay to create a sculpture in the form of an object, animal, person, or abstract shape. With practice and patience, anyone can learn how to sculpt clay into beautiful works of art.
The basic process involves choosing the right type of clay, setting up your workspace, selecting sculpting tools, making an armature if needed, sculpting the basic form, adding texture and details, allowing it to dry properly, and applying finishes. Follow these key steps to start sculpting your own clay sculptures.
Choose Your Clay
The first step in sculpting with clay is choosing the right type of clay for your project. The two main categories of clay are oil-based clays and water-based clays. Each has advantages and disadvantages to consider.
Oil-based clays, like polymer clay, are made of PVC mixed with plasticizers and pigments. They typically harden when baked in a regular oven, so no kiln is required. Oil-based clays are lightweight, durable, and don’t dry out when exposed to air like water-based clays. This makes them great for detailed sculptures and jewelry. However, they can be more expensive and produce fumes when baked.
Water-based clays include pottery clay, air-dry clay, and modeling clay. They are natural clays composed of water and minerals that air dry or require firing in a kiln. Water-based clays can be less expensive and are easy to find. They can be remolded while wet and are good for pottery. However, they are heavy, can dry out or crack if not cared for properly, and require a kiln for firing.
Consider the type of sculpture you want to create, your budget, and if you have kiln access when choosing between oil or water-based clays.
Prepare Your Workspace
Having an organized workspace is essential for sculpting with clay. Here are some tips for preparing your work area:
Cover your work surface – Cover your table or workbench with a disposable covering like butcher paper, plastic sheeting, or an old tablecloth. This will protect your surfaces from mess and make cleanup much easier.
Have cleanup supplies nearby – Keep a damp sponge, paper towels, and a spray bottle of water within arm’s reach. This allows you to quickly wipe down tools, your hands, and work surface as you sculpt.
Ensure proper lighting – Good lighting allows you to see all the details and contours of your sculpture. Position a bright desk lamp or studio lighting near your workspace. Avoid working in shadows or you may miss imperfections.
Select Sculpting Tools
Choosing the right sculpting tools is essential for shaping and detailing your clay sculpture. The two main types of sculpting tools are wire tools and wooden tools. Both have their advantages and are useful at different stages of the sculpting process.
Wire tools have thin, flexible metal tips that can get into fine details and tight spaces. The variety of wire tool tips includes:
- Loop tools – rounded shapes excellent for smoothing clay surfaces
- Needle tools – pointed tips perfect for poking fine details like eyes
- Ribbon tools – wide, flat edges useful for shaping flat surfaces
- Ball tools – spherical tips for making indentations
Wire tools are ideal for detail work, like adding texture and features to faces, hands, clothing, etc. The thin tips allow precision work.
Wooden sculpting tools have thicker, strong tips for removing larger amounts of clay. Common wooden sculpting tools include:
- Cutting wires – thin wire on a wooden handle for cutting through clay
- Fettling knives – curved blades for slicing off sections of clay
- Carving knives – pointed blades for digging into clay
- Ribbon tools – wide flat bars for smoothing
Wooden tools are useful for initially shaping the sculpture, removing big sections of clay, and creating rough textures and contours. The sturdy construction allows applying more force.
Having an assortment of both wire and wooden sculpting tools allows flexibility while sculpting. The right tools make the sculpting process easier and lead to a more polished finished piece.
Make an Armature
An armature is an internal support structure that helps provide stability and form for your clay sculpture. The purpose of an armature is to make the clay hold its shape, especially for larger or more complex sculptures. Without an armature, the wet clay can become too heavy and sag or even collapse under its own weight as it dries. An armature acts like the skeleton or framework that supports the clay “skin” of your sculpture.
There are a few common materials you can use to make an armature:
- Wire – Aluminum wire is lightweight and can be bent into shapes easily. Use thicker gauge wire for larger sculptures.
- Aluminum foil – Foil can be wrapped around other materials to bulk up thin areas and build mass.
- Wood – Balsa wood, dowels, or wooden skewers can provide rigid support. Wrap with foil or cloth to create smooth shapes.
Consider the size and shape of your planned sculpture when choosing armature materials. The armature should be able to comfortably support the clay without bending or breaking. Building the armature early in the sculpting process will ensure your artwork has the proper internal support.
Start Sculpting
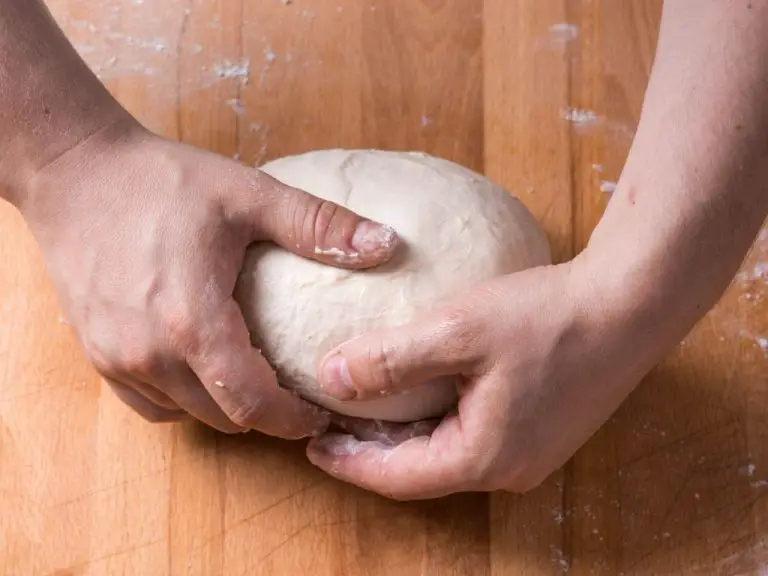
Now that your armature is complete, it’s time to start sculpting your clay figure. Here are some tips for working with the clay as you sculpt:
Secure the clay on the armature using slip – a liquid clay mixture that acts as a glue. Apply slip to the armature wires where you want to attach clay. Press clay pieces onto the slip-coated areas to adhere them.
Begin shaping the basic forms of your sculpture. Add thick cylinders or blocks of clay to build up the main body sections like the torso, head, arms and legs. Don’t worry about details yet, just focus on the overall proportions.
Once the basic forms are complete, you can start refining the details. Use clay sculpting tools like loop tools, ribs, mops and wooden sticks. These tools will help you add finer features like eyes, nose, lips, fingers, toes, etc. Work symmetrically and look at your sculpture from all sides as you refine.
Take your time with the detailing process. Clay can be further smoothed and adjusted as needed. Let the emerging details guide the character and style of your sculpture.
Texture the Clay
An important part of sculpting with clay is adding texture to bring your creation to life. There are two main ways to add texture – impressing and carving.
To impress texture, you can press items into the clay to leave an imprint. Things like lace, burlap, leaves, seashells, or any item with an interesting texture can be used. Press the item firmly into the clay where you want the texture. This is great for adding patterns to clothing, hair, scales, etc. You can also use tools to imprint patterns, like presses with shapes or by rocking various edged tools across the surface.
Carving texture involves actually removing clay to create patterns. You can use sculpting tools like loop tools, dental tools, or clay shapers to carve lines, crosshatching, stippling effects, or anything you can imagine. This works well for texture like stone, wood, scales, wrinkled skin, and more. Consider carving feather patterns in wings or hair textures in fur.
Get creative with combining impressed and carved textures. Add visual interest by blending different techniques. The textures you achieve bring realism and dimension to any sculpture.
Let It Dry
An important step in sculpting with clay is letting your finished piece dry properly before moving on to painting or displaying it. The drying time will depend on the type of clay you used:
Air Dry Clay
Air dry clay is clay that dries naturally at room temperature. It does not require baking or firing in a kiln. Air dry clay typically takes 24-48 hours to dry fully. Make sure your sculpture is dried all the way through, not just the outer surface. Letting air dry clay cure slowly helps prevent cracking.
Polymer Clay
Polymer clay requires baking in the oven to set and harden fully. The baking time will vary based on the clay thickness and manufacturer’s instructions. Typical baking temperatures range from 265°F to 275°F for 15 minutes per 1/4 inch of thickness. Let polymer clay pieces cool completely after baking before handling.
Give your clay sculpture ample drying time for the type of clay before painting, varnishing, or handling the finished work. This helps ensure structural stability and prevents damage.
Finish the Sculpture
Once your clay sculpture has dried completely, it’s time to finish it with sanding, painting, and varnishing.
Sanding
Use a medium grit sandpaper (around 120 grit) to smooth any rough edges or imperfections. Gently sand the entire sculpture, being careful not to remove too much clay. Wipe away any clay dust with a dry cloth after sanding.
Painting
Acrylic paints work well for painting clay. Apply a primer coat first if you plan to use darker colors, as they may show through lighter paint. Thin layers of paint are better than globbing it on thickly. Let each coat dry fully before adding another. Use a sealant between coats if blending colors.
Varnishing
A clear acrylic varnish will protect the paint and give your sculpture a glossy finished look. Use a brush to apply it carefully and evenly over the entire painted surface. Let the varnish dry fully before displaying your completed clay sculpture.
Displaying Your Work
Once your sculpture is complete, you’ll need to decide how to properly display it. The two main options are using a pedestal or hanging it on a wall.
Displaying your sculpture on a pedestal allows viewers to appreciate it from all angles. Place the pedestal on a sturdy surface and make sure it is tall enough to elevate the sculpture. Position a light source to showcase the sculpture’s details and textures.
Wall mounting is great for reliefs or sculptures with a flat back. Use special clay wall hooks or brackets to securely hang your piece. Make sure the wall and hardware can support the weight. Position lighting above or beside the sculpture to illuminate it.
No matter how you display it, take measures to protect the clay from damage. Cover with a glass case or acrylic box, or apply a protective sealant. Keep it away from high traffic areas. Clay is vulnerable to chipping and cracking if bumped or dropped. Handle with care and properly display your sculpture to preserve your hard work.