How Hot Does It Have To Be To Fuse Glass?
Glass fusing is the process of joining separate pieces of glass together through heating in a kiln. During fusing, the glass pieces are heated to a high enough temperature that the edges and surfaces start to melt and fuse together. This allows the separate pieces to bond and create a single solid piece of glass.
Glass fusing has been practiced as an art form for thousands of years, with early examples found in ancient Egyptian and Roman art. Today, fused glass is still used to create beautiful works of art, jewelry, dishes, and other decorative objects. The appeal of fusing is that it allows artists to arrange and join different colors and patterns of glass to create unique effects and designs.
Fusing requires an understanding of the properties of glass and how it behaves when heated. Factors like temperature, heating rate, and kiln environment must be controlled to achieve a successful fuse between glass pieces. When done correctly, the result is a single integrated glass form that combines the colors and textures of the original separate pieces.
Chemistry of Glass
Glass is primarily composed of silicon dioxide (silica), sodium oxide, and calcium oxide. Silica, the main chemical component, makes up about 70% of glass by weight. Sodium oxide reduces the melting point, allowing silica to be worked into glass at lower temperatures. Calcium oxide improves the chemical durability and mechanical strength of the glass. Other oxides may also be added, such as aluminum oxide, magnesium oxide, and lead oxide, to modify the properties of the glass (Chemical Composition of Glass).
The amorphous and random network structure of glass allows it to incorporate different elements into its composition. This makes glass highly customizable for many different applications. The Periodic Table serves as the “home” for understanding how different elements affect glass properties when added (Glass: Home of the Periodic Table).
Melting Points
The melting point of glass is around 1500°C (2730°F) according to the World Book Encyclopedia [1]. This high temperature is required to get the silica, soda and lime which make up glass into a molten state so it can be worked and formed. The exact melting point can vary slightly depending on the specific chemical composition of the glass. For example, lead glass has a lower melting point around 1000°C while fused quartz requires 1650°C [2]. But for most common types of glass, expect temperatures between 1400-1500°C (2500-2700°F) in order to melt the glass for recycling or glassmaking [3].
[1] “Melting Point of Glass – The Physics Factbook,” https://hypertextbook.com/facts/2002/SaiLee.shtml
[2] “What Temperature Does Glass Melt at to Recycle?,” https://education.seattlepi.com/temperature-glass-melt-recycle-4816.html
[3] “At what temperature does glass become malleable without …,” https://www.quora.com/At-what-temperature-does-glass-become-malleable-without-melting-In-addition-what-sort-of-tools-equipment-would-I-need-to-work-with-glass-this-way-and-what-materials-would-I-need-to-build-a-kiln-of-some-sort
Factors That Affect Fusing
There are several key factors that impact the fusing process when working with glass:
The most important is temperature. Glass needs to be heated to high temperatures, usually between 1300-1480°F (700-800°C), in order to reach a molten state optimal for fusing (Wikipedia). The exact temperature depends on the coefficent of expansion of the type of glass used.
Fusing time is another critical factor. Glass pieces need to be fired long enough to fuse fully. Typical firing times can range from 10 minutes to over 12 hours depending on the project. Longer firing schedules are usually required for larger and more intricate pieces (Wikipedia).
The type of glass used also impacts the fusing process. Glass is available in different expansion coefficients, colors, transparency, and textures. The compatibility of the glasses being fused together must be considered. Using incompatible glass types can result in cracking or weak fusing.
Other factors like glass thickness, kiln heating elements, shelf primer, and firing surface can also impact how glass fuses in a kiln firing. Controlling these variables helps ensure a successful fusing result.
Heating Glass
There are several methods for heating glass to high enough temperatures to fuse it together. The most common methods utilize either a kiln or a torch.
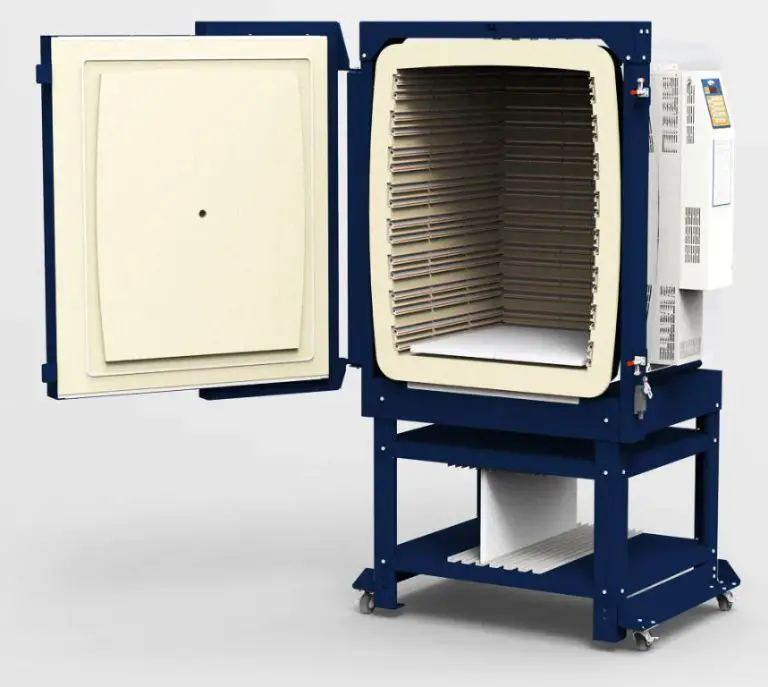
Kilns designed specifically for fusing and slumping glass can precisely control the temperature and heating/cooling process. Kilns heat glass gradually to prevent cracking and usually reach temperatures between 1240-1480°F. According to The Crucible, soda-lime glass fuses between 1350-1500°F. https://www.thecrucible.org/guides/glass-fusing-3/
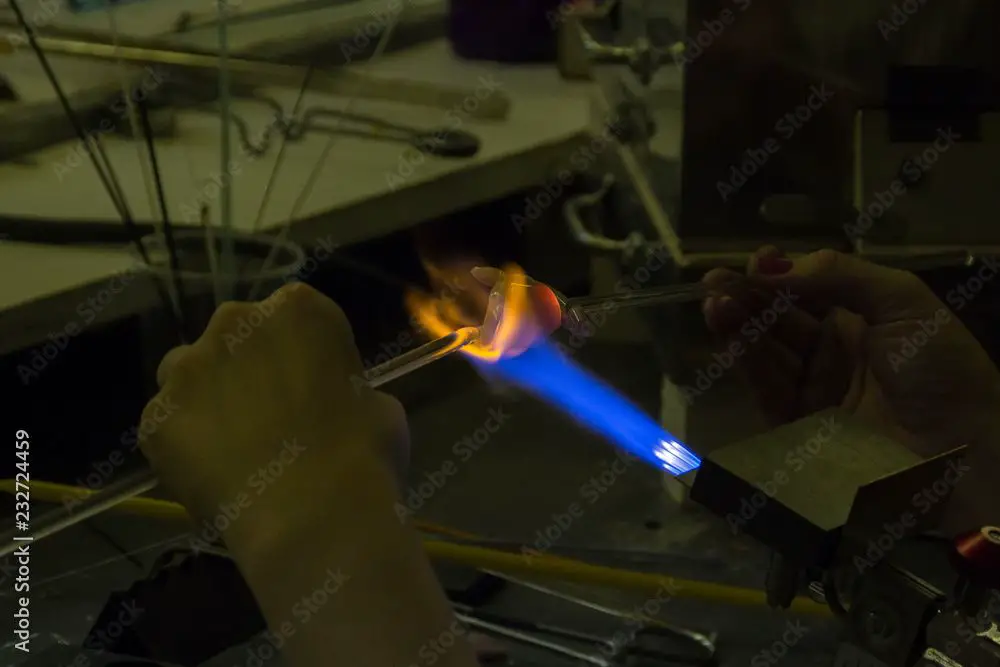
Torches can also generate enough heat to fuse glass together. Propane/oxy-propane and propane/air torches can reach temperatures over 3000°F. The glass is heated locally with the torch flame until fused. Torches allow more flexibility than kilns but can increase the risk of cracking. Proper annealing is critical after fusing with a torch.
Preparing Glass
Before glass can be fused, it needs to go through some preparation to get it ready for the kiln. This includes cutting the glass to size, grinding the edges, and cleaning the glass.
Glass is typically cut to the desired shape and size using a glass cutter. This involves scoring the glass with the cutter to create a weak point, then breaking the glass along that line by applying pressure. It’s important to wear gloves and safety glasses when cutting glass to avoid injury.
Once cut, the edges of the glass will be sharp and need to be smoothed down. This is done through a process called grinding. A rotating glass grinder is used to blunt the sharp edges and shape the glass as needed. Cool water is used during grinding to keep the glass from overheating. Any small shards or glass dust should be cleaned off the piece before moving to the next step.
Finally, it’s important to thoroughly clean the glass prior to fusing. Any dirt, oil, or debris left on the glass can affect the final fused piece. The glass is typically cleaned with soap and water or a glass cleaner. It should be completely dry before placing it in the kiln.
Properly preparing the glass by cutting, grinding, and cleaning is a crucial first step to ensure a successful fused glass project. The glass needs to be in the proper size, shape and condition before the fusing can begin. (Source)
The Fusing Process
Fusing glass together involves heating pieces of glass to high temperatures so they bond together. Here is a step-by-step overview of the basic glass fusing process:
1. Cut glass – Use special glass cutting tools to cut your glass pieces to size.You can cut into different shapes like squares, rectangles, triangles etc. Wear safety glasses when cutting glass.
2. Clean the glass – Wipe down glass pieces with a lint-free cloth or paper towel to remove any dirt, dust or oils.
3. Position the glass – Arrange the glass pieces in the design you want on a prepared kiln shelf or mold.
4. Fire the kiln – Program the kiln with a recommended fusing schedule. Slowly heat glass to around 1450°F-1500°F to fuse pieces. Then slowly cool.
5. Slump or shape – You can slump the fused glass into molds while still hot from kiln for shaping.
6. Clean and polish – Use grinding or sanding tools to smooth sharp edges. Finish polishing with a buffing wheel.
Proper firing schedules are critical for successful fusing. Cooling rate affects the stress in the glass. Firing too fast can cause cracks or breakage. Specific ramp up and down times are followed for optimal fusing and annealing.
For more details on glass cutting tools, adhesives, firing schedules and the complete fusing process visit: https://www.thecrucible.org/guides/glass-fusing-3/
Firing Schedules
The firing schedule is a critical part of the glass fusing process. It refers to the sequence of heating and cooling cycles needed for the glass to properly fuse together. Proper firing allows the glass pieces to slump, flow, and fuse without cracking or breaking apart. There are different firing schedules depending on the size and thickness of the glass pieces as well as the desired effects.
In general, glass fusing firing involves three stages:
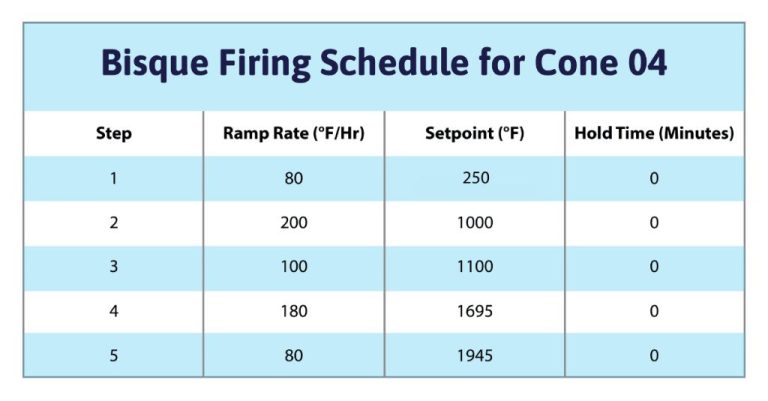
Ramp up – The kiln temperature is gradually increased to allow the glass to heat up evenly. This prevents internal stresses. Ramp rates are usually 75-150°F per hour.
Soak – The glass is held at the target fusing temperature to allow it to become soft and tacky. This causes the glass pieces to adhere to each other. Soak times range from 10 minutes to over an hour depending on the project. The most common temperature is 1450°F.
Annealing – The glass is slowly cooled to room temperature to relieve internal stresses. The annealing cycle is critical to prevent cracking and breakage. Cooling rates are usually 50-75°F per hour.
There are many sample firing schedules available online that provide the details of the ramp, soak, and annealing times and temperatures (Source 1). It’s recommended to test and tweak schedules to suit the specific kiln, glass, and project. Keeping detailed notes is key to reproduce results.
Finishing Fused Glass
After firing, the fused glass piece will have rough edges and surfaces from where glass pieces fused together. Finishing techniques like grinding and polishing refine the glass and create smooth surfaces and polished edges. There are also options for adding embellishments or decorative touches.
Grinding fused glass smooths rough edges and removes sharp points. Special grinding and sanding tools are used, starting with coarse grit to quickly remove larger irregularities. Finer abrasives are then used to blend and soften surfaces. Sanding discs, silicone carbide sandpaper, and diamond pads are common grinding tools. The glass surface is cleaned between sanding with different grit sizes.
Polishing brings glass to a glossy finish using cerium or tin oxide polishing compounds. After sanding up to around 600 grit, polishing compound is worked into the glass surface using felt pads, denim buffs, or muslin wheels. This abrades any remaining scratches and creates an optical finish. It takes practice to achieve an evenly polished surface.
Adding embellishments can enhance the design. Common options are drilling holes to hang art or attaching decorative metal bail fittings, painting additional elements with glass paints, or cold working techniques like engraving. The firing process leaves glass with a frosted appearance, so polishing clear sections is important for a decorative look. With some creativity, fused glass can become jewelry, platters, mirrors or custom art pieces.
Unique Fused Glass Projects
Fused glass allows for endless creativity when it comes to unique project ideas. Here are some possibilities for beginner and advanced fused glass artists:
For beginners, some unique starter projects include:
- Fused glass coasters or trivets – fun shapes and colors
- Fused glass sun catchers – hang in a window or give as a gift
- Fused glass jewelry pendants – add a bail and make a necklace
More advanced or intermediate fused glass artists can try projects like:
- Three-dimensional fused glass sculptures – abstract shapes and forms
- Fused glass bowls, vases or plates – lovely for decor
- Fused glass garden stones or garden art – add some flair outdoors
No matter your skill level, let your creativity run wild! Refer to sources like https://www.pinterest.co.uk/boblatina/fused-glass-project-ideas/ and https://kilnfrog.com/pages/bullseye-glass-methods-ideas for fused glass inspiration.

