How Long Does It Take To Make A Piece Of Pottery?
Pottery making is an ancient art form that involves multiple steps to transform a ball of clay into a beautiful and functional ceramic piece. From gathering materials to the final firing, the entire process can take anywhere from a few hours to a few weeks, depending on the techniques used, the type of clay, and the size and intricacy of the pottery design.
While pottery making requires patience, practice, and skill, the ability to craft unique pots, mugs, bowls, and sculptures from a simple lump of clay is rewarding. This article provides an overview of the typical timeline for making a piece of pottery, from start to finish.
Gathering Materials
The first step in making pottery is gathering the necessary materials, most importantly the clay. According to a Getty Images article, clay often comes from local sources and is dug by hand in various parts of the world [1]. Traditionally, clay was cleaned and prepared by hand. A video from ManyHands.org shows Fataluku potters in East Timor gathering clay from termite mounds, breaking it into small pieces, pounding it to remove debris, and soaking it in water to soften it [2]. Today, commercial clays often undergo additional processing before being sold to potters.
Design & Planning
After deciding on the type of pottery to make, the next step is to conceptualize and sketch the design. This involves envisioning the size, shape, texture, pattern, color, and other aesthetic elements of the piece. Many potters start by making rough sketches to map out their ideas. These sketches help plan the general form and visual layout. According to Willow Mae Studio, sketches are an important part of the design process for pottery and ceramics.
Sketching out concepts allows potters to experiment with different options before committing to a final design. It also helps estimate the amount of clay needed. The sketches provide a guide for the shaping process later on. Some potters prefer detailed, precise sketches, while others work from rougher drawings. The goal is to plan out the visual elements and techniques required to create the desired look and form.
This planning stage is when glazing ideas are also developed if coloring or decorative finishes will be applied. Coming up with the design concept is a creative and individual process, with each potter working differently based on their style and artistic vision for the pottery piece.
Shaping & Forming
After preparing the clay, the next step is shaping and forming it into the desired pottery piece. There are several techniques potters use for shaping clay:
-
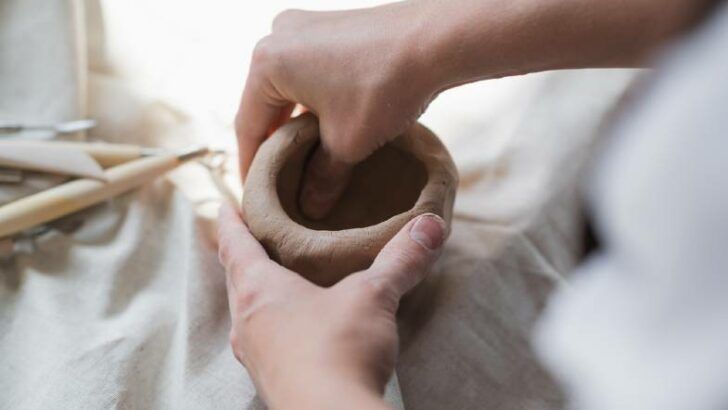
Pinching – Pinching is likely the simplest shaping technique. It involves taking a ball of clay and pinching it between the fingers and thumbs to form basic shapes like bowls, cups, and vases. Pinch pots tend to have a rustic, handmade look. This technique is great for beginners. https://www.thecrucible.org/guides/ceramics/handbuilding/
-
Coiling – With the coiling technique, ropes or coils of clay are stacked and joined together one by one. The coils can be smoothed into the surface to hide the seams, or left visible as a decorative effect. Coiling allows creating unique asymmetrical shapes.
-
Slab Building – Slab building involves rolling out flat sheets or “slabs” of clay and cutting and assembling them into the desired shapes. The slabs can be joined using slip and scored edges. With this technique, nearly any shape can be achieved from geometric patterns to realistic sculptures. Slab building is commonly used for making large pots, bowls, and platters.

Beyond these handbuilding techniques, the potter’s wheel allows for symmetry and uniform walled pots. On the wheel, clay is centered and opened using thumbs while applying pressure from outside and inside. The spinning table shapes the clay into forms like cylinders, bowls, cups, and vases. http://www.pottery-on-the-wheel.com/pottery-techniques.html Mastering the wheel takes practice, but offers limitless shaping possibilities.
Choosing the right shaping and forming techniques allows potters to create their desired forms and objects out of clay.
Texturing & Decorating
Once the pottery piece has been shaped and formed, the next step is to add texture and decoration. There are many techniques that can be used:
- Impressing – Using tools to imprint designs into the clay
- Carving – Cutting into the surface of the leather-hard clay
- Piercing – Using sharp tools to cut holes or patterns
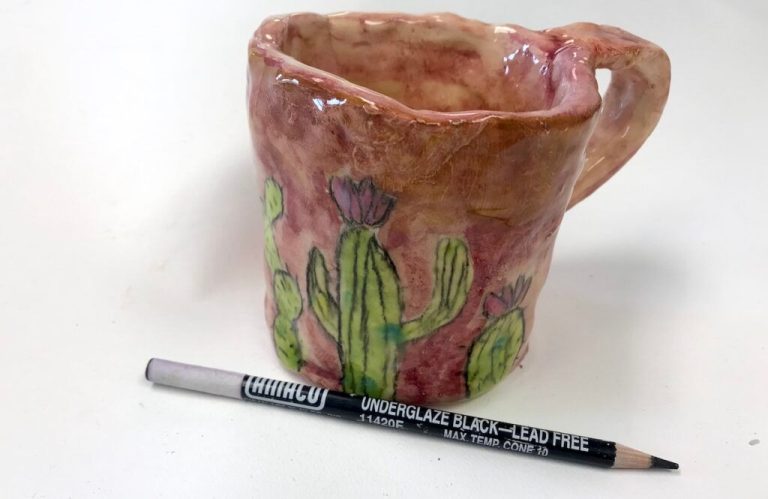
- Sgraffito – Scratching through a colored slip to reveal the clay color underneath
- Mishima – Inlaying slip into carved lines in the clay
- Sprigging – Applying clay embellishments
- Incising – Engraving designs into the clay surface
Glazing is also a popular decorative technique. Glazes come in various colors and finishes like glossy, satin, or matte. They can be applied using methods like dipping, pouring, spraying, brushing, or sponging (The Crucible). Special effects can be achieved using techniques like layering, dripping, blotching, and resist.
Underglazes, engobes, and slips can also be used to decorate greenware before firing. These colored clays allow for painting fine details and patterns. Decals, lusters, and enamels are some other options for embellishing finished ware.
The choices for texturing and decorating pottery are endless. Potter’s creativity and personal style determine the designs and techniques used to adorn each unique piece.
Drying & Bisque Firing
After the pottery pieces have been shaped, decorated, and textured, they need to dry before the first firing. It’s important that the clay dries slowly and evenly to prevent cracking. Potters will often let pieces air dry for several days or weeks before bisque firing.
The first firing is called a bisque or biscuit firing. This is done at a lower temperature, typically around cone 04-06 which is about 1885-1915°F [1]. The purpose of bisque firing is to convert the clay from its soft, wet state into a hard, porous ceramic [2]. This makes the piece less fragile and prepares it to absorb glazes. The bisque firing schedule usually involves a gradual increase to top temperature, a soak period, then gradual cooling.
After bisque firing, the pieces will be ready for glazing and decorating prior to a final high-temperature firing. Bisque firing is a critical interim step that transforms soft clay into strong ceramic.
Glazing & Decorating
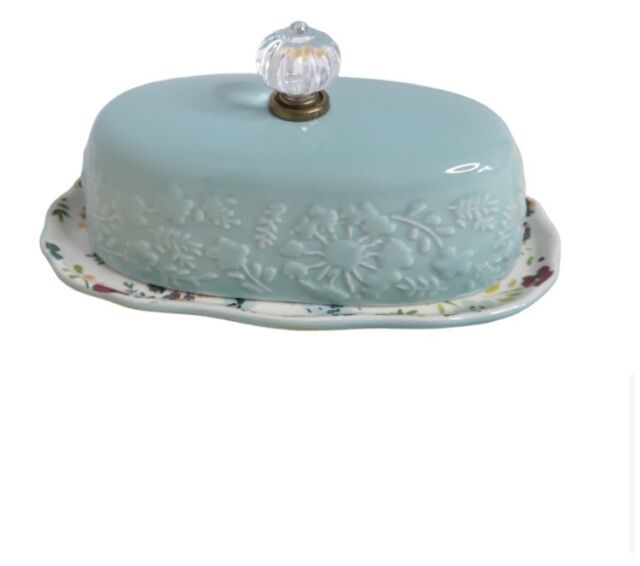
Glazing is a key step in finishing pottery. It involves applying a glass-like coating over the bisque fired clay body. Glazes are available in a wide variety of colors and finishes. They serve both decorative and functional purposes by making the pottery watertight, easier to clean, and more durable. The glaze is applied using different techniques like dipping, pouring, brushing, or spraying. Multiple layers and combinations of glazes can be used to achieve different visual effects.
According to Kathleen Clarke, there are several methods for glazing pottery. Dipping involves fully submerging the pottery into a container of glaze. Pouring involves carefully pouring glaze over the surface. Brushing uses a brush to apply glaze. Spraying uses an airbrush tool to apply an even coat of fine glaze mist. Clarke recommends practicing these techniques to become comfortable with how the glaze moves over the form.
In addition to glazing, potters can add further decorative touches like incising patterns, adding texture, or handpainting. Stamping with custom made stamps can quickly impart pattern and design. The bisque surface can be textured by carving, impressing objects, or scratching. Slips and engobes (colored clay slurries) offer another layer of color and interest. Handpainting with glaze, slips, and underglazes allow for precise decorative motifs. The options for embellishing pottery with glazes, textures, and designs are nearly endless.
Final Firing
The final firing, also known as the glaze firing, is done at a much higher temperature, usually between cone 4 and cone 10 (2120°F – 2345°F) (The Basics of Firing Electric Kilns). This high heat melts the glazes and fuses them to the bisque clay body, creating a glassy coating and finishing the pottery. The final firing stage is critical for:
- Melting the glazes so they become glossy and waterproof
- Fusing the glazes to the clay body
- Making the clay vitrified, non-porous, and food/liquid-safe
- Setting the colors in underglazes and glazes
Ramping up slowly to the target temperature is important to allow volatiles and gases to escape and prevent bloating or cracking. A long slow cooling cycle is also critical for an even glaze surface and to prevent stresses that could crack the ware. Kiln shelves, posts, and furniture may need protection from dripping glaze in this high-heat firing.(3 Stages of Firing Clay – A Beginner Guide to Firing Pottery)
Cooling & Unloading
Once the firing process is complete, the kiln and pottery must be cooled slowly and correctly to prevent defects. If cooled too quickly, the sudden temperature change can cause cracking or breakage. To cool properly, the kiln is turned off and the door remains closed as it cools gradually over 6-24 hours.
The potter must wait until the kiln has cooled completely before opening the door and unloading the pottery. Temperatures inside the kiln can still exceed 100°C for many hours after firing. If unloaded too soon, the extreme heat differential can shatter pottery. Once cooled completely, the kiln door is opened carefully. Potters then use heavy gloves and tools to gently unload each piece, inspecting for defects as they go.
Proper cooling and cautious unloading helps preserve the pottery after its long firing journey. Rushing this final step risks destroying hours of hard work at the last minute.
Conclusion
To summarize, the process of creating a piece of pottery is very involved and can take days or even weeks depending on the complexity of the work. Some key steps include gathering materials, design and planning, shaping and forming the clay, texturing and decorating, multiple firings at high temperatures, glazing, cooling, and unloading. The entire process requires careful technique, skill, patience, and creativity.
The purpose of this article was to provide an in-depth overview of the full pottery-making process from start to finish. For aspiring ceramic artists or those curious about this craft, we aimed to illustrate the main steps and timeline involved in creating beautiful finished pottery pieces. While the specific timings can vary based on the size and intricacy of a work, this gives a general idea of how long quality handmade pottery items can take from conception through to completion.


