How To Draw A Candle With A Flame
If the art of drawing a candle piques your interest, you’ve landed on the perfect page! For many, the warm glow of a candle is a sensory delight that transcends seasons – whether we’re cozied up on a chilly winter evening or enjoying a relaxing summer evening by the pool. With these simple steps, let’s embark on a creative journey to bring this cozy icon to life.
How to draw a burning candle
Step 1: draw an open cylinder
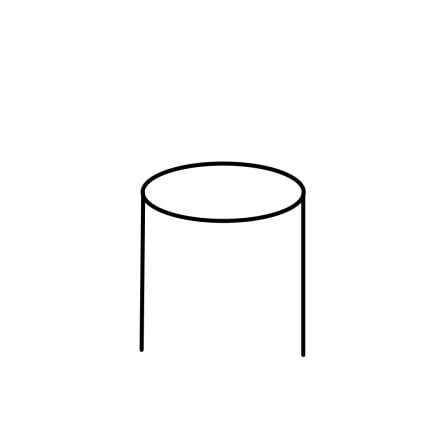
When observing a candle’s shape, one might be struck by its uncanny resemblance to a cylinder. This similarity serves as a great starting point for drawing a realistic representation of this iconic object. To begin, imagine a standard cylinder with the base truncated, leaving only a small portion of the bottom intact.
Step 2: draw the wick and flame
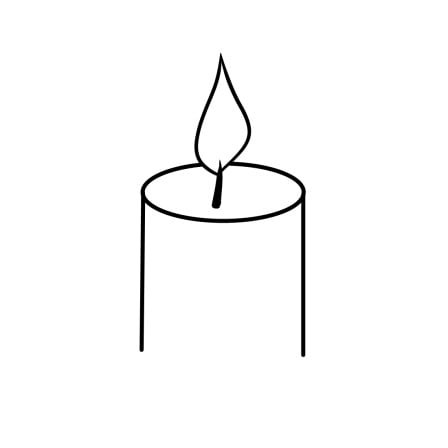
To complete the visual appeal of the candle setup, introduce the wick and flame. The wick is a central axis within the cylinder, providing a solid foundation for the flame. As the flame dances across the surface of the candle, its shape and size can be influenced by environmental factors such as wind direction, temperature fluctuations, or air currents. This versatility allows for a high degree of creativity when crafting your flame’s appearance. Typically, it’s desirable to have the base of the flame broaden at the bottom before tapering towards the top, resulting in a visually appealing and harmonious balance.
Step 3: add the details
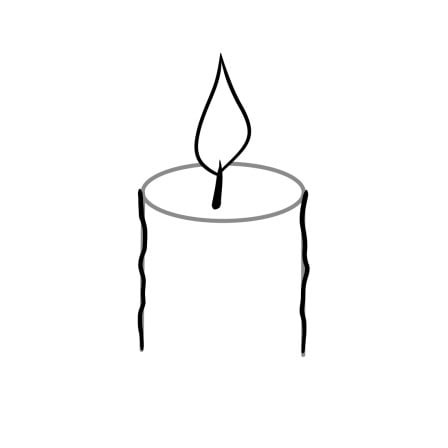
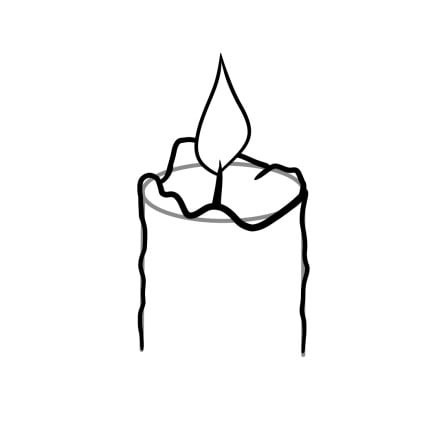
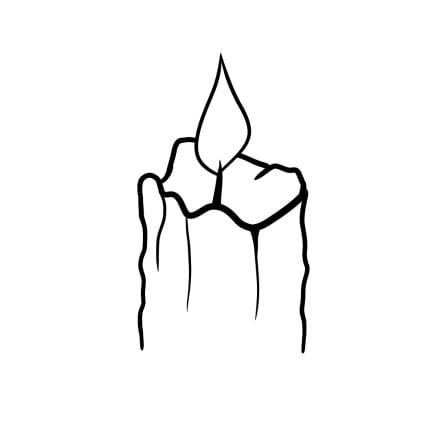
As you complete step two, you’ll have already crafted a fundamental candle. While it may not be a masterpiece, it’s certainly passable! However, the goal is to create a more realistic representation of a burning candle. A genuine candle never boasts perfect straightness, especially if it has been in use for some time. The molten wax will inevitably sag and droop, giving the overall appearance a sense of character. To achieve this level of detail, redraw your initial ‘straight’ candle to include subtle variations that add depth and dimensionality. Additionally, incorporate cracks and fissures to further enhance the realism. With these enhancements in place, you’ll be well on your way to creating a truly convincing and visually appealing representation of a burning candle.
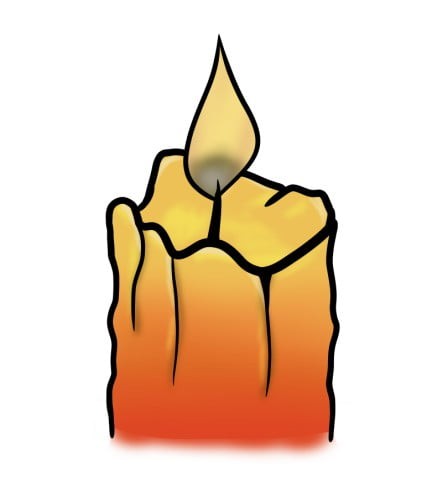
Step 4: block in your basic colors
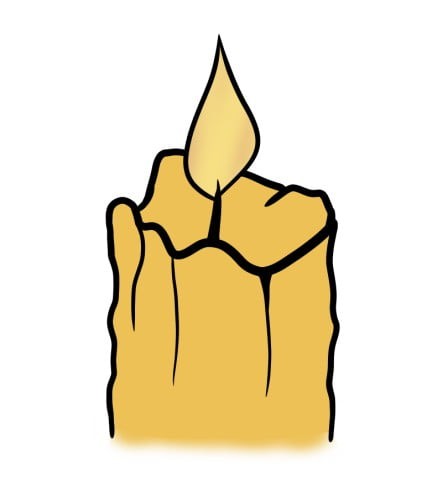
As the final touch, infuse your candle creation with vibrant colors that reflect its personality. I opted for a rich, dark yellow hue for the wax and a brighter, sun-kissed yellow for the flame. The possibilities are endless, though – you can choose from an array of hues available in stores today or let your imagination run wild and create a one-of-a-kind shade that suits your style.
Step 5: add a gradient
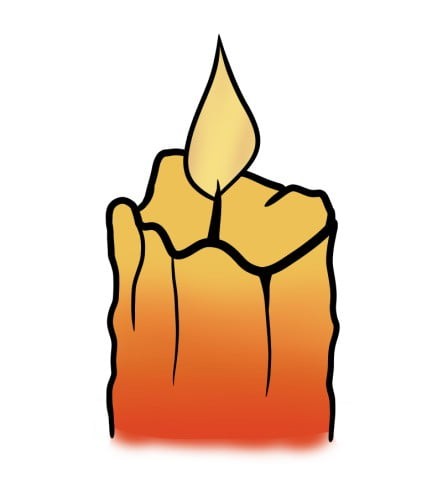
When observing a burning candle closely, one might notice that the wax near the flame appears lighter in hue. This phenomenon occurs due to the thinnest portion of the wax being directly illuminated by the flame. To achieve this same effect in your drawing, consider incorporating a gradient into your depiction of the candle. In reality, the top portion of the candle is typically yellow, gradually transitioning to orange and red towards the base.
Step 6: color extra details
To give your candle’s flame a more realistic appearance, consider adding subtle details like shadows in the cracks and highlights near the area closest to the flame. These nuances can help bring the entire scene to life. Additionally, a closer inspection of an actual flame reveals that where the wick meets the flame, the color transitions from yellow to a deep blue hue, adding depth and complexity to the overall visual effect.
Step 7: add a black background
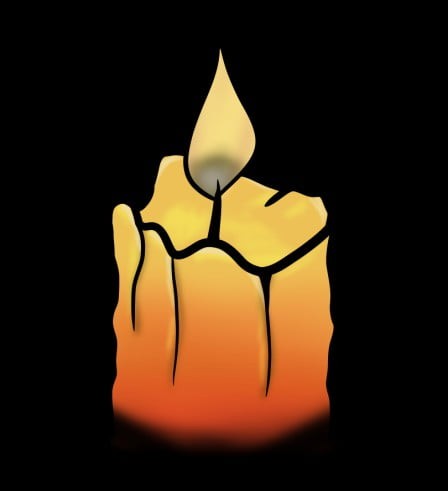
In order to truly appreciate the ambiance that a candle provides, it’s essential to create a setting where its soft glow can be fully appreciated. This means creating a dimly lit environment, free from harsh daylight or artificial lighting. By doing so, the subtle warmth and light emitted by the candle will become more pronounced, allowing you to fully immerse yourself in its cozy atmosphere.
Step 8: add luminescence
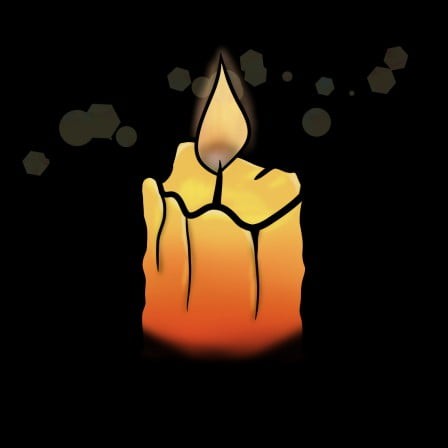
When rendering a candle, it’s essential to define the shape of the flame using distinct lines. However, a real-world flame doesn’t exhibit clear boundaries and is instead characterized by constant fluctuations. To better capture the essence of a genuine flame, consider adding a subtle sheen or glow surrounding the flickering light. This added detail will help convey the warm, radiant quality of the flame.