How To Make Pottery Without A Pottery Wheel?
Pottery refers to objects made out of clay that have been shaped and hardened through firing processes. Pottery is one of the oldest human inventions, dating back over 20,000 years. Before the invention of the pottery wheel around 3500 BCE, all pottery vessels were made by hand using techniques like coiling, pinching, or slab building.
Making pottery without a wheel connects us to ancient traditions and the roots of human creativity. Handbuilding techniques allow for unique, organic shapes not easily made on the wheel. Creating pottery by hand can be meditative, therapeutic, and satisfying. It provides an outlet for artistic expression and allows complete control over the design.
While the pottery wheel enabled mass production and new possibilities, non-wheel techniques have persisted over thousands of years. Handbuilding preserves cultural heritage, and creates one-of-a-kind pieces with rustic appeal. This guide will cover making pottery using various sculptural techniques without a pottery wheel.
Materials Needed
There are several key materials you’ll need for handbuilding pottery without a wheel. Let’s go over the basics:
The most important material is the clay itself. For handbuilding, you’ll want a clay that has good plasticity so it can be easily shaped by hand. According to The Spruce Crafts, some good clays to use include stoneware, porcelain, terracotta, and earthenware (source).
You’ll also need access to a kiln or pit fire setup to properly fire your finished pieces. Firing helps harden and set the clay. You can either use an electric or gas kiln, or do pit firing if you want more of a primitive process.
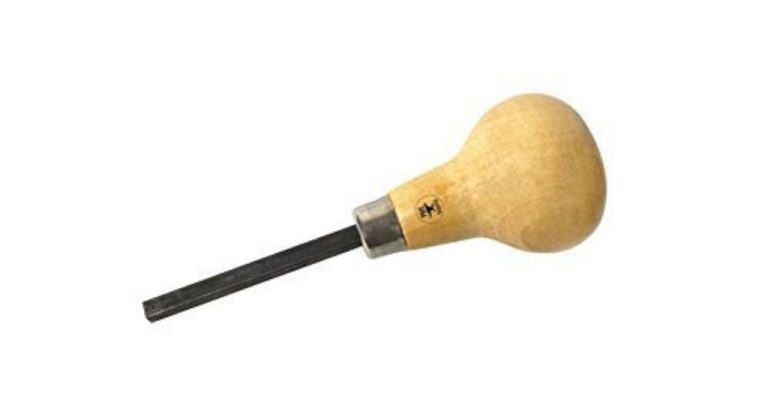
Modeling tools like loop tools, ribs, cutters, and sculpting tools will help you shape and refine the clay. Essential handbuilding tools include pottery wire for cutting slabs, wooden modeling tools, and metal sculpting loops (source).
Finally, glazes and decorations like underglazes, slips, stamps, and stencils allow you to decorate your finished pieces before firing. Consider what colors and effects you want before selecting glazes and decorations.
Preparing the Clay
Properly preparing the clay is an essential first step for handbuilding pottery. The type of clay chosen and techniques used to wedge and knead it will impact the entire pottery making process.
Choose an appropriate clay for the project based on factors like planned firing temperature and desired characteristics. Air dry clays are convenient but fragile, while stoneware and porcelain are stronger and enable high temperature firing for more durable finished ware. https://potterymakinginfo.com/pottery-making/wedging-clay/
Wedging is a process of cutting, folding, and compressing the clay to evenly distribute moisture and remove air pockets. Methods like the ram’s head or stacking and slamming achieve a uniform consistency. Under-wedging can lead to cracking and exploding clay, while over-wedging makes the clay stiff and less malleable. Kneading or hand wedging further blends the clay. https://ceramicartsnetwork.org/daily/article/How-to-Wedge-Clay-Properly
The prepared clay should have a smooth, plastic texture that is moist but not sticky. Test a piece to ensure it can bend without cracking. Adjust consistency if needed by wedging in water or allowing clay to air dry slightly. Well prepared clay is essential for successfully handbuilding pottery.
Handbuilding Techniques
There are several techniques for handbuilding pottery without a wheel. These allow you to shape, sculpt, and create unique ceramic pieces using just your hands.
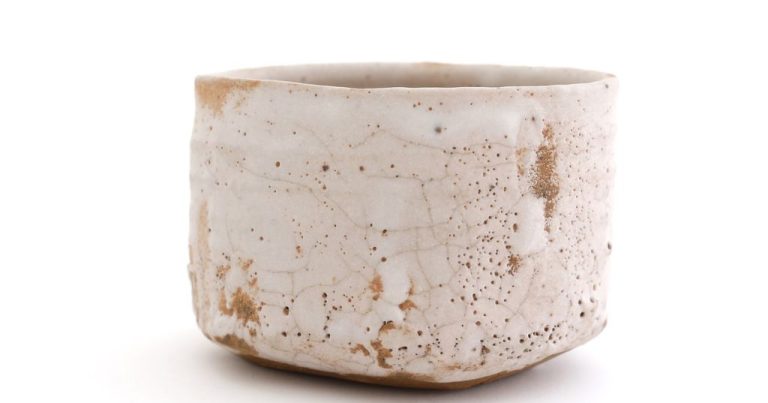
Pinch pots are a simple beginning handbuilding method. To make a pinch pot, take a ball of clay and use your thumbs to pinch and rotate the clay upward from the bottom. Slowly pinch and shape the walls thinner as you build upward. Pinch pots can be left simply or further decorated.
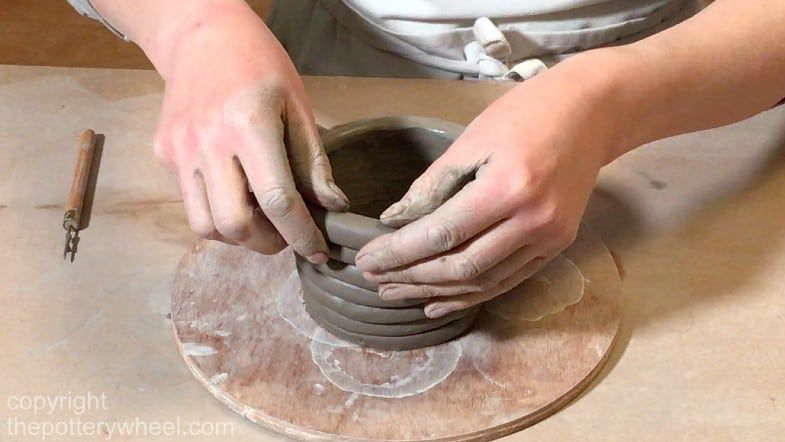
Another common technique is coil building. This involves rolling clay into long coils, then stacking the coils on top of each other. The coils can be smoothed together using a tool or your fingers. Coiling allows you to build taller pieces and is great for making vases, bowls, and jars.
Slab construction involves rolling out flat “slabs” of clay and assembling them into a form. The slabs can be cut into shapes and joined together similar to a puzzle. Extra clay (known as slip) is used to stick the seams together. The interior and exterior can then be smoothed. Slab construction enables large, flat-sided pottery pieces.
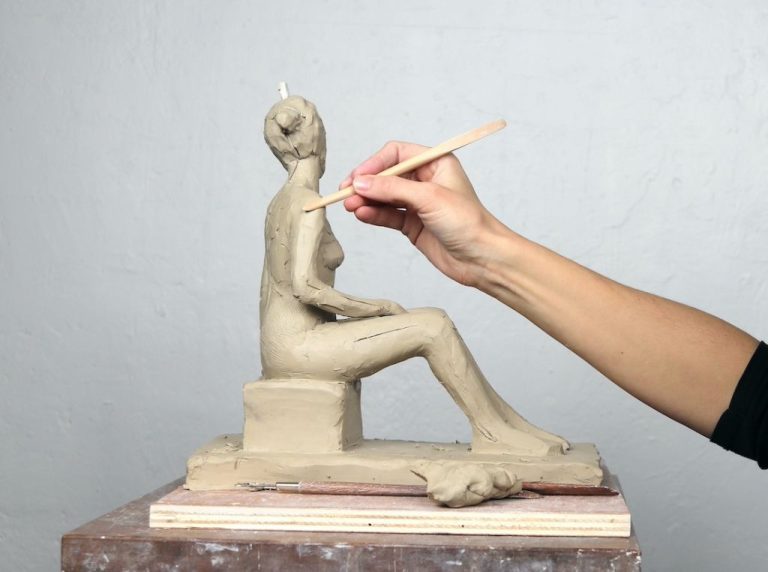
Finally, clay can be sculpted freehand into any shape without using specific techniques. Similar to how a clay sculpture is made, the clay is rolled, pinched, carved, and formed using hands and basic sculpting tools. This allows for uniquely shaped decorative pottery.
For examples of handbuilding techniques, see this guide from The Pottery Wheel: https://thepotterywheel.com/how-to-make-pottery-without-a-wheel/
Shaping and Forming
Once your clay pieces are formed using handbuilding techniques, the next step is shaping and refining them. Careful smoothing and joining of clay is important for getting a professional finish. Any cracks or uneven surfaces will be exaggerated after firing, so take time to get forms smooth. To join two pieces of clay, score the surfaces by scratching crisscross lines. Apply water or slip to the scored areas and firmly press them together. Smooth the seam gently with a rounded tool.
Use modeling tools to refine shapes and add detail. Loop tools with rounded edges are good for shaping rounded forms like bowls and mugs. Wooden ribs can smooth and compress clay. Needle tools are handy for cutting into clay and making lines. Cut away any excess clay so forms have clean edges. Let gravity help shape pieces by holding them vertical and gently pressing in sides. Aim for an even thickness of 1⁄4 to 1⁄2 inch throughout. Allow your tools and hands to shape the clay naturally. Work slowly to avoid distortion or cracks.
Check for symmetry by comparing opposite sides of a form. As pieces stiffen slightly, use a cheese cutter tool to trim bottom edges flat so pieces sit evenly. Then shapes can be smoothed further with a damp sponge. Allow pieces to firm up adequately before continuing to add handles or detail.
Decorating
There are many fun techniques for decorating handbuilt pottery. Four of the most common are incising, stamping, adding textures, and glazing.
Incising involves using sharp tools to scratch designs into the surface of leather-hard clay. Knives, nails, and specialized clay tools can all be used to create patterns. Incising allows you to add fine details and crisp lines to your pottery (https://za.pinterest.com/vanessa_klein/pottery-decorating-ideas/).
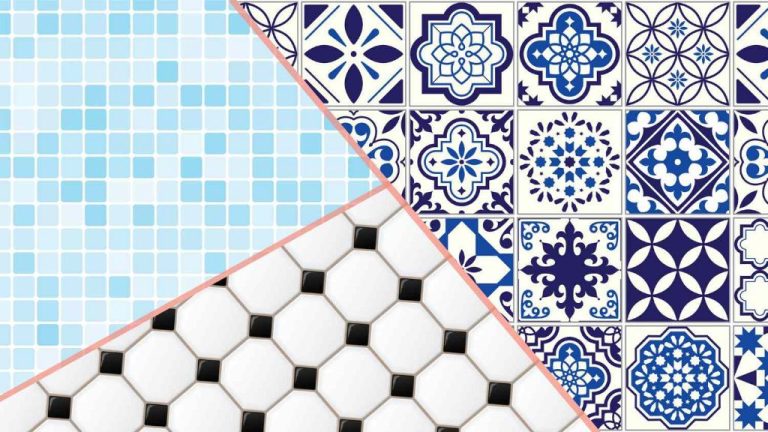
Stamping makes use of textured materials to imprint designs onto clay. Things like leaves, lace, wood grain, or detailed patterned stamps can add interest. Press the stamps into the soft clay to easily transfer the texture (https://za.pinterest.com/vanessa_klein/pottery-decorating-ideas/).
Adding textures enriches surfaces using tools or materials. You can scratch, impress, emboss, or carve the clay. Sponges, crumpled tinfoil, and rough brushes also produce neat effects.
Glazing provides a glassy coating and comes in endless colors and finishes. Apply glazes to bisque fired pieces using brushes, sponges, or pouring. Glazes enhance the look and feel of the clay underneath.
Drying and Firing
Properly drying and firing your handbuilt pottery is critical for success. Here are some key steps in the process:
Let your pottery air dry slowly to prevent cracking. Place pieces on newspaper and cover with plastic for even drying. Allow at least a few days before bisque firing. Once bone dry, pots are ready for firing. See this guide for tips on proper clay drying.
Bisque firing prepares the clay and makes it less porous before glazing. Use a kiln or alternative methods to bring pieces to around cone 04 temperature (approximately 1885°F or 1030°C). Firing too fast can risk cracking.
Glaze firing hardens and seals the glazed piece. Bring pieces to around cone 6 temperature (approximately 2232°F or 1222°C). Make sure glazes are formulated for the correct temperature range. Firing too hot or too fast creates glaze defects.
If you don’t have a kiln, you can fire pottery using alternative methods like pit firing, raku firing, or primitive firing. See this overview of options.
With care and patience, you can successfully dry and fire handbuilt pottery to create finished pieces without a pottery wheel.
Troubleshooting Issues
When making pottery by hand, you may encounter some common issues like cracking, exploding pots, and glaze imperfections. Here are some tips for troubleshooting these problems:
Cracking often happens when clay is dried too quickly or unevenly. To prevent cracks, dry your pottery slowly and evenly. Avoid placing wet clay items in direct sunlight or near heating vents, which can cause the exterior to dry faster than the interior. You can place a plastic bag or damp cloth over items while they dry to slow the process.
Exploding pots during firing is another frustrating problem. This usually occurs when air gets trapped in the clay. Before firing, use a pointy tool or chopstick to poke holes to allow air to escape. Exploding can also happen if moisture gets trapped, so make sure your pieces are completely dry before firing. Start with a low temperature and slowly increase heat.
Glaze imperfections like cracking, peeling, or not melting fully are often caused by improperly mixed glaze or incompatible glaze/clay combinations. Test glazes on test tiles first. Make sure glazes and clay expand/contract at similar rates during firing by checking manufacturer guidelines. Mix glazes thoroughly and apply evenly in the right thickness.[1]
Inspiration and Tips
When starting out in handbuilding pottery, it’s helpful to view examples and gather tips to spark your creativity. The internet provides a wealth of beautiful handmade ceramics to admire and learn from. For example, Pinterest boards like “Pottery Handbuilding” and “Pottery – Handbuilt” showcase hundreds of handbuilt vessels, sculptures, and functional ware. Browse the collections for inspiration on shapes, textures, glazes, and more.
Some key tips for handbuilding success:
- Use slabs, coils, and pinch pots in combination for more dynamic forms.
- Add texture with mark making tools, natural objects, stencils, or stamps.
- Let the clay leather harden slightly before joining pieces.
- Support structures well to prevent cracking and collapse.
- Consider the thickness and weight of each component.
With practice and an experimental mindset, you can create beautiful handbuilt ceramics full of originality and personal expression.
Conclusion
Creating pottery without a pottery wheel can be an incredibly rewarding and fulfilling experience. In this guide, we covered the key steps including preparing and handbuilding with clay, shaping forms, decorating, and properly drying and firing your creations.
The benefits of making pottery without a wheel are numerous. You can create beautiful, artistic pieces using simple techniques and minimal tools – no expensive wheel required! Handbuilding allows for experimentation and learning the fundamentals at your own pace. It also gives you full creative control over the shapes, textures, and decorations. Lastly, finishing your works and using them daily can provide a great sense of accomplishment.
We hope this guide has inspired you to try your hand at making your own pottery without a wheel. Start with a small and simple project, be patient as you shape the clay, and don’t worry if your first few pieces don’t turn out perfectly. With practice comes improvement. Let the art of handbuilding pottery delight and relax you. Share your finished creations and help others see the joy in this craft!