How To Make Rya Knots
In woven tapestries, rya knots may not be considered traditional weaving techniques, but they are an integral part of the process. These knots serve a dual purpose – they can add a decorative fringe to your finished piece or create texture throughout the entire fabric. As a weaver, having a solid understanding of how to create rya knots is crucial for producing high-quality work. To master this essential skill, let’s break it down step by step and explore the process in detail.
Prepare your yarn
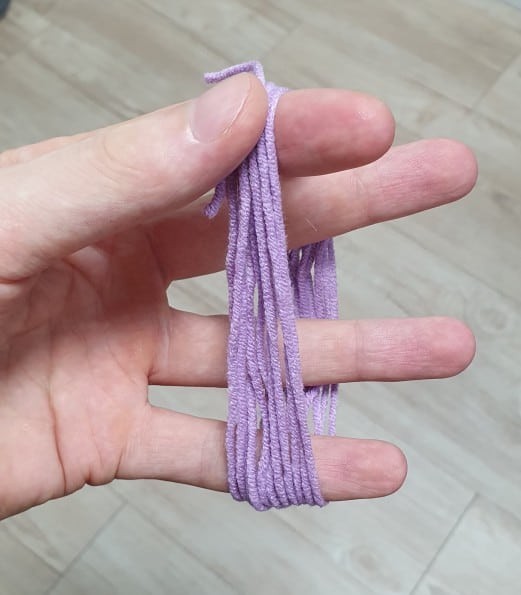
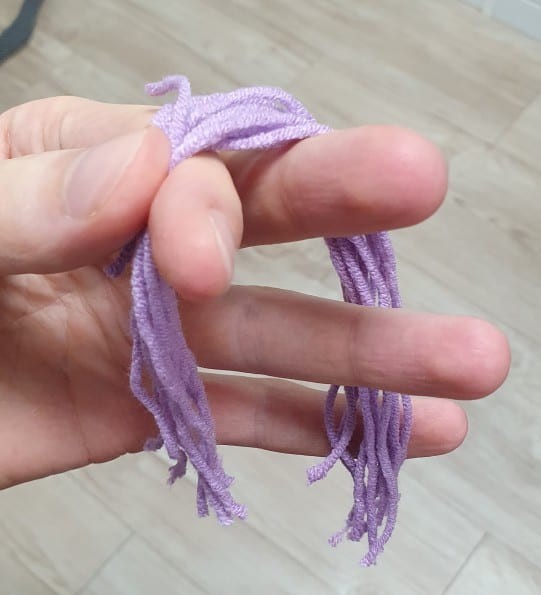
To create ryå knots, it’s essential to work with short yarn strands rather than a single long string. Begin by cutting the yarn into manageable lengths. A convenient way to produce multiple strings simultaneously is to wrap the yarn around an object and then cut at both the top and bottom. Alternatively, you can wind the yarn around your hand and use scissors to trim the excess. When making the initial cuts, it’s better to err on the side of caution and leave a bit more yarn than needed, as it’s always possible to shorten the strands later during the knot-tying process.
Place two strings over the warp threads
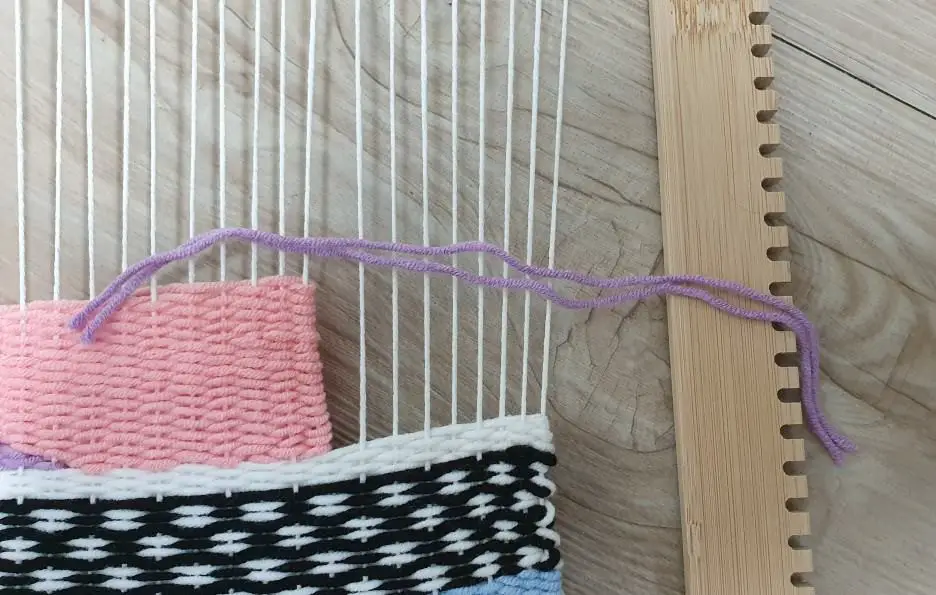
To begin constructing the rya knot, position two short yarn strings atop the warp strings, ensuring they are centered and situated slightly above the desired knot location.
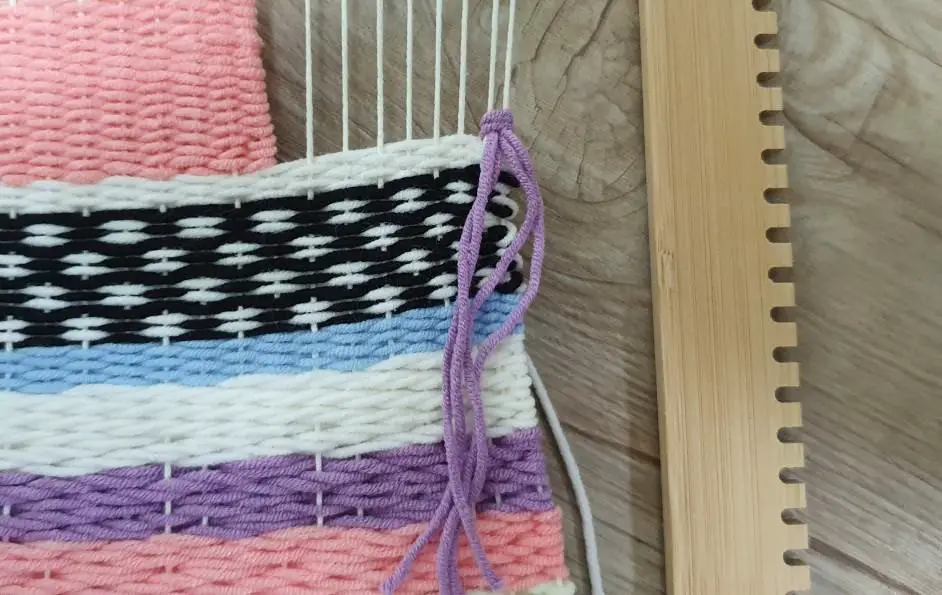
Wind the right half of the strings around the right warp thread
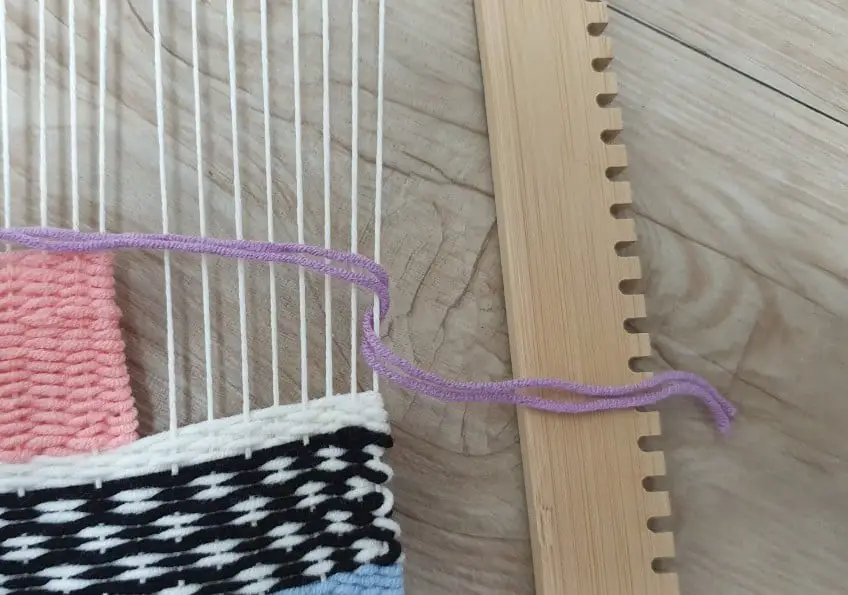
To secure the strings in place, begin by winding the right half of the strings around the right warp thread a single time, following the illustration provided. It’s crucial to maintain equal lengths for both the left and right halves of the strings at this stage, as any discrepancy will result in an uneven knot.
Do the same for the left half
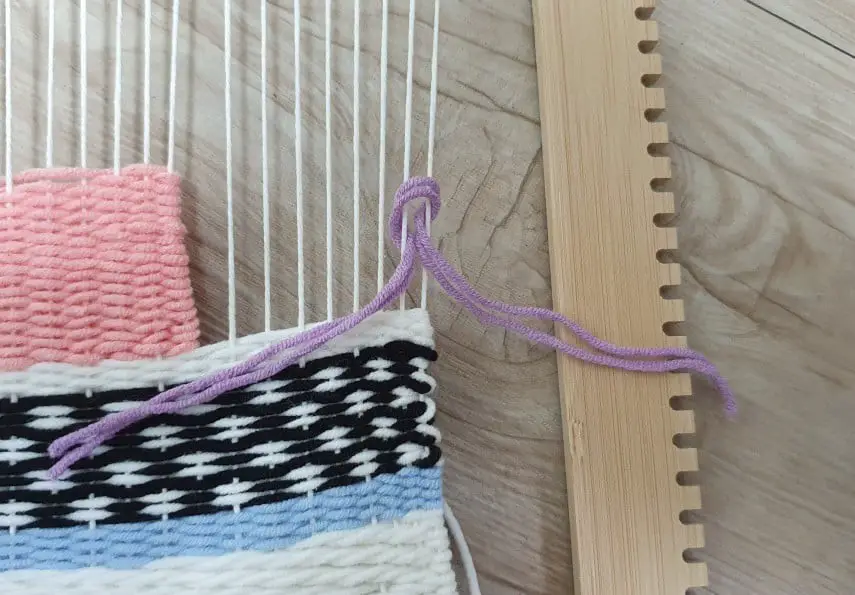
The process of repeating step three for the remaining half of the strings involves several key considerations. First and foremost, it’s essential to ensure that you’re working with a consistent approach across all strings. This means applying the same rules and criteria to each string, without exception. Once you’ve established this consistency, you can begin to identify any patterns or anomalies that may be present in the remaining half of the strings. By taking a closer look at these strings, you’ll be able to spot any potential issues or areas for improvement. From there, it’s simply a matter of applying the same techniques and strategies that worked well in the first half to the remaining strings. This approach helps to maintain continuity and consistency throughout the entire process, ensuring that the final result is both accurate and reliable.
Pull the strings down
Mastering the Rya Knot requires a subtle yet deliberate motion. To achieve this elegant tie, simultaneously draw down both string ends with equal force, allowing the fibers to intertwine and create the desired texture.
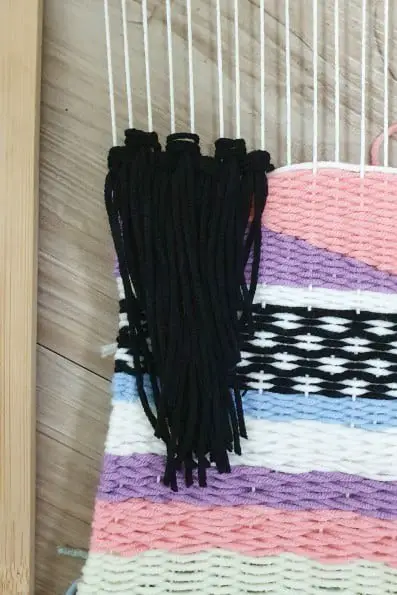
Make adjacent rya knots to form a fringe
Now that you’ve mastered the rya knot technique, you can apply it repeatedly to create adjacent knots and build up a fringe. The process is similar to layering different elements together in a larger work. A single layer of rya knots might be sufficient for thicker yarns, but thinner yarns may require additional layers to achieve the desired level of fringe thickness. In my case, I found that adding a second row of knots helped to enhance the overall visual impact and create a more substantial fringe.
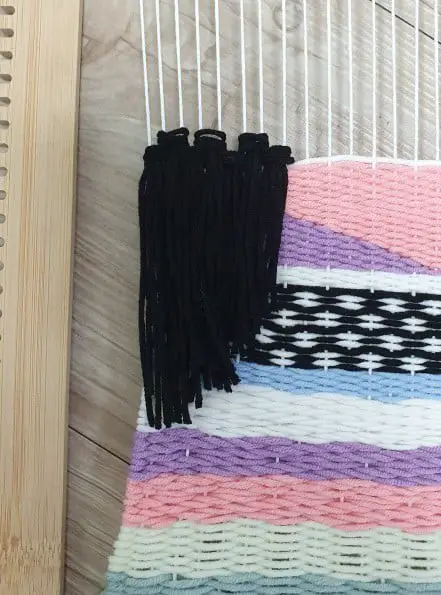
Add a second row of rya knots (optional)

When introducing additional rows of rya knots, it’s crucial to consider their placement. A simple yet effective approach is to offset the new knots by one warp thread from the existing ones. This strategic positioning ensures that the fresh knots seamlessly integrate between the original ones, effectively filling in any gaps that may have formed.
Adding extra texture and volume to your weave with big rya knots

As we’ve explored so far, creating rya knots with two strings has been a great starting point. However, there’s even more flexibility to achieve the desired fringe density and texture. The key is to experiment with different string combinations. For instance, if you’re working with thinner yarns and want to create a luscious fringe, you can easily adapt the rya knot technique by using 3 or 4 strings at once. This is demonstrated below in a rya knot with 3 strings. The resulting density of the fringe after two rows of these modified knots becomes noticeably thicker compared to using only two strings per rya knot. When it comes to shaping your fringe, don’t overlook the opportunity to trim the edges with scissors for a customized look. Depending on the weave’s design and placement of the fringe, you can choose to keep them horizontal at the bottom or cut them into a diagonal shape if they’re situated in the middle.
Adding extra color to your weave with the multi-color rya knot
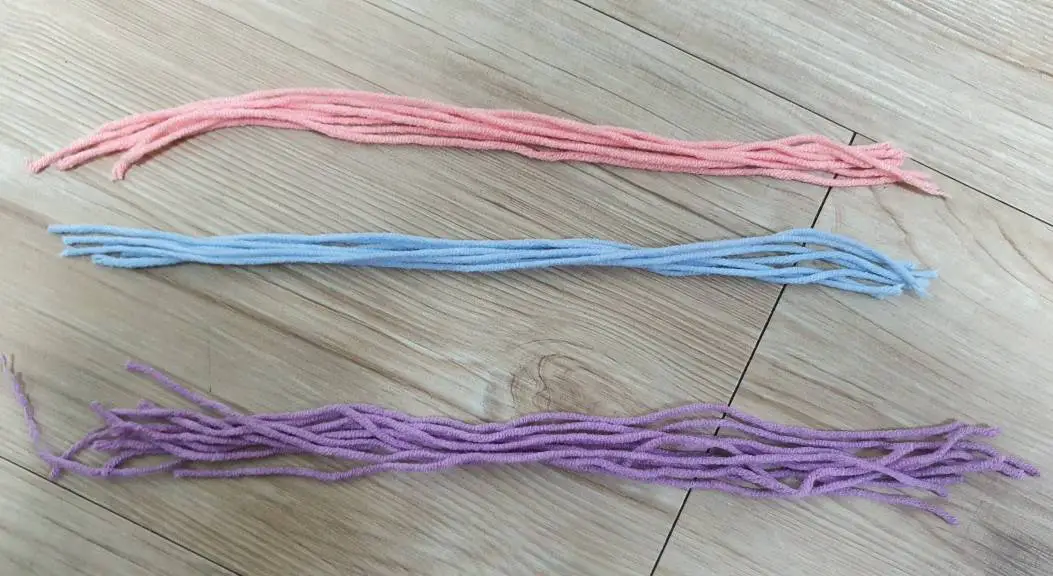
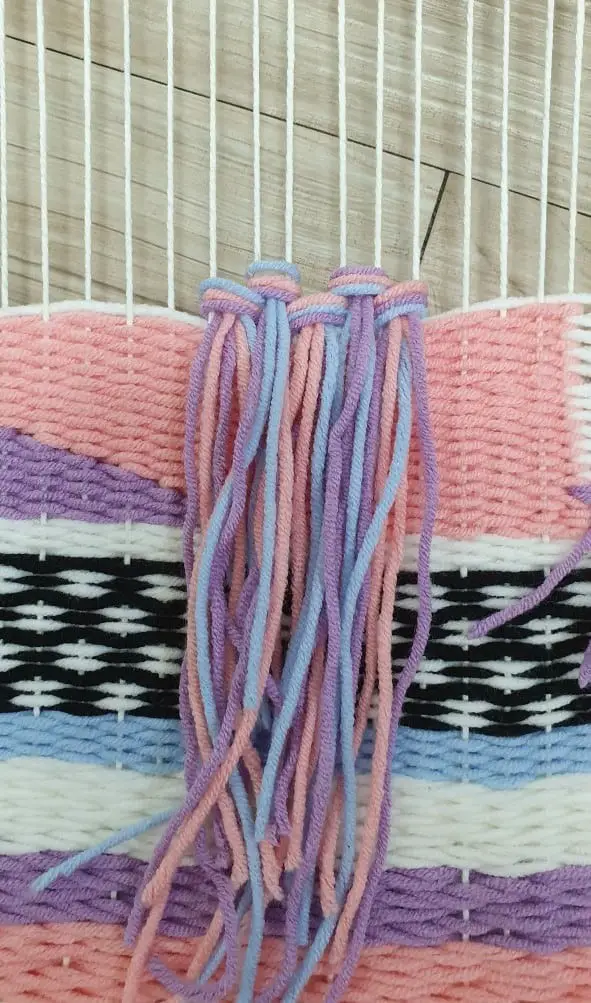

To add some excitement to your rya knots, try combining strings of different colors. For instance, I prepared sets of pink, blue, and purple threads of the same thickness. Next, I created three-string rya knots, carefully ensuring each knot featured one string of each color. The outcome is a vibrant and eye-catching result. These colorful creations have the potential to complement various designs, but I encourage you to give them a try and see if they resonate with your personal style.