15 Simple Rose Drawing Ideas For Beginners
As an aspiring artist, starting with simple yet striking subjects like flowers can be an excellent way to begin your creative journey. Among the many varieties of flowers, roses stand out as a timeless favorite – and for good reason. Their intricate details and delicate petals make them both beautiful and challenging to draw. Fear not, however, for even beginners can master some lovely rose drawings with a little practice. Let’s explore a few straightforward techniques to get you started.
Simple rose drawing

To create a simple yet beautiful rose, start by drawing a spiral that serves as the foundation of your design. Next, draw a ‘U’ shape below the spiral, forming the base of the rose. Within this ‘U’, add one or two diagonal lines to give the appearance of petals unfolding. The final steps involve adding the stem and leaves. You can include one leaf or multiple leaves, depending on the level of detail you desire.
Rose bud drawing

This adorable rose illustration builds upon the previous design, introducing new elements to create a more intricate and charming appearance. To begin, you’ll first need to draw three petals that fold over the spiral shape, creating a sense of depth and dimensionality.
Start by drawing the foundation spiral, taking care to maintain its smooth curves.
Next, add three petals that wrap around this spiral, overlapping slightly as they curve inward. This will give your rose its characteristic layered appearance.
Following this, draw a distinctive ‘U’ shape below the spiral, carefully tracing the curves of this shape to ensure it flows seamlessly with the rest of the design.
To add some visual interest and texture, include one or two diagonal lines within the ‘U’ shape, subtly suggesting the delicate ridges on a real rose’s petals.
Finally, bring your illustration full circle by adding a sturdy stem and one or several leaves, completing this delightful floral design.
Rose drawing from a heart

One approach to drawing a rose from a heart is to begin with the foundation of the flower. This technique yields three distinct petals for the rose. To start, draw a traditional heart shape. Next, create a spiral within the heart by tracing a curved line that narrows as it reaches the center. This spiral will eventually form the core of the rose’s petals. The next step is to draw a ‘U’ shape, which will serve as the foundation for the rose’s center and subsequent petals. Finally, add the stem and leaf details to complete the drawing.
Rose drawing from the side

To create a simple yet charming drawing of a rose from the side, start by sketching three rose petals in a row. This is the beauty of this design – you don’t need to worry about drawing every individual petal in the center of the flower.
Draw three more petals behind the initial trio, overlapping them slightly to give your rose some depth and dimensionality. Next, add a stem that connects the rose to its roots. Finally, include one or several leaves sprouting from the stem to complete the look.
Geometric rose

The simplicity of geometric art is what draws me to this rose design, as seen in this illustration. For an accurate rendition, I highly recommend using a ruler to achieve crisp, straight lines.
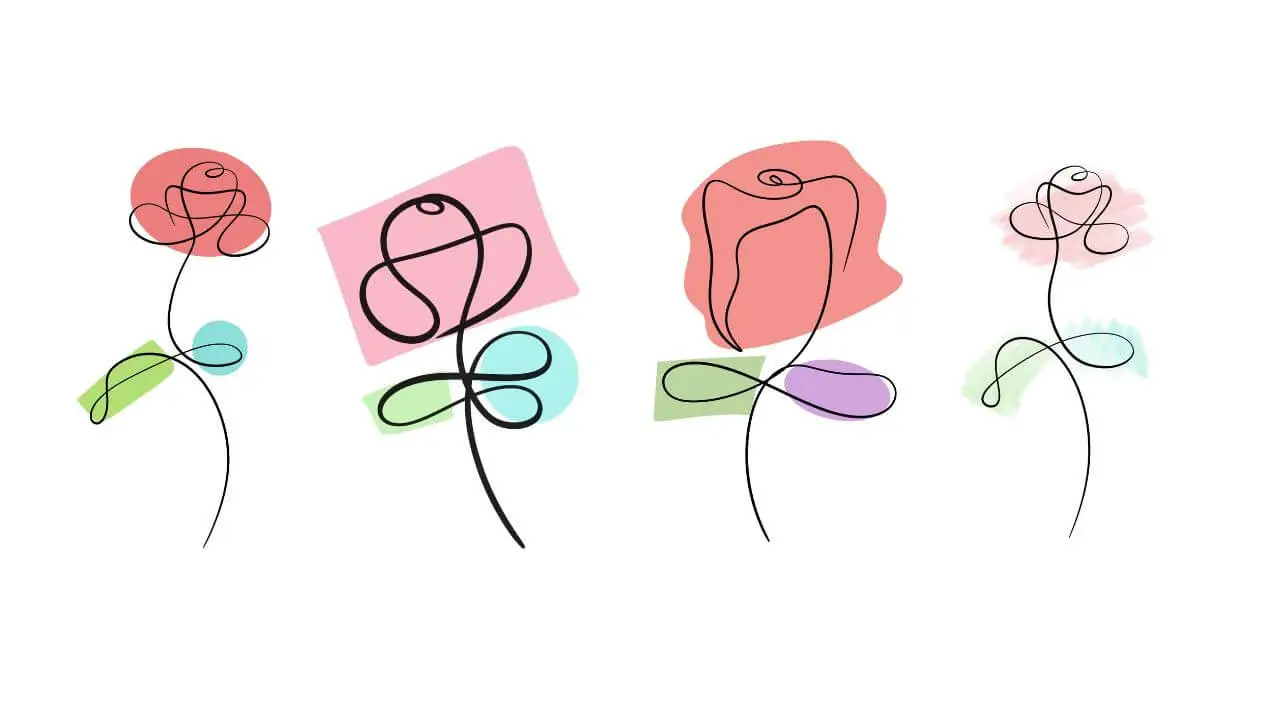
One-line rose

While seemingly straightforward, capturing the essence of a rose with a single line can be surprisingly challenging. The good news is that these simple designs can be quickly sketched and experimented with until you find a style that resonates with you.
To achieve a harmonious look, consider the following guidelines:
Use a single continuous line for your entire drawing to create fluidity and continuity.
Steer clear of sharp edges and corners whenever possible to maintain a soft, organic appearance.
Don’t feel obligated to include every detail; instead, focus on conveying the overall shape and essence of the rose.
For added accuracy, refer to a reference photo for inspiration.
If you’d like to learn more about mastering these single-line rose drawings, I invite you to explore my article on this topic.
Rose and heart

One of the most impressive one-line drawings I’ve come across recently combines a rose and a heart in a single stroke. While it may seem daunting to merge two distinct objects into a single flowing line, the payoff is well worth the effort.
Hand holding a rose

When it comes to drawing a simple yet elegant scene, combining your knowledge of drawing a rose with that of drawing a hand can lead to a beautiful piece of art. Start by recalling how you drew the spiral shape of the rose, and build upon that foundation for this new drawing.
Begin by creating the central axis of the composition by drawing a curved line that forms the base of the ‘U’ shape. Next, add one or two diagonal lines within the curve to create depth and visual interest.
The stem of the rose is the next element to draw, and you can use this opportunity to practice your hatching skills if needed. Follow up by adding some leaves, whether they’re individual or grouped together, depending on the look you’re going for.
Now it’s time to bring in the hand holding the rose, which should be positioned in a way that creates balance and harmony with the rest of the composition. Finally, erase any part of the stem that falls behind the held rose to create a sense of dimensionality.
Rose drawing from above

Begin your rose flower drawing with a simple yet elegant spiral shape from above. Don’t be intimidated by its seemingly complex appearance – it’s actually quite accessible to create. The key is breaking it down into smaller, manageable parts.
First, draw a foundation spiral that sets the tone for your rose. This will serve as the central axis of your flower.
Next, add two small petals on either side of the spiral, using gentle curves to capture their delicate shape.
Moving on, introduce three medium-sized petals that radiate outward from the center, each one slightly larger than the last. Remember to maintain a smooth, flowing quality in your lines.
Finally, complete your rose with three large petals, again increasing in size as they move away from the center. Don’t forget to add some finishing touches by incorporating leaves around the base of the flower.
Minimalist rose drawing

To create a minimalist rose drawing, start by sketching a square or rectangle with slightly rounded edges. Then, draw four gentle curves along each edge, gradually increasing in curvature as they approach the center of the square. Continue adding curved lines until you’ve reached the midpoint of the square. Finally, add four more delicate petals on the outside of the design, allowing them to softly blend into the surrounding curves.
Rose in a vase
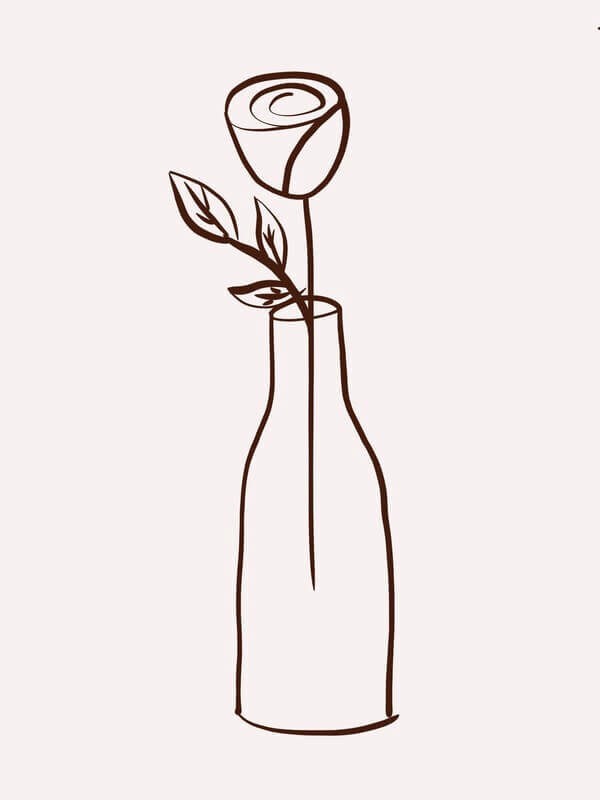
To create another simple yet beautiful drawing, consider illustrating a single rose in a vase. Alternatively, you can draw multiple roses to add some visual interest. For added variety, try drawing vases in different shapes and sizes.Begin by crafting the spiral shape that forms the foundation of your design. Next, draw a gentle ‘U’ curve below the spiral, adding one or two diagonal lines inside for added depth. Move on to drawing the stem, followed by one or several leafy details. Finally, bring everything together by drawing the vase itself.
Rose and skull

When it comes to creating unique and captivating artwork, few concepts are as intriguing as combining the macabre with the beautiful. A drawing that brings together a cartoon skull and a rose is a perfect example of this fusion. The result is a visually striking piece that will appeal to anyone who has ever been fascinated by the mysterious allure of skulls or the thrill of creating spooky art. This idea is perfect for artists looking to push their creativity and challenge themselves with a new and unexpected theme.
Dying rose

Roses, though breathtakingly beautiful, have a finite lifespan. As such, it’s only fitting to create an illustration of a wilting rose as a poignant reminder of their mortality. This drawing is reminiscent of the first rose on this list, with the notable difference being the downward-pointing bud, wilted leaves, and a fallen petal or two. To bring this vision to life, start by crafting a spiral shape. Next, draw a ‘U’ shape below it, making sure to include one or two diagonal lines within the curved bounds. The stem should be drawn next, followed by the addition of one or several leafy protrusions. Finally, scatter fallen petals on the ground, imbuing the scene with an air of melancholy and impermanence.
Bouquet of roses

Elevate your artistic skills by creating a stunning bouquet of roses. If you’ve mastered drawing a simple rose, you’re just a few strokes away from crafting a beautiful floral arrangement. Start by adding some flair with a ribbon, then wrap it around a foundation of wrapping paper. Next, bring the focal point into view by drawing multiple roses above the paper, each one uniquely shaped and textured. Finally, add depth and dimension to your bouquet by drawing the stems extending below the ribbon, giving the impression that they’re bursting forth from beneath.
Beauty and the Beast rose
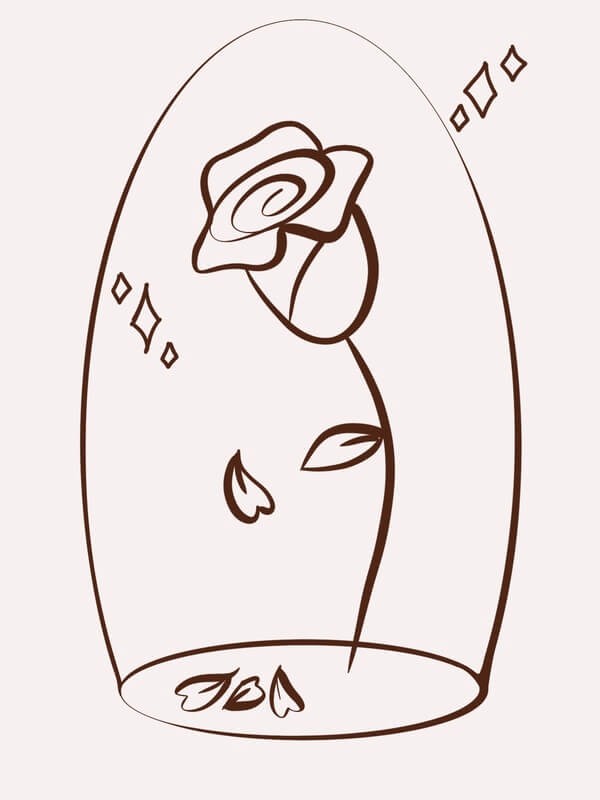
Are you a fan of Disney’s ‘Beauty and the Beast’? The iconic rose scene is a nostalgic touchstone for many. This particular drawing is reminiscent of childhood memories, with its intricate details and whimsical charm. It bears some resemblance to another design on this list, but with the added elements of a glass dome, scattered petals on the floor, and subtle sparkles. If you’re looking to recapture those carefree days, let’s dive into the steps needed to bring this enchanting image to life.
Begin by creating a spiral shape as the foundation. Next, draw three petals radiating from the center of the spiral. Below the spiral, craft a gentle ‘U’ shape. Add one or two diagonal lines within the ‘U’ to add texture and depth. The stem should be drawn next, followed by one or multiple leaves. To complete the glass dome, simply draw its outline around the rose. Finally, sprinkle in some sparkle signs and depict rose petals drifting across the floor, evoking a sense of whimsy and wonder.
More drawing ideas
For fans of the creative endeavors featured above, a natural next step would be exploring more artistic outlets. In particular, my blog post on single-line rose drawings offers an equally engaging and accessible experience for beginners. The process of crafting intricate, yet simple, designs is sure to captivate anyone looking to unleash their creativity.