What Can You Make With A Pinch Pot?
What is a Pinch Pot?
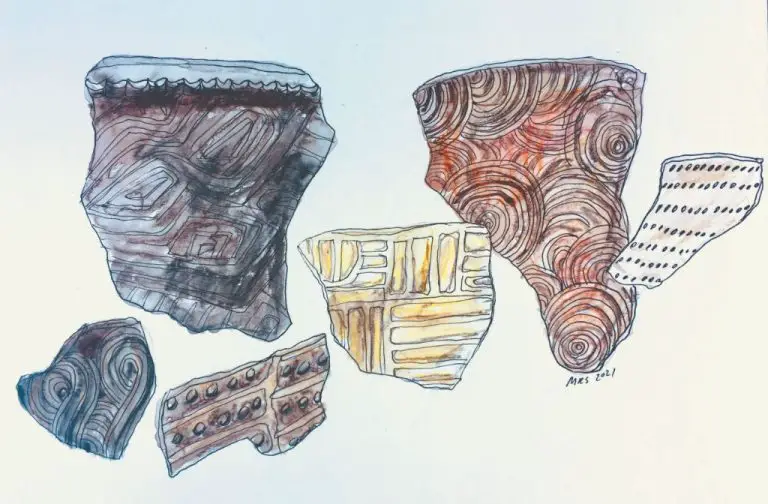
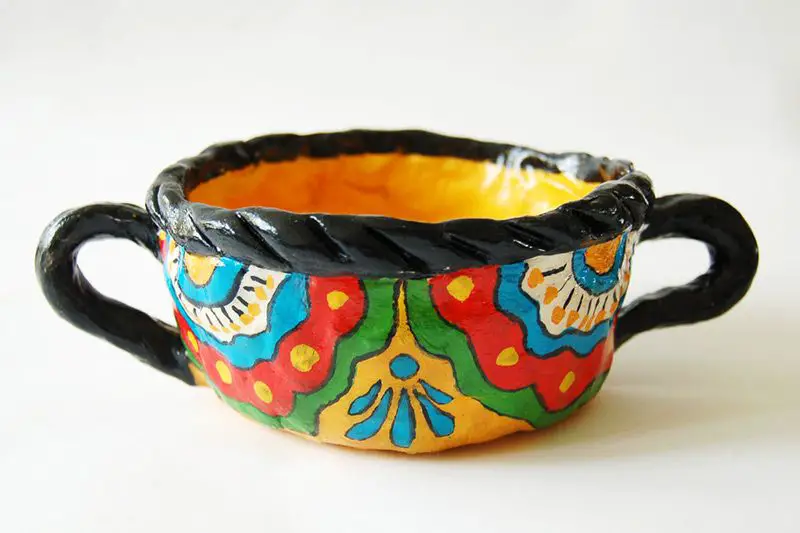
A pinch pot is a basic form of handmade pottery created by pinching and molding a ball of clay between your fingers and hands. Pinch pots are among the oldest forms of pottery made by humans, dating back to ancient times across many cultures. Evidence of early pinch pots has been found in China, Japan, Thailand, and Greece.
Pinch pots were originally created both for utilitarian and decorative purposes. Clay pinch pots were formed by hand to make simple bowls, cups, and other vessels for storing food and water. They were also made as decorative art objects. According to The Pottery Wheel, some of the earliest examples of decorative pinch pots are raku tea bowls from 17th century Japan.
To make a pinch pot, a ball of clay is first softened and wedged until it is pliable. Then, using the fingers and thumb, the clay is gently pinched and pressed inward and upward to form the basic shape of a pot with an opening at the top. More clay can be added and smoothed over cracks as needed. The clay walls are gently thinned by pressing outward from the inside. A base is created by pinching and molding the bottom. The finishing touches involve shaping, smoothing, decorating, and creating features like spouts and handles.
Benefits of Making Pinch Pots
Making pinch pots provides many benefits, especially for children. Working with clay allows for creative and artistic expression as kids shape the clay into unique forms. According to The Benefits of Pottery for Kids, over time, pinching and molding clay gives children more precise motor control and hand-eye coordination.
The tactile experience of handling the clay is also relaxing and therapeutic. Pinching, rolling, and smoothing the clay helps relieve stress and anxiety. Studies show that pottery and ceramic arts help improve mood and lower heart rate and blood pressure.
Overall, pinch pots make an engaging hands-on activity that fuels creativity. The process develops fine motor skills in a fun and relaxing way.
Making Your First Pinch Pot
To make your first pinch pot, you’ll need a few simple materials:
- Air-dry clay or polymer clay
- A work surface like a table, countertop or cutting board
- A rolling pin (optional)
Follow these step-by-step instructions:
- Take a ball of clay about the size of a golf ball and knead it for a few minutes until soft and pliable.
- Use your fingers and thumbs to pinch the clay and form the sides, creating a pot shape. Turn the clay continuously as you pinch to ensure even thickness.
- Create an opening at the top, continuing to pinch the clay outward. Make the walls approximately 1/4 inch thick.
- Smooth the inside and outside surfaces with your fingers.
- Allow the pinch pot to air dry completely before baking or painting.
Here are some tips and tricks for success:
- Keep the clay moist and smooth out any cracks that form.
- Avoid making the walls too thick or thin.
- Use a rolling pin to roll out the clay if it gets misshapen.
- Make indents and textures by pressing objects gently into the clay.
- Let the clay firm up slightly before shaping for better results.
Start with a simple design before moving on to more complex shapes. Take your time and don’t worry about perfection on your first pinch pot!
Pinch Pot Design Ideas
One of the best things about making pinch pots is that you can shape them into almost anything your imagination can dream up. Here are some fun and creative design ideas to try with your pinch pots:
Focus on simple shapes like bowls and vases. These are beginner-friendly designs that allow you to perfect your pinch pot technique. Start with a basic bowl or curved vase shape. You can leave the design plain or add decorative elements like lines, dots, or other textures.
Sculpt animals and creatures using pinch pots. Roll balls of clay for the head and body, and attach smaller balls for ears, legs, tails, etc. Cut shapes from rolled coils of clay for added details like wings or horns. Let your imagination run wild with real or imaginary animals!
Make decorative shapes like stars, hearts, and more. Roll out a flat base then pinch and fold the clay upwards to form your design. Hearts and stars are classic, simple options. You can also sculpt shapes like flowers, trees, or abstract art pieces.
For inspiration and examples of fun pinch pot designs, check out these sources: [1]
Decorating and Coloring
One of the best parts about making pinch pots is decorating and coloring them. There are so many creative options to make your pot unique. Here are some ideas for decorating pinch pots:
Paints, Glazes and Glitters
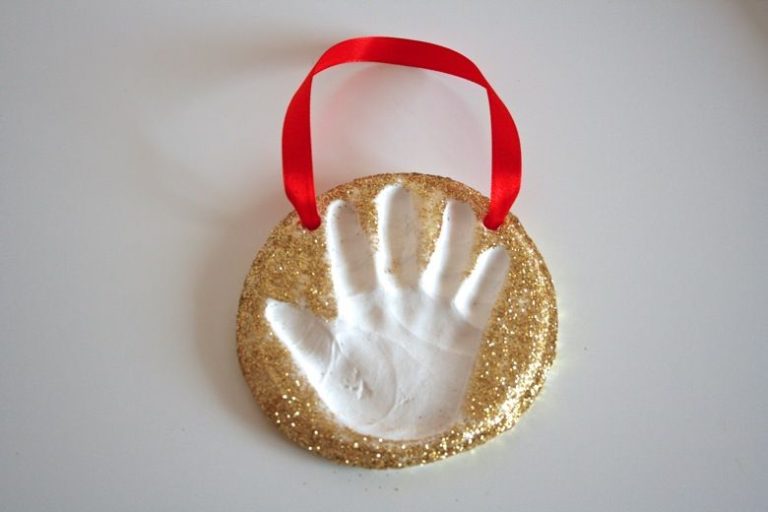
Acrylic and tempera paints work great for decorating pinch pots. Make sure to use paints designed for ceramics that can withstand firing temperatures. Popular glazes to use include Duncan’s Velvet Underglazes, Amaco Velvet Underglazes and Mayco Stroke and Coat. Metallic glazes like Duncan’s Lustre provide a shiny, pearlized effect. Glitters can add sparkle – just be sure to apply a transparent glaze over the glitter to seal it.
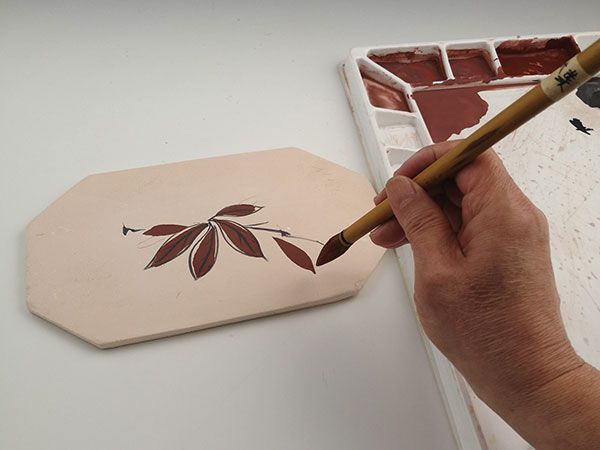
Brush Technique Tips
Use a soft brush like a hake brush to sweep glazes smoothly across the surface. Try dabbing or dotting glazes randomly using a sea sponge for texture. Outline designs with a liner brush for crisp edges. Play with blending colors using a brush dampened with water or glaze.
Pattern and Design Ideas
Some fun ideas for decorating pinch pots include stripes, polka dots, waves, zig zags, geometric shapes or abstract patterns. Add facial features to make animals or characters. Use letter stamps to imprint names or words. Try brushing on bold swaths of color for a modern look. Add fun doodles and drawings using underglaze pens once the first layer of glaze has dried. The options are endless – let your creativity shine!
Baking and Firing
Properly baking and firing pinch pots is essential for ensuring they maintain their shape and don’t crack. The oven temperature and timing depends on the type of clay used.
For air-dry clay, bake pinch pots at 225°F for 1-2 hours to thoroughly dry them out before painting or glazing. Allow plenty of time for air-dry clay to cool completely after baking. If rushed, air-dry clay pots may crack from temperature shock.
For polymer clay, bake pinch pots at the manufacturer’s recommended temperature, usually 275°F, for 15-20 minutes per 1/4 inch of thickness. Polymer clay can go directly from the oven into the air to cool. Just avoid placing hot polymer clay pots on cold surfaces.
For natural clays like earthenware, stoneware, and porcelain, firing in a kiln is required to fully cure the clay. Kiln temperatures typically range from 1800°F – 2300°F depending on the type of clay. The kiln firing process hardens the clay permanently.
To prevent cracking, allow pinch pots to dry fully before baking or firing. Baking in multiple stages can also help prevent cracks by slowly releasing moisture from the clay.
Troubleshooting Issues
When working with pinch pots, there are a few common issues that can arise. Two of the main problems are cracking/breakage and fixing mistakes in the clay. Knowing how to troubleshoot these problems is key for a successful project.
Cracking and breakage can happen at any stage – while sculpting, drying, or firing. To prevent cracking, make sure to keep the clay moist and use gentle pressure while sculpting. Avoid making the walls too thin. Wrapping the pot in plastic while it dries can prevent excessive cracking. If a break does happen, there are a few options. For a clean break, score and slip the edges then press them back together. For a ragged break, cut or sand the edges into clean surfaces before repairing. Small cracks can be filled in by rubbing more clay into the damaged area and smoothing it out.
Fixing mistakes in the sculpting process takes a delicate touch. For small fixes, more clay can be gently pressed and blended into the surface. Larger mistakes may require cutting away clay and redoing sections. Be careful not to cut away too much at once or the structural integrity will be compromised. It’s better to shave off thin layers until the form takes shape. Avoid overhandling the clay as this can lead to cracking issues. Patience is key when troubleshooting sculpting mistakes.
Maintaining proper structure is essential for a successful pinch pot. Make sure walls are an even thickness all around, typically 1⁄4” or more. Add thicker clay to the bottom to create a sturdy base. Smooth out joints between added clay. Let the pot firm up partially before refining the shape further. Allow proper drying time before firing. With care and practice, you can troubleshoot any issues that arise when crafting pinch pots.
Pinch Pot Variations
Once you’ve mastered the basic pinch pot, there are many creative ways to put your own spin on this fun craft. Some ideas for unique pinch pot variations include:
Using Molds or Stamps
Press your pinch pot into a mold or stamp to add interesting shapes, patterns, and textures. Things like seashells, leaves, flowers, letters, and numbers make great molds. You can find pinch pot molds and stamps at craft stores or make your own out of clay, playdough, or cardboard.
Incorporating Found Objects
Incorporate small found objects like beads, buttons, shells, or stones into your pinch pots for a collage effect. Press the objects gently into the clay before baking. Seashells, sea glass, and stones can create a beach theme. Buttons and beads add color and whimsy. Get creative with whatever small objects inspire you.
Combining Multiple Pots
Make a series of small pinch pots, then gently press them together to form one larger sculpture. Overlap the seams and blend the clay together. You can combine pots that are all the same design or mix different shapes, sizes, and patterns. This is a great way to make more intricate creations.
Displaying Pinch Pots
Once your pinch pots have been fired and glazed, it’s time to think about how to display them. Pinch pots make charming decorations and gifts, so putting some thought into their presentation is important.
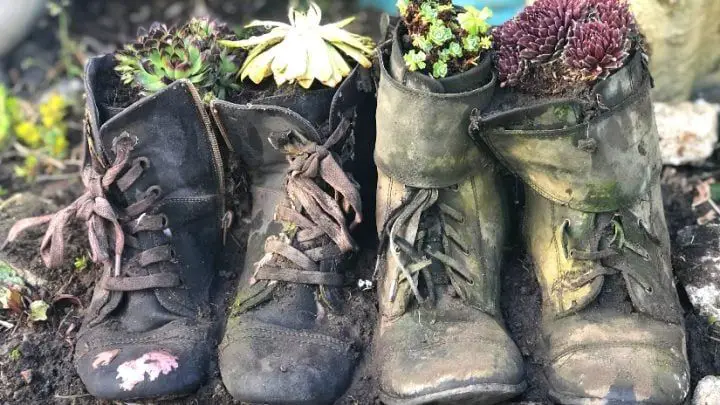
For displaying a collection of pinch pots, arrange them on a tray or platter in an aesthetically pleasing composition. Try grouping pots of similar colors and sizes together. Or, create a rainbow effect by arranging the pots from lightest to darkest glazes. For extra flair, fill pinch pots with air plants, faux flowers, pinecones, or other small decorations.
To display a single pinch pot, an easy option is mounting it on a wood base. Cut a square or circle of wood a bit larger than your pot’s diameter. Attach the pot using craft glue or epoxy. Let dry completely before displaying. You can also hang pinch pots using nylon fishing line or thin wire threaded through holes punched near the rim.
Pinch pots make wonderful gifts for any occasion. Place a small plant or flowers inside the pot and tie a ribbon around its neck for a personalized present. Or nestle a pinch pot inside a gift basket surrounded by tissue paper. Adding a personal note card or tag makes your handmade gift even more heartfelt.
If selling pinch pots at a craft fair or online, be sure to display them attractively. Group similar pots together on table risers covered with fabric. Use props like flowers, vines, or colored stones to accent your work. Clear labels with prices help customers understand the value of your handmade ceramics.
Inspiration and Examples
Pinch pots are a fun, easy clay craft that result in beautiful works of art. Browse the following galleries, collections, and Pinterest boards for inspiring examples of finished pinch pots:
This Pinterest board by Suzie Kramer features 26 examples of imaginative double pinch pot projects. You’ll find pinch pots shaped like animals, fruits, hearts, bowl, and more, demonstrating the wide variety of forms this technique can achieve.
The Pinch Pot Projects gallery from The Spruce Crafts showcases the work of various ceramic artists. Notice the diverse shapes, intricate patterns, and creative embellishments. From frogs to teapots, each piece starts as a simple pinch pot.
This collection of fun and inventive pinch pots made by students of all ages proves you don’t need advanced skills to make great pinch pots. The charming imperfections and experimentation with texture, color, and form is what makes these pieces so delightful.
For a huge gallery of inspiring pinch pot projects, browse the pinch pot ideas boards on Pinterest. You’ll discover endless examples to ignite your creativity.