What Do You Need To Make Pottery?
Pottery is the art and craft of making ceramic wares, which includes objects like bowls, mugs, plates, and vases that are made from materials like clay and porcelain. Humans have been making pottery for thousands of years, with evidence of pottery making dating back over 20,000 years ago in East Asia. Early pottery artifacts have been found across cultures all over the world.
In the most basic sense, pottery is made by shaping a ball of wet clay into a desired form. Once shaped, pottery pieces are dried and then heated at high temperatures in a kiln, which hardens and sets the shape permanently. Decorative techniques like painting and glazing can be used to embellish pottery pieces. The earliest pottery was made this way by hand, without the pottery wheel.
Making pottery requires a few key materials, tools, and equipment. Clay is the main ingredient, which must be mined, purified, mixed, and prepared properly. Potter’s wheels and various hand tools are used for shaping. Glazes and paints decorate the pottery pieces before they are fired in a high temperature kiln. With just these basic materials, potters are able to create an endless variety of ceramic objects by employing different shaping, decorating, and firing techniques.
In this guide, we will explore everything you need to know about making pottery, from the required equipment and materials to techniques for handbuilding and wheel throwing pottery.
Clay
The main types of clay used for pottery are earthenware, stoneware, porcelain, ball clay, and fire clay. Each type of clay has different properties and firing temperatures (https://thepotterywheel.com/types-of-clay-for-pottery/).
Earthenware clay is very plastic and sticky, suitable for handbuilding. It fires at lower temperatures up to 2,200°F. Stoneware clay is dense, with moderate plasticity. It becomes waterproof at higher firing temperatures around 2,200-2,400°F. Porcelain clay is very fine and smooth, excellent for throwing on the wheel. It becomes vitrified and translucent at firing temperatures over 2,300°F (https://wheelandclay.com/blog/4-types-of-clay/).
Preparing clay typically involves wedging, which kneads the clay to remove air bubbles and evenly distribute moisture. Wedging by hand on a plaster slab or with a wedging table makes the clay ready for throwing or handbuilding (https://www.soulceramics.com/pages/types-of-clay).
Pottery Wheel
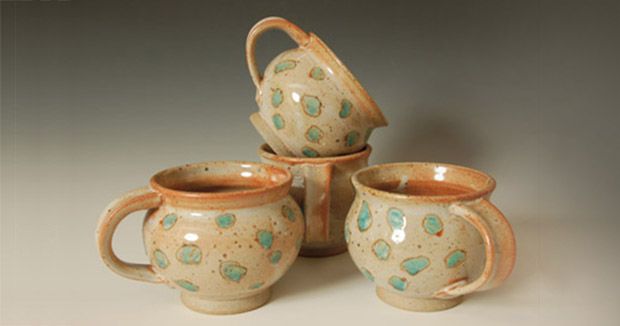
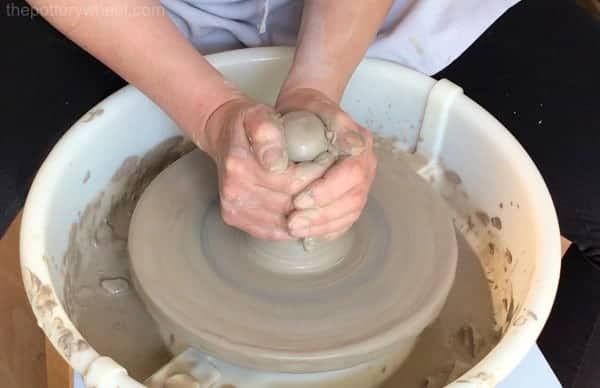
The pottery wheel is an essential tool for throwing and shaping clay. The earliest known examples of pottery wheels date back to Mesopotamia around 3500-3000 BCE (https://rangandatta.wordpress.com/2012/04/18/potters-wheel/). However, the wheel was likely invented independently in several different cultures where pottery was developed. The potter’s wheel revolutionized how pottery was made, allowing potters to create symmetrical pieces and more complex shapes than possible with handbuilding techniques.
There are a few main types of pottery wheels used today:
- Kick wheels – Operated by foot power to spin the wheel head
- Electric wheels – Powered by an electric motor with a foot pedal control
- Treadle wheels – Spun using a foot treadle that pumps the wheel head around
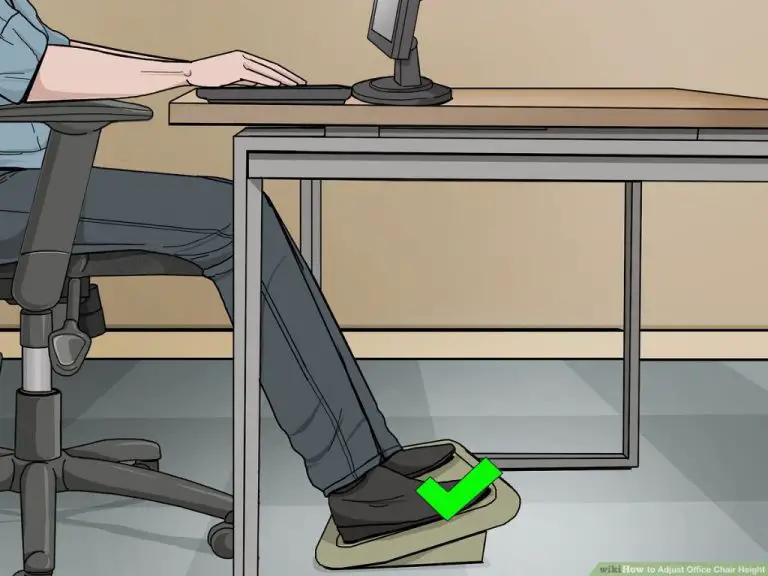
When setting up a pottery wheel, it’s important to have a sturdy, stable work surface at a comfortable height for throwing. The wheel should be properly leveled, and the clay attachment to the wheel head must be centered. Having a splash pan, water buckets, and clay tools nearby completes a functional potter’s wheel studio setup.
Handbuilding Tools
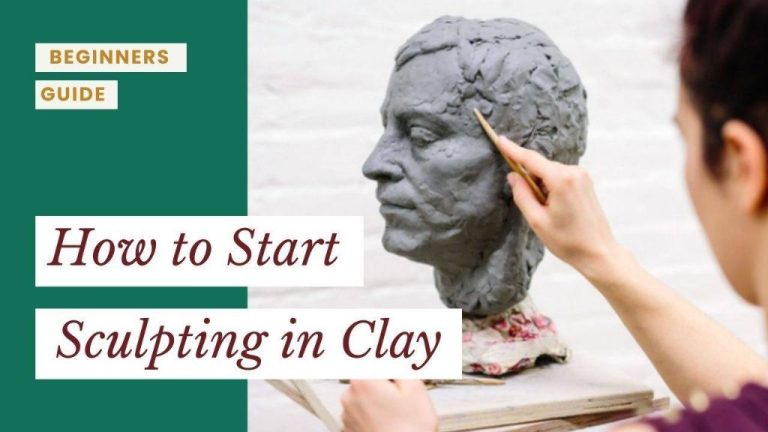
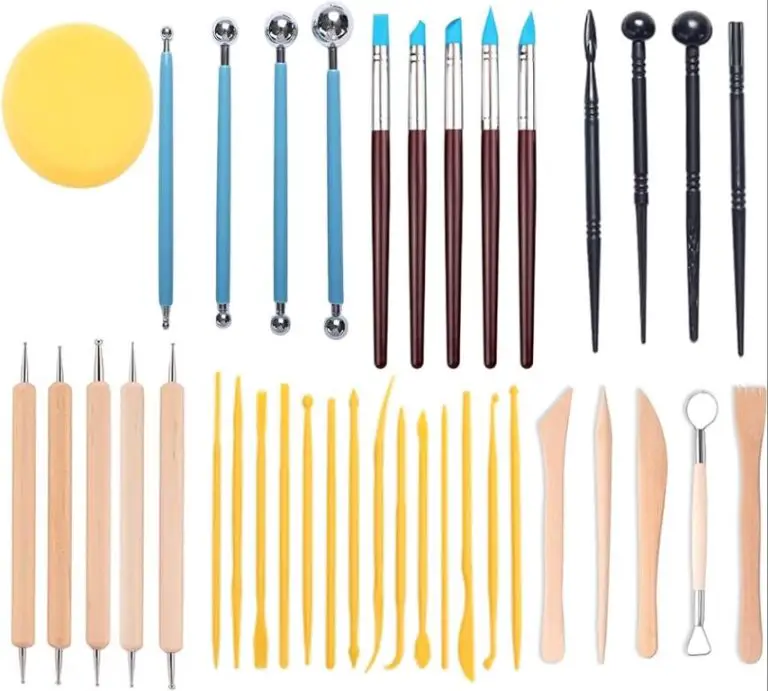
Handbuilding pottery involves constructing pieces by hand rather than on the potter’s wheel. There are a variety of specialized tools that make handbuilding easier and enable potters to create precise shapes and textures. According to The Ceramic Shop, some essential handbuilding tools include:
Ribbon Tool
The ribbon tool consists of a thin, flexible metal ribbon attached to a handle. It can be pressed into clay to create lines and textures. Ribbon tools come in various widths to allow different mark-making effects.
Loop Tool
Loop tools have a wire or nylon loop at the end. They are useful for smoothing seams and joints in handbuilt pottery. The loops can reach into narrow spaces that fingers cannot.
Sponge
A basic kitchen or natural sea sponge has many uses in handbuilding. Gentle rubbing with a damp sponge can smooth and blend clay surfaces. Sponges can also create textured effects by pressing or dabbing onto clay.
In addition to these specialty tools, most handbuilding requires basic equipment like a work surface, cutting wire, calipers, and clay modeling knives. Having the right selection of handbuilding tools allows potters to sculpt clay effectively.
Glazes
Glazes are essential in pottery making as they provide color, texture, and protection to clay bodies after firing. There are several key aspects of glazes to understand:
Glaze Ingredients
Most glazes consist of 3 main ingredients: silica, flux, and alumina. Silica, usually derived from materials like quartz, sand or clay, provides the glassy basis of the glaze. Flux ingredients like sodium, potassium, calcium, magnesium, and lithium lower the melting point of silica to make glazes liquefy at pottery kiln temperatures. Finally, alumina from materials like feldspar provides aluminum to help harden the glaze after firing.
Types of Glazes
There are many types of glazes to achieve different looks and textures. Common glaze types include glossy, satin matte, crystalline, wood ash, underglaze, and overglaze glazes. Glazes can also be categorized as low-fire (bisque to cone 04-06) or high-fire glazes (cone 6-10) based on the required kiln temperature.
Applying Glazes
Glazes can be applied through various techniques like dipping, pouring, brushing, spraying, sponging, splattering, and more according to The Crucible. Good glaze application involves ensuring even, consistent coverage and thickness. The glazing technique impacts the final look and requires practice to master.
Kilns
Kilns are an essential tool for potters to permanently harden clay objects through firing. The history of kilns dates back thousands of years, with early kilns being simple pit firings dug into the ground. Over time, more advanced kilns emerged such as updraft and downdraft kilns that allowed for more control over the firing process.
Today there are various types of kilns used in pottery including electric kilns, gas kilns, wood fired kilns, and raku kilns. Electric kilns are the most common for studio potters, providing an automated and consistent firing process. Gas kilns and wood fired kilns allow for more atmospheric effects in the final pottery.
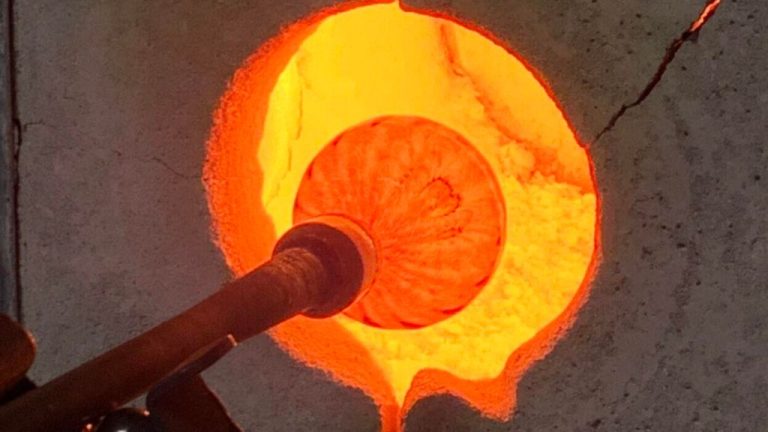
The firing process refers to heating up clay objects in the kiln to a high temperature, which chemically and physically transforms the clay permanently. Firing typically follows a schedule with specific temperatures and hold times. For example, bisque firing brings the clay to around 1800°F to harden it before glazing, while glaze firing reaches over 2200°F to mature the glazes. Understanding the firing process allows potters to achieve their desired results.
Safety Equipment
Working with clay and glazes can expose you to health hazards, so it’s important to use proper safety gear. Some essential safety equipment includes:
[1] https://ceramic.school/pottery-studio-safety/
Pottery Wheel Splash Pans
Splash pans catch water, clay scraps, and excess slip that fly off the pottery wheel while throwing. This helps keep your clothes, shoes, and floor clean. Splash pans also reduce the risk of slipping on wet clay.
Apron
An apron protects your clothes from stains while working with clay and glazes. Consider wearing an apron with long sleeves for extra coverage.
Dust Mask
Wearing a dust mask prevents the inhalation of toxic clay dust particles that are created during cleaning up dried clay, sanding, and mixing dry glaze chemicals. Long term exposure to clay dust can lead to silicosis.
Other recommended safety gear includes safety glasses to protect eyes from debris, and gloves when handling hazardous materials.
Studio Setup
When setting up a home pottery studio, you’ll need to think carefully about the workspace design and equipment placement (The Pottery People, 2023). The studio space should have good ventilation, plenty of natural light if possible, and enough room to maneuver around equipment and worktables. Many potters recommend at least 200-300 sq ft for a functional studio.
The pottery wheel should be placed on a sturdy table or stand, positioned near an electrical outlet. Make sure there’s enough space around the wheel foryou to sit comfortably and collect pots after throwing. Handbuilding and decorating areas should have ample flat work surfaces at a comfortable height. Shelves mounted on the walls can store tools, glazes, and raw materials within easy reach.
Pottery Tool Kits
One of the most essential purchases when getting started with pottery is a basic pottery tool kit. These kits contain all the tools needed for the major techniques like throwing, handbuilding, sculpting, and trimming. According to Pottery Tool Kit Essentials – Your Guide to Choosing the Right Tools, some essential tools in a starter kit include:
- Potter’s needle
- Ribbon tool
- Loop tool
- Sponge
- Cutting wire
- Metal scraper
- Wooden modeling tools
These basic handbuilding and sculpting tools will allow beginning potters to learn the fundamental techniques. As potters advance, they may want to add specialty tools like:
- Throwing sticks
- Ribs
- Trimming tools
- Decorating tools
Having the right starter kit with essential tools allows potters to learn the basics without getting overwhelmed. As specific needs arise, more advanced specialty tools can be added over time.
Getting Started
For complete beginners, starting with basic handbuilding techniques like pinch pots, coils, and slabs is recommended. These techniques allow you to get familiar with working with clay without the added challenge of using a pottery wheel (https://ceramicartsnetwork.org/freebies/guide/pottery-101-beginning-pottery-projects-and-equipment-lists). Some good beginner handbuilding projects include making simple pinch pots, coils bowls, slab trays, and coil mugs or vases.
Once you get the hang of handbuilding, you can try throwing simple forms on the wheel like cylinders, bowls, and mugs. Focus on mastering centering the clay, opening it up into a cylinder, and using your hands and tools to shape and refine forms (https://www.pinterest.com/ideas/beginning-pottery-projects/956390642800/). Don’t get discouraged if your first attempts are wobbly or collapsed – it takes practice to master the pottery wheel.

