What Is One Thing You Need To Remember When Glazing Your Pottery?
Types of Glazes
There are several main types of glazes used in pottery:
Underglaze – These glazes are applied directly to bare clay before firing. Common types of underglaze include colored glazes, washes, engobes, and terra sigillatas. Underglaze provides the base color and decoration, which is then covered by a transparent overglaze after firing. [1]
Overglaze – Overglazes are applied on top of an already fired piece of pottery coated in underglaze. Overglazes are transparent and add additional color effects, textures, and decoration. Common overglazes include clear glazes, china paints, lusters, and decals. [2]
Mid-range glaze – These glazes mature and become glassy within mid-range kiln temperatures around cone 4-6. They are used on mid-range clay bodies. Mid-range glazes often contain feldspar to promote glass formation. [3]
High-fire glaze – High-fire glazes mature at very high kiln temperatures around cone 8-10. They are designed to be used with high-fire clay bodies and can create glassy translucent effects. High-fire glazes contain minerals that flux at high temperatures. [1]
There are also specialty glazes like raku, crystalline, and slip trailing glazes. The main types provide the base glaze layers and decorative options for most pottery pieces.
Glaze Ingredients
Glazes consist of 3 main ingredients – silica, alumina, and flux. Silica provides the glassy base, alumina helps the glaze mature at lower temperatures, and flux lowers the melting point. Common ingredients and their purposes include:
Silica – Provides a glassy base. Sources include quartz, flint, silica sand, feldspar. (Sheffield Pottery)
Alumina – Helps glaze mature at lower temperatures. Sources include clay, kaolin, ball clay. Adds hardness and durability to the fired glaze. (Big Ceramic Store)
Flux – Lowers melting temperature. Sources include feldspar, dolomite, calcium carbonate, zinc oxide. Too much flux can cause glaze to run during firing. (Sue McLeod Ceramics)
Colorants – Adds color to glazes. Metal oxides like cobalt, copper, manganese produce blues, greens, browns. Stains and underglazes can also be used.
Opacifiers – Make glazes opaque instead of clear. Sources include tin oxide, zirconium oxide, titanium dioxide.
Let me know if you would like me to modify or expand this section further.
Glaze Textures
One of the most exciting parts of glazing pottery is exploring different finishes and textures. Glazes can produce surfaces that are glossy, matte, crystalline, crackled, or anything in between. Here are some of the most common glaze textures:
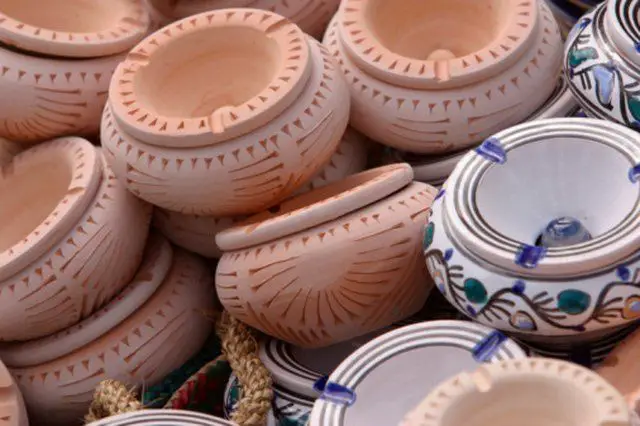
Glossy glazes create a shiny, smooth surface. They tend to accentuate the form and color of the clay body underneath. A classic glossy glaze is a transparent glaze made from feldspar, silica, and flux like calcium or sodium. Glossy glazes are great for functional ware since they are non-porous and easy to clean.
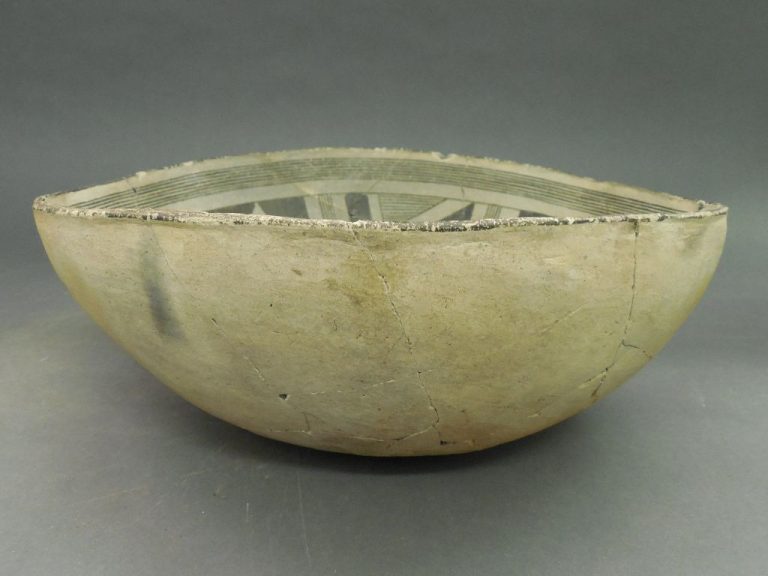
Matte glazes have a soft, muted look. They absorb light rather than reflect it, creating a velvety surface. Materials like zinc, dolomite, and calcium carbonate promote matting. Matte glazes highlight modeled details well. Popular matte glazes include temmoku, oatmeal, and ash glazes.
Crystalline glazes form branching crystal patterns as they cool. They contain nuclides like zinc oxide, fluorine, and uranium that encourage crystalline growth. Crystalline glazes can create gorgeous one-of-a-kind surfaces. Their dazzling effects make them ideal for decorative pottery.
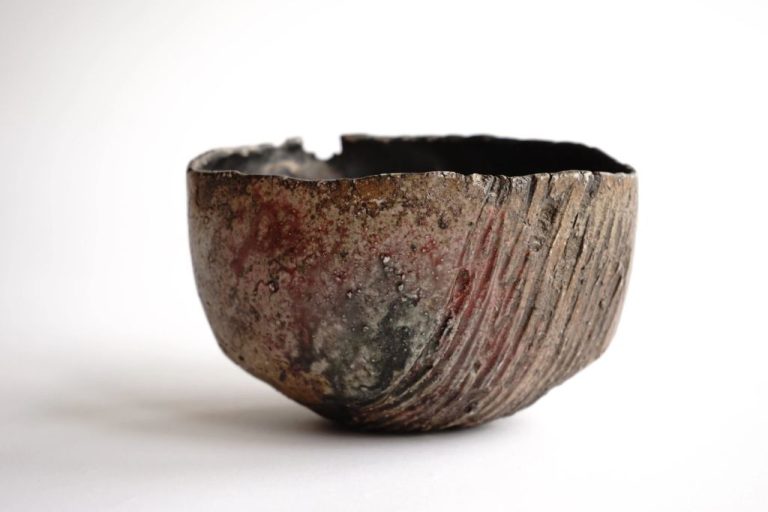
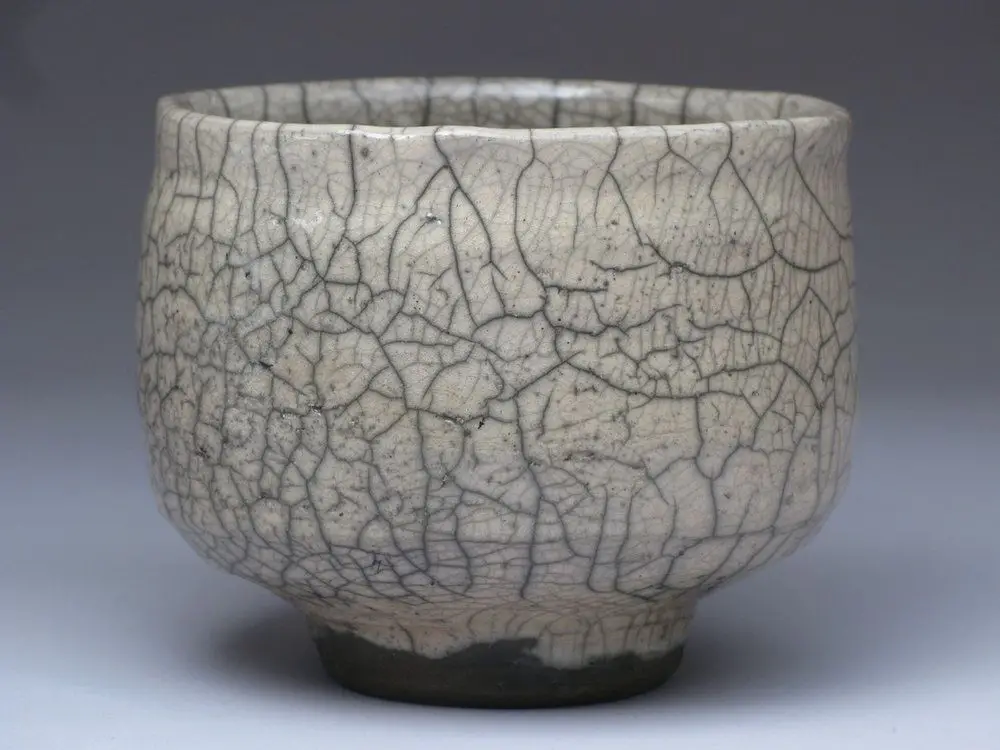
Crackle glazes form a network of cracks as the clay contracts during firing. Materials like calcium and excessive glaze thickness promote cracking. The clay body shows through the cracked glaze in an organic, rustic effect. Crackle glazes pair well with both functional pottery and sculpture.
There are endless options for creating unique glaze textures. Experiment by tweaking your glaze ingredients and application techniques. Pay attention to firing atmosphere and temperature, as they significantly impact finished surfaces. With time and practice, you can master a whole palette of distinctive glaze textures.
Mixing Glazes
Mixing your own glaze allows you to have more control over the ingredients and final results. Glazes are made from a combination of silica, flux, and stabilizer. Common ingredients include feldspar, kaolin, quartz, dolomite, and talc. It’s important to use the right ratios when mixing a glaze.
According to Seattle Pottery Supply, the basic process is:
- Add water first to the container, approximately 1 pint per pound of dry material.
- Add the dry glaze ingredients and mix thoroughly to fully incorporate.
- Let the glaze hydrate for 24 hours before using.
- Strain the glaze through a fine mesh sieve before applying to bisqueware.
- Test glazes on test tiles before applying to finished pieces.
It’s important to carefully measure ingredients and keep detailed notes while testing glaze recipes. Small changes to the ratios can significantly impact the fired results. Allow enough lead time for mixing, hydrating, testing, and adjusting the glaze before applying it to your final pottery pieces.
Applying Glazes
There are several techniques for applying glazes to pottery pieces. The most common methods include:
Brushing
Brushing glazes onto pottery is one of the simplest application techniques. Use a soft bristle brush to evenly coat the bisqueware surface with glaze. Brushing works best for smooth glaze finishes. Apply multiple thin layers of glaze instead of one thick coat for best results. Make sure to get glaze into any carved details. Some tips for brushing glazes include:
- Use a hake brush or soft bristle brush
- Apply in thin, even layers
- Brush in different directions
- Clean brush between glaze colors
Brushing gives the artist a high level of control and is great for detailed designs.
Dipping
Dipping is arguably the easiest glazing method. Simply submerge your bisqueware piece into a container of glaze. Let any excess drip off and fire. Dipping leads to an even coat of glaze over the entire piece. Be sure the glaze is diluted properly so it does not end up too thick. Dipping is best for smooth glazes and rounded shapes. Some tips include:
- Dilute glaze to proper viscosity
- Submerge piece completely
- Allow excess to drip off
- Watch thickness
Dipping works best for evenly coating rounded pieces like bowls, mugs, and vases.
Source: https://potterycrafters.com/how-to-glaze-pottery-9-pottery-glazing-techniques/
Glaze Thickness
When applying glaze to pottery, it’s important to use the right thickness for optimal results. The recommended thickness for most glazes is around 0.5 mm, or about the thickness of a dime.
Applying glaze too thinly can result in the glaze crawling or pulling away from the clay body during firing. It may also not fully cover the piece. On the other hand, glaze that is too thick can cause problems like pinholing from trapped air bubbles, as well as glaze dripping or running during firing.
The right glaze thickness allows for proper melting and flow during firing, full coverage of the piece, and the characteristic glaze surface you are aiming for. Test glaze thickness on test tiles to find the sweet spot for each glaze. Keep thickness as consistent as possible for an even glaze surface.
For dipping, the specific gravity of the glaze determines thickness. Aim for 1.3-1.4 specific gravity. Brushing glazes can be slightly thicker. Measure thickness with calipers or kiln wash test tiles. Adjust glaze thickness as needed with water or glaze thickener.
With the right glaze thickness, you can achieve beautiful glaze effects on your pottery.
Source: https://digitalfire.com/glossary/glaze+thickness
Firing Glazes
Proper firing is essential for the glaze to mature and achieve the desired look on the pottery. Glazes are formulated to melt and react at specific temperatures, typically ranging between cone 04 (1945°F) and cone 10 (2381°F) [1]. It’s important to follow the temperature guidelines for the specific glaze. Firing too low will prevent full melting and too high can cause glazes to become under-fired. Normal glaze firings are done between cones 06 and 04 in oxidation. Special effects can be achieved by firing in reduction at cone 10.
Kiln controls allow programming the desired heating and cooling schedule. Most glaze firings use a slow bisque schedule up to 1000°F, then a medium speed through critical glaze melting phases, followed by free fall cooling after maturity temperature is reached. Holding 15-30 minutes just below maturity allows glazes to develop surfaces. A kiln sitter or pyrometer cone can confirm when maturity temperature is achieved. Proper ventilation during firing and cooling should be maintained.
Common Glazing Problems
Some common problems that can occur during the glazing process include:
- Bubbling – This occurs when air gets trapped in the glaze. Make sure to stir glazes thoroughly before applying to avoid bubbles. Slowly pouring glaze over ware can also minimize air bubbles.
- Cracking/Crazing – Fine cracking in the glaze, known as crazing, is often caused by the glaze and clay body expanding/contracting at different rates during firing. Using a glaze formulated for the clay body can help avoid crazing, as can applying an even layer of glaze 1.
- Crawling – When glaze pulls back from the edges and pools in the center, known as crawling, it is often due to incompatible clay and glaze chemistry or applying glaze too thickly. Wiping away excess glaze gently with a damp sponge before firing can prevent crawling 2.
- Pinholing – Tiny holes in the glaze surface, called pinholes, can be caused by trapped air bubbles, low glaze thickness, or too-rapid drying. Applying multiple sheer coats of glaze and slowing the drying time between coats minimizes pinholing.
- Leaching – This occurs when soluble salts or impurities burn out of the clay or glaze during firing, leaving matt areas on the surface. Using purified clay and glazes helps prevent leaching problems.
Glaze Safety
When working with ceramic glazes, it’s important to be aware of potential toxicity hazards. Some glazes contain heavy metals like lead, cadmium, or mercury which can be dangerous if ingested. Metal oxides in glazes can also be irritants if inhaled over long periods. Always check glaze labels and Material Safety Data Sheets to understand any risks.
Proper studio ventilation is critical when working with glazes. Use a spray booth or vent hood when glaze spraying. Open windows, use fans, or ventilate to the outdoors when simply mixing glazes. Avoid hand-to-mouth contact when working with glazes. Wash hands thoroughly after handling glazes or clay items before eating or drinking.
Firing glazes can create crystalline silica which is a respiratory hazard if inhaled regularly. Wear a NIOSH-approved respirator when emptying, mixing, or cleaning up after firing glazes. Periodic medical monitoring can identify any lung issues that may arise from long-term exposure.
While some glazes do pose toxicity risks, many commercial glazes are formulated to be dinnerware safe and non-toxic when fired properly. Always check manufacturer guidance. With reasonable precautions, ceramic artists can safely enjoy the creative process of glazing.
Sources:
https://thepotterywheel.com/is-pottery-glaze-toxic/
https://bigceramicstore.com/pages/info-ceramics-tips-tip53_glaze_toxic_dinnerware_safety
Creativity with Glazes
One of the most exciting parts of glazing pottery is experimenting with colors, textures, and effects. Glazes offer endless possibilities for creative expression. According to Pinterest, you can create vibrant solid colors, flowing drips, crackled textures, and more. The options are only limited by your imagination.
For beginners, start with basic glaze techniques like dipping, pouring, and brushing. Try layering multiple glazes of contrasting colors. Refer to glaze recipes for mixing your own custom colors. Once you gain experience, explore advanced techniques like spraying, splattering, stippling, and sponging for artistic effects. The irregular textures add visual interest. Consider using resist or wax to create patterns by blocking glaze in selected areas.
Aim for an experimental mindset. Test glaze combinations on test tiles before applying to finished work. Keep notes and collect glaze recipes that appeal to you. Observe how the glazes move and interact in the kiln firing. Be prepared for surprises and imperfections – the accidental unique results often become your favorites. Allow the process to spark new creative directions. With an inquisitive, playful approach, glazing will continuously expand your pottery abilities.