What Is The Best Way To Sanitize A Sponge?
Keeping kitchen sponges clean is crucial for food safety and preventing the spread of bacteria and germs. Research shows that sponges are among the germiest items in the kitchen, harboring even more bacteria than your toilet. According to a study published in Scientific Reports, over 54 billion bacterial cells can live in just one cubic inch of a kitchen sponge (https://www.ncbi.nlm.nih.gov/pmc/articles/PMC9542536/) ! This is concerning because cross-contamination from sponges can lead to foodborne illnesses. Regularly sanitizing your sponges kills harmful pathogens like Salmonella, E. coli, and Staphylococcus aureus. Proper sponge hygiene also removes odor-causing bacteria. By establishing a routine disinfecting procedure, you can promote a cleaner, healthier kitchen environment.
Why Sanitize Sponges
Sponges are softer and more absorbent than other kitchen cleaning tools, which makes them ideal for cleaning dishes by hand. However, the same porous texture that allows them to soak up liquids also provides the perfect breeding ground for bacteria if not cleaned regularly. Studies have found that sponges and dishcloths harbor more germs than even toilet seats.
Bacteria multiply rapidly on the moist surface of a sponge or dishcloth. Dangerous pathogens like Salmonella, Listeria, E. coli, and Staphylococcus can accumulate over time through contact with raw meat juices and contamination from hands. Without regular and thorough sanitizing, these disease-causing microbes can transfer to dishes, countertops, and food.
According to microbiology experts, sponges should be sanitized frequently – ideally daily. Sanitizing kills 99.9% of germs, helping to keep your sponge hygienic for ongoing cleaning. Proper sponge sanitizing is an essential kitchen hygiene practice to protect you and your family from potential illness.
Boiling
Boiling your sponge is a popular and effective sanitizing method. To boil a sponge:
- Bring a pot of water to a rolling boil on the stovetop.
- Use tongs to submerge the wet sponge in the boiling water.
- Let the sponge boil for 5-10 minutes, making sure the water continues boiling.
- Remove sponge and allow to cool before using.
Boiling can kill 99.9% of germs and bacteria, according to studies (source). The heat of the boiling water helps sanitize the sponge by destroying most microorganisms.
Make sure to wring excess water out of the sponge before boiling so it boils faster. Replace the boiling water completely each time for maximum effectiveness. Avoid breathing in steam from the boiling water, as it can contain germs.
Microwaving
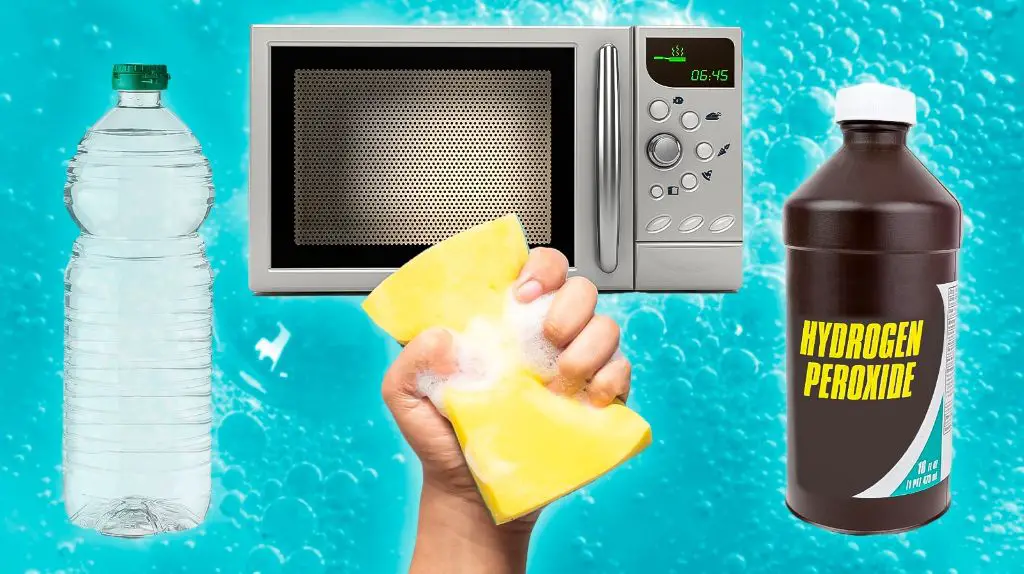
Microwaving is a popular method for sanitizing sponges. The high heat of microwaves can kill bacteria, viruses, and mold effectively. According to research, microwaving wet sponges for 1-2 minutes on high heat sanitizes them by eliminating 99% of bacteria, viruses, and mold [1].
To sanitize sponges in the microwave, first wet the sponge and wring out excess water. Place the damp sponge on a microwave-safe plate or in a bowl. Microwave on high for 1-2 minutes based on your microwave wattage. The sponge should be very hot but not burned when finished. Using tongs, flip and rearrange the sponge halfway through microwaving to ensure even heating. After microwaving, allow the sponge to cool before removing it and using again [2].
Only microwave natural sponges without any metallic scrub pads or attachments which could spark and become a fire hazard. Avoid microwaving sponges containing antibacterial ingredients like triclosan which could melt. Be cautious, as microwaved sponges will be very hot immediately after. Microwaving can help extend the lifespan of sponges between replacing them.
Bleach
Bleach is a common household cleaner that can be used to sanitize sponges. To sanitize a sponge with bleach:
- Make a bleach solution by mixing 3/4 cup of bleach with 1 gallon of water. Be sure to use regular, unscented bleach like Clorox.
- Submerge the sponge in the bleach solution and let it soak for 5 minutes. Make sure the entire sponge is soaked.
- Remove the sponge and rinse it thoroughly with clean water to remove any residual bleach.
Bleach is a strong disinfectant that can kill 99.9% of germs, bacteria, and viruses. It’s important to use the right concentration – too weak and it won’t fully sanitize, too strong can damage the sponge. The 3/4 cup per gallon ratio is recommended by experts like Clorox and Good Housekeeping.
Make sure to only use this bleach method on standard cellulose sponges. It could damage more delicate sponge materials. Rinse thoroughly after to prevent any bleach residue from transferring to dishes. Bleach sanitizing is quick, effective, and inexpensive.
Vinegar
Vinegar is an effective and natural way to sanitize your sponge. Simply soak the sponge in undiluted white vinegar for 5-10 minutes. This will kill up to 99% of bacteria and germs. Make sure the sponge is fully submerged in the vinegar during this time. After soaking, rinse the sponge thoroughly with water to remove any vinegar residue. Wring it out well and allow to air dry before using again. The acidic properties of vinegar help break down grime and also act as a disinfectant.
For extra cleaning power, you can microwave the vinegar-soaked sponge for 1 minute before rinsing – just make sure to wring it out well first so it doesn’t make a mess. This heating process helps kill even more germs. Don’t microwave longer than 1 minute though, as the sponge could catch fire.
White distilled vinegar works best for sanitizing. Cider vinegar and other types can leave behind unwanted flavors. Undiluted vinegar is most effective, but you can also make a 50/50 vinegar water solution if the smell is too strong.
Vinegar sponge cleaning should be done weekly or biweekly to keep germs at bay. It’s a quick, easy and non-toxic method that helps extend the life of your sponges.
Hydrogen Peroxide
Hydrogen peroxide is an effective and safe way to sanitize sponges. To use this method:

- Fill a bowl or container with enough 3% hydrogen peroxide to submerge the sponge.
- Place the sponge in the hydrogen peroxide and watch it bubble up as it disinfects.
- Let the sponge soak for 5-10 minutes.
- Rinse the sponge thoroughly with warm water.
Hydrogen peroxide breaks down into water and oxygen, leaving no chemical residues behind. It can disinfect and deodorize the sponge while whitening it at the same time. Be sure to use 3% hydrogen peroxide, available at most pharmacies and grocery stores. Using undiluted hydrogen peroxide provides the best sanitizing results.
Experts recommend replacing your sponge weekly even with sanitizing to prevent buildup of bacteria over time. But regularly disinfecting with hydrogen peroxide can prolong the life of your sponge between replacements.
Sources:
https://www.instructables.com/Disinfect-a-Sponge/
https://goodcleanhealthco.com/use-of-hydrogen-peroxide/disinfect-your-sponge-and-dishcloths/
Dishwasher
The dishwasher is an effective way to sanitize sponges. To clean a sponge in the dishwasher:
- Place the sponge on the top rack of your empty dishwasher.
- Run a hot water cycle with a drying cycle. The high heat of the dishwasher will kill bacteria and germs on the sponge.
Tips for sanitizing sponges in the dishwasher:
- Don’t run the sponge through a cycle with dirty dishes, as it could redeposit grease and bacteria onto the sponge.
- Add a small amount of dishwasher detergent to the cycle for extra sanitizing power.
- Run the sponge through a dishwasher cycle weekly to keep it fresh.
- Replace the sponge every 1-2 months even with regular dishwasher cleaning.
The hot water and detergent in the dishwasher provide a thorough cleaning. Just be sure to only sanitize a sponge separately from dirty dishes for best results. See this article for more tips on sanitizing sponges in the dishwasher.
Replace Frequently
Sponges are a breeding ground for bacteria and should be replaced frequently. The general recommendation from experts is to replace your kitchen sponge every 1-2 weeks.
Martha Stewart advises replacing sponges weekly, noting that two weeks should be the maximum before replacement (1). Bacteria thrive in the warm, moist environment inside sponges, and will continue to grow exponentially beyond the two week mark.
The material of the sponge also impacts how often it should be replaced. Cellulose sponges without antimicrobial treatments should be replaced more frequently than treated synthetic sponges. Sponges used for heavy duty scrubbing may deteriorate and need replacement more often as well.
Regardless of sponge material, a good practice is to inspect it regularly and replace any sponge that smells bad or looks worn. Implement a routine sponge replacement schedule based on your usage frequency. Proper sponge replacement is key for good hygiene.
(1) https://home.howstuffworks.com/home-improvement/household-hints-tips/cleaning-organizing/replace-kitchen-sponge.htm
Conclusion
In summary, the most effective methods for properly sanitizing your kitchen sponge include:
– Boiling your sponge for 5-10 minutes to kill bacteria, viruses, and fungi. This is the gold standard sanitizing method.
– Microwaving your damp sponge for 1-2 minutes on high heat. This helps eliminate germs and is quick and easy.
– Soaking your sponge in a bleach and water solution of 1 teaspoon bleach per 1 cup of water for 5 minutes. Bleach is a strong disinfectant.
– Using undiluted white vinegar and letting your sponge soak for 15-20 minutes. Vinegar is a natural antibacterial.
– Spraying hydrogen peroxide on your sponge, letting it sit for several minutes, then rinsing. Hydrogen peroxide breaks down germ cells.
For best results, use a combination of these methods and be sure to replace your sponges every few weeks. Proper sponge sanitizing helps remove bacteria that can spread illness in your kitchen.


