What Is The Process Of Enameling?
Enameling is the process of fusing powdered glass to metal through high heat. It is one of the oldest techniques for decorating metal objects and dates back thousands of years. Evidence of enameling has been found in ancient Egypt, Mesopotamia, and Mycenaean Greece where it was used to decorate jewelry, vessels, and small ornaments.
The term “enamel” refers specifically to the powdered glass that is fused to metal through firing in a kiln. Enamels are made by mixing colored glass powders with fluxes and water to produce a paste-like substance that can be applied to metal. The piece is then fired at temperatures between 1,150-1,500°F, which melts the glass particles to fuse with the metal surface underneath.
Enameling allows for brilliant colors and intricate decorative patterns to be added to the surface of metals. It has been especially popular for decorating jewelry and precious metal objects throughout history. Some of the most famous examples include Celtic enamel jewelry and Fabergé eggs. Today, enameling continues to be practiced by jewelers, metalsmiths, and glass artists around the world.
Sources:
https://rauantiques.com/blogs/canvases-carats-and-curiosities/history-of-enameling-techniques
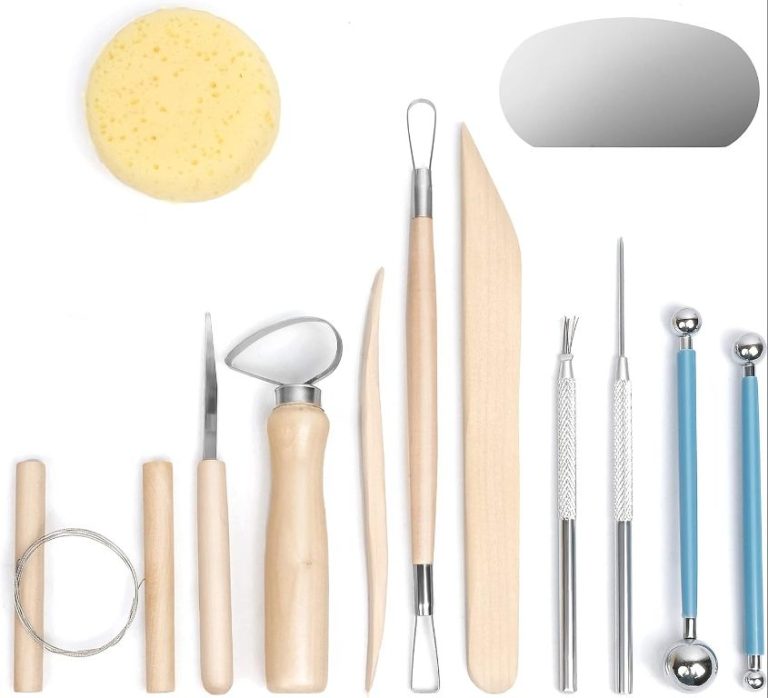
Tools and Equipment
Several key tools and supplies are needed for enameling. The most important is a kiln for firing the enameled pieces to fuse the glass to the metal substrate. Kilns designed specifically for enameling can reach temperatures of 1400-1500°F and allow precise temperature control (SOURCE).
An enamel sifter or sieve is used to apply an even layer of enamel powder over the metal surface. Sifters come in various mesh sizes – typically 60-100 mesh is used (SOURCE). A mill or tumbler mixes the enamel colors and crushes any lumps in the powder.
The enamels themselves are finely ground powders made of colored glass. They come in a wide variety of colors and effects. The metal substrate can be copper, silver, gold, steel or titanium, properly cleaned and prepared.
Other supplies include trivets or racks for supporting pieces in the kiln, tweezers for handling, brushes, and specialized tools like bead holders or tripods for specific techniques.
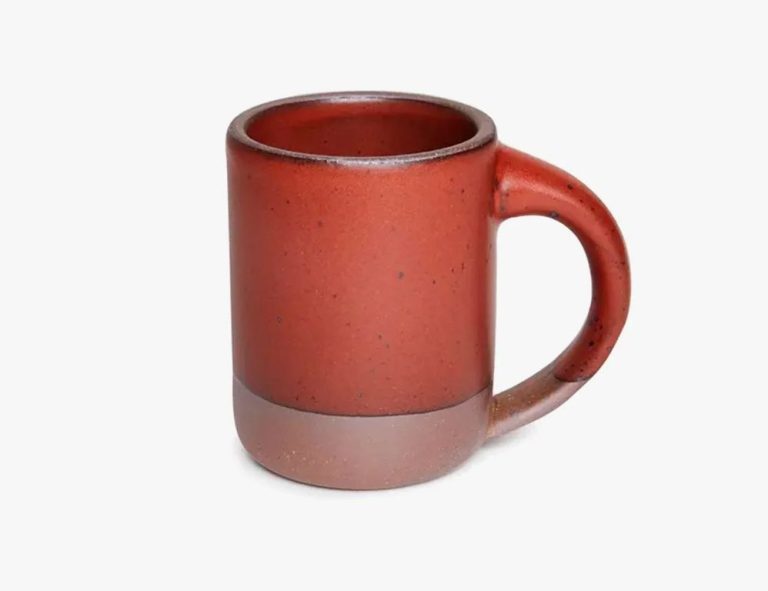
Choosing a Metal for Enameling
The two most commonly used metals for enameling are pure copper and fine silver. According to [Metal Enameling](https://www.pinterest.com/pin/hari-maharaja-682776363966198417/), copper has been the most traditional metal used in enameling for centuries. Copper is an excellent metal choice for beginners as it is inexpensive, readily available, and has good enameling properties. Fine silver is also commonly used, especially for jewelry applications, due to its bright white color and ability to showcase intricate enamelwork. However, silver is a more challenging metal to work with and can be quite costly.
Other metals such as gold, steel, and brass can be enameled but present some additional challenges. According to [Metals for Enameling](https://www.ganoksin.com/article/metals-for-enameling/), gold has similar enameling properties to silver but is extremely expensive. Steel and brass need specialized pretreatment and preparation to accept enamels. The choice of metal depends on the desired application, complexity of the project, cost considerations, and the enameler’s skill level.
When selecting a metal, it is important to consider factors such as melting temperature, thermal expansion, surface reactivity, color, and cost. Copper remains the most popular for most applications due to its ideal combination of workability, ability to readily accept enamels, and affordability.
Cleaning and Preparing the Metal
Properly cleaning and preparing the metal surface is crucial for the enamel to properly adhere. The metal must be thoroughly degreased and etched prior to enameling.
Degreasing involves removing all oils, grease, dirt, and organic residues from the metal surface. This is often done by washing the metal in a degreasing solution such as trisodium phosphate or commercial degreasers. The metal should be scrubbed with soap and water or put in an ultrasonic degreasing tank. Thorough degreasing allows the enamel to bond directly with the metal surface.
After cleaning, the metal must be etched to create microscopic grooves and pores for the enamel to grip onto. This is done by dipping the metal in an etching solution, often a diluted acid like hydrofluoric or nitric acid (Source). The length of time in the etching bath controls the depth of etching. The metal may also be sanded or abraded first to create more texture.
Finally, the metal is shaped as desired through processes like stamping, cutting, or grinding. The surface should be as smooth as possible to allow an even application of enamel.
Applying Ground Coat
The purpose of the ground coat in enameling is to provide an adherent and chemically stable base layer for the enamel. It creates a transition between the metal substrate and the enamel, allowing the two materials to properly fuse during firing. Common materials used for ground coats include nickel, cobalt, copper, and proprietary mixtures. The ground coat is applied using either the wet packing or dry packing method.
In wet packing, the ground coat powder is mixed into a slurry and applied to the metal by dipping, pouring, or spraying. The slurry helps the powder adhere evenly to the surface. In dry packing, the powder is sifted directly onto the metal surface. This requires expert technique to achieve an even application. Both methods work effectively when done properly. Several thin coats are better than one thick coat for complete coverage without defects. Each coat is fired before applying the next. Firing temperatures for ground coats range from 1400-1600°F depending on the materials used.
Applying a quality ground coat is a critical step that provides the foundation for the enameling process. Proper application and firing ensures optimal bonding between the metal and enamel layers. The ground coat enables the vibrant colors and durable finish only achievable through quality enameling. (Source)
Sifting and Applying Enamel
Proper sifting and application of the enamel powder is critical for achieving a smooth, even result. Enamel powder comes in different mesh sizes – the finer the mesh size, the smoother the finish. For most applications, an 80 mesh powder is recommended. The enamel can be applied either wet or dry.
To apply dry, first sift the powder through a fine mesh sieve to remove any clumps or impurities. Use a soft brush to dust a thin, even layer of enamel onto the metal. Too much enamel may cause cracking or chipping when fired. Gently tap the piece to remove any excess powder.
For wet application, first sieve the enamel. Mix the powder with just enough water to form a creamy consistency without clumping. Use a soft brush to gently apply. The water will evaporate during firing. Too much water can cause bubbling.
Advanced techniques like sgraffito involve applying multiple layers of contrasting colors. Sgraffito layers are carved or etched to reveal the underlying color. Proper meshing and even application allows for crisp, clean sgraffito reveals.
No matter the technique, proper meshing and application of the enamel powder will help achieve vibrant, durable results. Let the piece dry fully before firing.
Firing the Piece
Properly firing enameled pieces is critical for achieving a durable and vibrant finish. Enamel is fired in a kiln, with firing times and temperatures depending on the type of enamel and metal used. There are a few key considerations when firing enameled jewelry or decorative pieces:
Most enamels require firing temperatures between 1400-1600°F. Soft enamel powders should be fired on the lower end around 1400°F, while high fire enamels need temperatures closer to 1600°F. Each enamel product will specify the optimal firing range. It’s important to have an accurate kiln with a pyrometer to monitor temperature.[1]
Firing schedule refers to the rate of heating up and cooling down during the firing process. Enamel should be heated slowly at first, around 300°F per hour up to 1000°F. Then the temperature can be increased more rapidly 100-200°F each minute. Cooling should also start slowly, around 400°F per hour until 1000°F, then 200°F per hour down to 600°F. A longer, gradual firing and cooling prevents cracks, bubbles, and other defects.[2]
Most enameled pieces require two or more firings to fully fuse the glass and build up layers of color. The initial firing melts the enamel onto the metal substrate. Subsequent firings allow adding more enamel layers and details. Some techniques like cloisonné may take 10-15 separate firings as the enamel is built up within cloisonné wires.[3]
Finishing Techniques
Once the enamel has been fired onto the metal, there are several finishing techniques that can be used to complete the piece:
Grinding helps remove any rough edges from the enameling process. A diamond lapidary wheel or wet/dry sandpaper is used to gently smooth the edges. Grinding should be done carefully to avoid removing the enamel itself.
Polishing is done after grinding to create a glossy, light-reflecting surface. A buffing wheel charged with polishing compound is commonly used. Multiple polishing steps with finer grits help achieve a glassy finish.
Findings like bails, loops, and clasps are added so the enameled piece can be worn as jewelry. The findings are soldered or glued on. Care must be taken not to overheat the enamel when soldering. Riveting can also attach findings.
Advanced Techniques
There are several advanced enameling techniques that allow for intricate designs and patterns:
Cloisonné
Cloisonné involves creating small compartments (“Enameling 101: How To Learn Common Enameling Techniques.” The Crucible, 13 Sept. 2022) formed by thin copper wire adhered to the metal surface. Enamel powder is placed in each compartment and fired. The compartments help separate colors and define intricate patterns.
Champlevé
In champlevé enameling, depressions are carved or etched into the metal base, rather than built up with wire (“Enameling 101: How To Learn Common Enameling Techniques.” The Crucible, 13 Sept. 2022). The enamel fills these carved out areas and is fired. The uncarved surfaces remain bare metal.
Plique à Jour
Plique à jour involves creating enamel compartments that allow light to shine through (“Enameling 101: How To Learn Common Enameling Techniques.” The Crucible, 13 Sept. 2022). The enamel is transparent rather than opaque and has no metal backing. The effect is like stained glass.
Basse Taille
In basse taille enameling, the design is engraved or etched into the metal before the enamel is applied (“Enameling 101: How To Learn Common Enameling Techniques.” The Crucible, 13 Sept. 2022). The recessed design areas are filled with translucent enamel to create subtle shading effects.
Safety Considerations
There are several key safety considerations when working with enamel. Proper ventilation, handling chemicals carefully, and kiln safety are crucial.
Enameling requires the use of toxic chemicals and materials that can be dangerous if inhaled or come into contact with skin. Always work in a well-ventilated area with good airflow to prevent buildup of fumes, as advised by Interweave. Wear a respirator mask and gloves when handling enamel powders and chemicals.
Follow all safety instructions when using kilns to fire enamel work. Kilns should be placed on a stable, nonflammable surface. Ensure adequate ventilation around the kiln as well to avoid smoke inhalation. Use kiln gloves when handling hot items. Allow sufficient cooling time before removing items from the kiln. Consult the kiln manufacturer’s guide for proper use and maintenance.
When handling enamel powders, work carefully over a tray to catch spills and always clean up afterward to avoid contamination. Do not eat or drink around supplies and thoroughly wash hands after use, as advised by Rio Grande. Take care not to inhale enamel dust particles to avoid lung irritation.