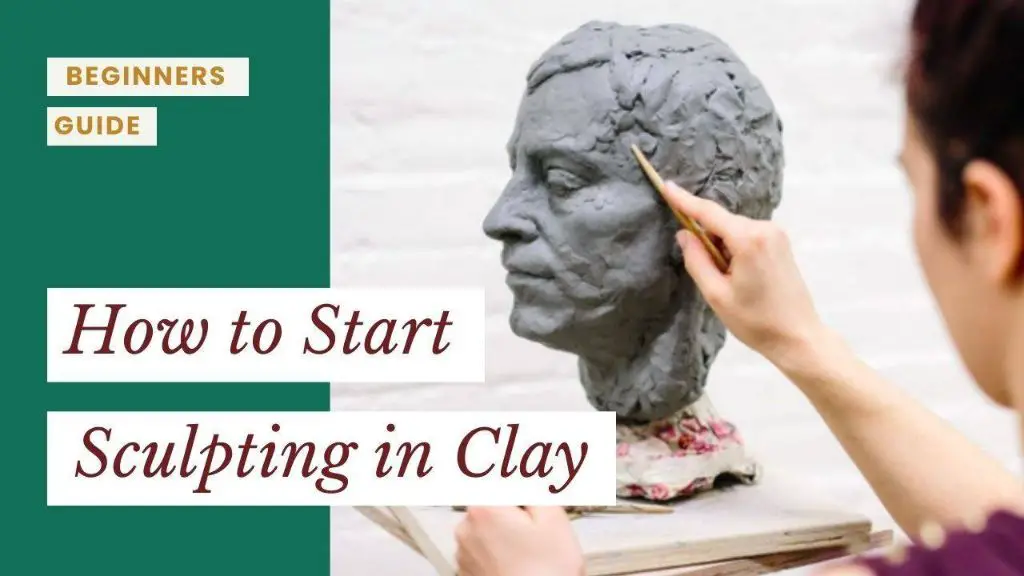
What Materials Are Needed For Clay Modelling?
Types of Clay
There are three main types of clay used for modeling and sculpting: pottery clay, modeling clay, and polymer clay. Each has its own characteristics and is suited for different uses.
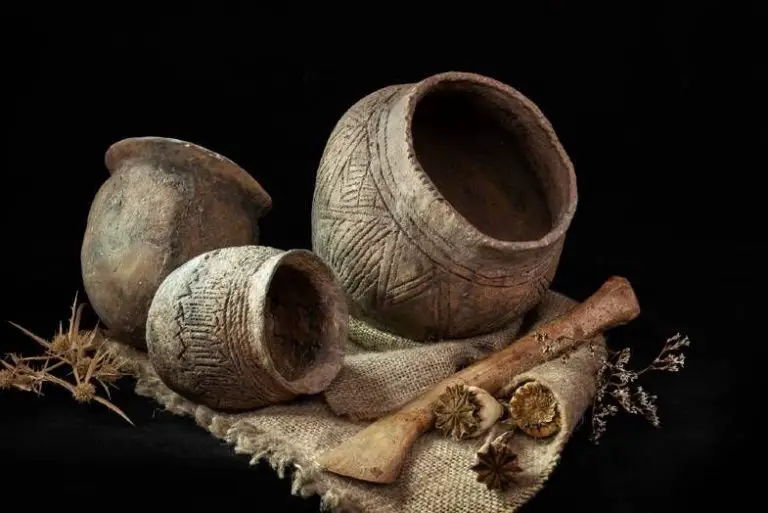
Pottery clay, such as stoneware or earthenware, is water-based clay that can be fired in a kiln to harden it. It can be very durable for sculpting, but requires kiln firing. Pottery clay is often used for functional ceramics like pots, plates, and mugs. Some common pottery clays are stoneware, earthenware, and porcelain. Pros are durability and ability to be fired. Cons are it requires a kiln and can be heavy or prone to cracking.
Modeling clay is oil-based clay that does not require firing. It stays malleable and never fully hardens. Modeling clay is often used for sculpture, animation, and crafts. It is easy to work with and reshape endlessly. Common modeling clays are plasticine and Roma Plastalina. Pros are flexibility and no kiln required. Cons are potential messiness and temporary sculptures.
Polymer clay is a plastic-based modeling clay that cures and hardens at low temperatures in a home oven. It allows very detailed sculpting and intricate designs. Polymer clay is used for jewelry, miniatures, dolls, and decorative items. Popular brands are Sculpey and Fimo. Pros are fine detail and home curing. Cons are potential fumes and fragility after baking.
Clay Tools
Clay sculpting requires a variety of tools for shaping, texturing, and detailing the clay. Here are some of the essential clay tools every modeler needs:
Basic hand modeling tools include wooden sculpting sticks, metal ribbon tools, and silicone clay shapers. These allow you to shape, smooth, blend, and sculpt the clay. Loop tools are rounded wires used to refine curves and textures. Metal needle tools make it easy to add fine details and textures.
Specialized tools include cutters for slicing clay cleanly, wire tools for making holes and lines, dental tools for precision work, and ribbed sculpting tools for making patterns and textures. Needle rollers can create fabric-like effects. Hole punches, extruders, and rollers also help in texturing and shaping. Knives and razor blades allow you to cut, slice, and carve the clay.
Having a range of basic hand tools as well as specialized clay sculpting tools allows you to work the clay effectively and create any shape or texture you desire.
Support Armatures
Armatures are frameworks that give structural support and stability when sculpting with clay. They allow you to build up complex forms and poses without the clay collapsing. Common materials used for armatures include:
-
Wire – Wire armatures made from materials like aluminum, steel or copper are flexible and can be bent into any shape. Wire allows you to create both large and delicate structures. You can wrap clay directly around wire or use it in combination with other materials.Clay To Bronze: 2018
-
Wood – Lightweight wood like basswood or balsa can be cut, drilled and shaped to form a sturdy armature. Wood armatures work well for solid structures and are less flexible than wire.
-
Plasticine – Non-drying clay like plasticine can be molded into shapes to support sculpture sections. It provides cushioning between the armature and clay outer layer.
-
Foam – Polystyrene foam blocks are easily carved into shapes for armature bulks and cores. Foam can be covered in clay and later removed after firing.
The armature provides the general form and frame for the sculpture. The clay is then added and shaped around it. A properly built armature ensures the artwork has structural integrity from its core.
Texturing Tools
Texturing tools allow you to add interesting textures and patterns to your clay sculptures. Some common texturing tools include:
- Sponges – Natural and synthetic sponges can create porous, irregular textures. Cut them into different shapes and sizes.
- Texture mats – Flexible rubber mats that can imprint patterns like wood grain, brick, etc. Press the clay into the mat.
- Rollers – Clay rollers with ridges and patterns will imprint designs as you roll over the clay.
- Stamps – Clay stamps come in all shapes and sizes to imprint patterns. Brush with slip first for better impressions.
- Modeling tools – Loop tools, ribs, etc. can add lines, marks and textures.
- Found objects – Press items with interesting textures into the clay like lace, mesh, leaves, etc.
Experiment with combining textures and patterns for added visual interest. Always clean tools after use and store properly. See Amazon’s selection of texture tools for inspiration.
Cutting and Carving Tools
Cutting and carving tools are essential for sculpting detail and texture into clay models. These specialized tools allow artists to cut, slice, scrape and gouge clay to achieve different effects.
Some common cutting and carving tools include:
- Knives – Clay shaping knives have thin, sharp blades for slicing through clay and cutting out fine details. Knives allow for precision cutting and intricate sculpting.
- Flat blades – These wide, flat blades are useful for scraping and smoothing clay surfaces. Blades can flatten and even out lumps or uneven textures.
- Loops – Clay loop tools feature a wire loop on the end and are great for impressing lines and grooves into the clay. The loops come in various sizes and shapes.
- Gouges – Clay gouges have U-shaped blades that scoop and hollow out clay. They create deep lines, holes and concave surfaces for unique textures.
Using an assortment of cutting and carving tools allows clay artists full control over the fine details of their sculpture. The right tools transform a shapeless lump of clay into a refined work of art.
Finishing Supplies
No clay sculpture is complete without proper finishing. Once your clay artwork is hardened, you’ll need tools and materials to smooth the surface and give it a polished look. Some essential finishing supplies for clay modelling include:
Sandpaper – From coarse grit to super fine, sandpaper is ideal for gradually smoothing clay surfaces and removing seam lines. Start with a lower grit like 80 or 100 to remove bigger irregularities, then work up to 220, 400, and 2000 grit sandpaper for a glassy finish.
Files – Needle files, riffler files, and other specialty files help refine details and get into small crevices on your clay sculpture. Use needle files to sharpen edges and emboss details.
Soft cloths – Keep a supply of soft, lint-free cloths on hand to dust away clay particles while smoothing surfaces between sanding grits. Old t-shirts or microfiber cloths work well.
Chamois – The soft suede finish of chamois makes it ideal for buffing clay pieces to a sheen. Use it as a final step after sanding for subtle polishing.
Acrylics – Clear acrylic sealants give clay work a glossy finished look and protect the surface. Use water-based or solvent-based acrylic finishes formulated for clay and ceramics.
Glazes and Paint
One of the key differences between glazes and paints for clay modeling is whether the clay piece will be fired in a kiln or not. For pieces made from pottery or ceramic clay that will be fired, glazes are required to create a glossy, finished outer surface.
Glazes for clay are specially formulated to melt and fuse with the clay body when fired in a kiln at high temperatures, typically between 1200-1400°F. According to Difference Between Paint and Glaze, the glaze melts and forms a solid, glassy coating on the ceramic after firing. There are many types of glazes available for different firing temperatures and effects.
In contrast, paints like acrylics and oils are suitable for clay pieces made from polymer or air-dry clays that do not require firing. Acrylic paints will air-dry on polymer clay and do not require heat setting. Paint allows for more flexibility and color options compared to glazes. According to Acrylic Paint vs. Ceramic Glaze on Sculpture, acrylics enable more painterly effects and color blending on polymer clay sculptures.
So in summary, glazes are essential for finishing and sealing fired clay pieces, while paints like acrylics can be safely used on unfired polymer clay.
Storage Containers
Proper storage is crucial for keeping clay workable and preventing it from drying out. Some key storage containers for unused clay include:
Plastic bags: Knead the clay well and store it in a heavy-duty plastic bag, pressing out all the air before sealing. This creates an airtight environment to lock in moisture. Double bagging provides extra protection. Source
Airtight plastic containers: Use containers with tight fitting lids, such as Tupperware or rubbermade containers, for storing larger amounts of clay. Press out air before sealing. Source
Clay storage cartons: Specialty cartons designed for clay storage are also available. These cardboard boxes have a plastic liner to retain moisture.
Keep unused clay in an airtight container and store in a cool, dry area. Avoid temperature extremes. With proper storage containers, clay can keep for months.
Work Surfaces
When choosing a work surface for clay modeling, you’ll want to select a material that is sturdy, smooth, and able to withstand the pressure applied during sculpting. Some popular options include:
Canvas – Canvas is a lightweight and portable surface for sculpting clay. The fabric texture provides enough grip to keep your clay from sliding around. Look for thick cotton canvas or canvas-covered boards.
Wood – Wood offers an affordable and versatile work surface. Smooth, sanded wood provides an ideal texture. Avoid rough wood that could leave grooves in the clay. Use kiln-dried wood to prevent future warping.
Tempered Glass – Glass gives an ultra-smooth surface for clay. Tempered glass is safer than normal glass in case of breakage. Some artists like to work on frosted or textured glass for extra grip.
Other options include Masonite boards, acrylic sheets, or clay modeling tables with non-stick surfaces. Make sure your work surface is large enough for your sculpture and projects. Having a portable surface allows moving your work-in-progress for photography and display.
Safety Gear
Working with clay requires protective gear to keep you safe from harsh materials and potential injuries. Essential safety equipment for clay modeling includes:
- Aprons – Wear an apron or smock to protect your clothing from stains. Look for heavy duty aprons made from vinyl or canvas (Ceramic Studio Safety – Tools – Bailey Pottery).
- Gloves – Gloves guard your hands from irritation. Opt for rubber gloves when working with water and cloth or leather gloves for regular modeling.
- Dust masks – Wear a mask rated N95 or better to prevent breathing in fine particles from clay dust, chemicals or glazes.
- Goggles – Protect your eyes from flying debris with studio goggles. Look for impact resistant lenses and ventilation.
- First aid kit – Keep a well-stocked first aid kit on hand for minor cuts, burns or abrasions.
Don’t forget personal protective equipment like long sleeves, closed toe shoes and tying back long hair. Maintaining good studio safety habits will let you focus on creating without worry of accidents or discomfort.