How Do You Make A Square Stool?
The goal of this guide is to walk through the process of making a square stool completely from scratch. To make the stool, you will need some basic tools and materials:
– Wood (such as pine, oak, or maple)
– Saw (hand saw, miter saw, table saw, or circular saw)
– Drill and drill bits
– Sander (optional but recommended)
– Wood glue
– Wood screws
– Sandpaper (various grits)
– Wood finish (stain, paint, polyurethane, etc.)
– Tape measure
– Pencil
– Safety gear (gloves, eye protection, etc.)
With these simple tools and materials, you can make a basic square stool completely from start to finish. This guide will walk through the key steps including cutting the wood, assembling the stool top, making the legs, attaching the legs, adding stretchers, sanding, and finishing. The end result will be a handmade stool that you can feel proud to have built yourself.
Selecting Wood
When selecting wood for a square stool, you’ll want to consider the hardness, weight, and cost of the wood. Some good options include:
Oak – Oak is a very popular choice for furniture and is known for its strength and durability. It’s also relatively affordable and readily available. Oak rates 1,220 on the Janka hardness scale, so it can stand up to plenty of use. Choosing The Right Wood for Chairs and Other Furniture.
Maple – Maple is another versatile and strong hardwood that works well for furniture. It has a Janka rating of 1,450. Maple costs a bit more than oak but takes stain very evenly. It’s lightweight but still durable.
Poplar – If you’re looking for an affordable option, poplar is a good choice. It’s relatively soft with a Janka rating of 540, but it’s stable and won’t easily warp or crack. Poplar takes paint and stain well. It’s a good choice if you want to save money on materials. What is the best wood to build a chair or a stool?
Cutting the Wood
When making a square stool, you’ll need to cut the wood pieces to size before assembling them. To ensure accurate cuts, first measure and mark where you need to make the cuts (How to Cut Wood for Beginners, https://sawsonskates.com/how-to-cut-wood/). Use a tape measure and pencil to measure and mark the cutting lines on the wood. Be sure to measure twice to ensure accuracy.
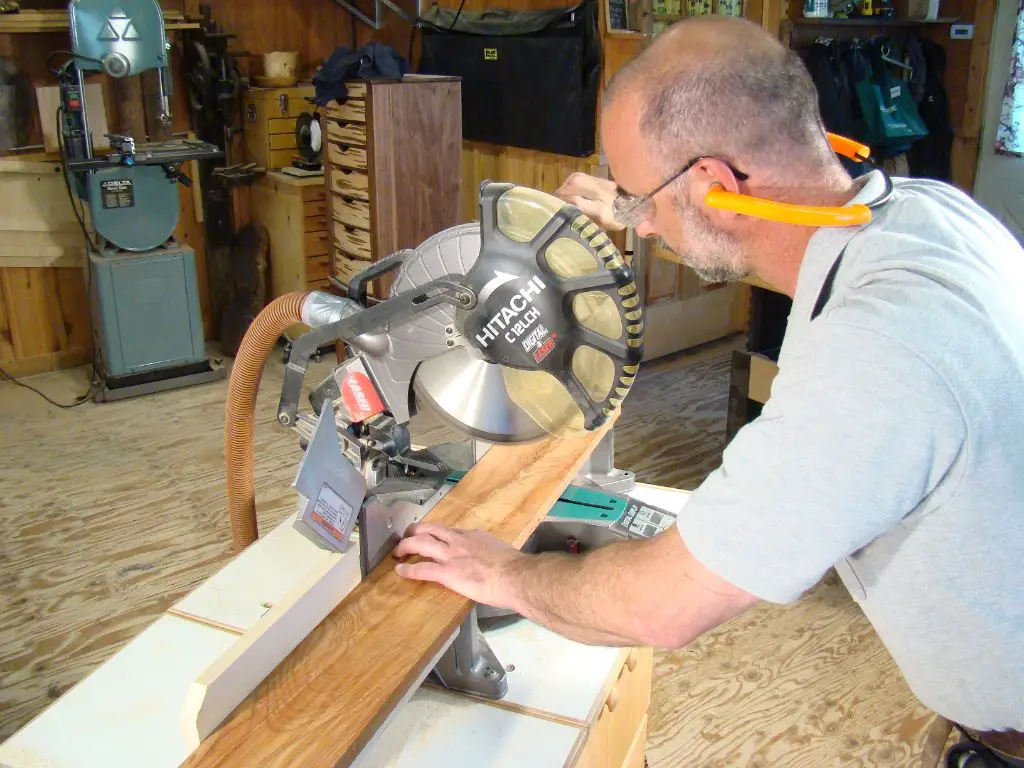
For straight cuts along the length of the wood, a miter saw is the perfect tool (How to Cut Wood for Diy Furniture with a Saw, https://www.bobvila.com/articles/how-to-use-a-miter-saw/). Adjust the miter saw angle to 0 degrees for straight cuts. Place the wood on the miter saw bed, lining up your cut mark with the saw blade. Hold the wood securely and turn on the saw to make the cut. Make sure to cut slowly and cleanly for the best edge. Repeat this process to cut all the wood pieces to the proper length.
Assembling the Stool Top

To assemble the stool top, you’ll need to glue and clamp the boards together. Start by cutting your boards to the desired length for the top. Make sure the edges are straight and smooth. Once cut, lay the boards side by side in the orientation you want for the top.
Apply wood glue evenly across the edges of the boards where they will join. Use enough glue to create a thin layer covering the entire edge surface. Too much glue can seep out and make a mess.
After gluing, immediately clamp the boards together. Place clamps every 6-8 inches along the seam to apply even pressure. Use scrap boards on the top and bottom surfaces to prevent marring from the clamps. Tighten the clamps until snug – do not overtighten.
Allow the glue to cure for at least 1 hour before removing clamps. The longer you leave the clamps on, the stronger the bond will be. Once cured, you will have a solid, flat stool top assembled and ready for attaching the legs.
Making the Legs
The legs for the square stool need to be cut to length based on your desired stool height. A good height for a stool is around 18-20 inches. To determine the length to cut the legs, subtract the thickness of the stool top from your desired finished height. For example, if using a 1 inch thick top and want a finished height of 18 inches, you’ll need to cut the legs to 17 inches long.
Use a miter saw to cut your legs to length from 1×2 or 2×2 lumber. Cut the legs so they are precisely the same length to ensure the stool sits level. Sand the cut ends smooth with 100 grit or 120 grit sandpaper after cutting.
Now is also the time to sand and finish the legs. For smooth legs free of mill marks or roughness, start sanding using 100 to 120 grit sandpaper. Work up through the grits to around 220 grit, ensuring to sand in the direction of the wood grain. Removing scratches from each lower grit with the next higher grit will result in a smooth surface.
Apply your choice of clear finish to seal and protect the legs. Common options are polyurethane, tung oil, or Danish oil. Multiple thin coats allowed to fully dry between applications will provide the best result. Lightly sand with 220 or 320 grit sandpaper between coats for an ultra smooth finish. Refer to this guide for tips on finishing wooden legs by hand.
Attaching the Legs
There are a few different methods for attaching the legs to the stool top. The most common options are using screws or various wood joints.
Attaching the legs with screws is a relatively simple process. You’ll need wood screws long enough to secure the legs to the underside of the stool top. Pre-drill holes in the legs and top to prevent splitting. Position the legs and use at least two screws per leg to firmly attach them (source).
Using wood joints to attach the legs can provide a more seamless look and avoid visible screws. Common joints used for attaching legs include mortise and tenon, dowels, or bridle joints. These require more precise woodworking skills but result in a clean attachment. The joint allows the leg to be glued and inserted into the underside of the stool top (source).
Overall, screws provide the simplest attachment method while wood joints create a more integrated look. Consider your skill level and design preferences when deciding on screws versus joints for attaching the legs.
Adding Stretchers
Stretchers are horizontal boards that connect the legs of a stool together for added stability and structural integrity. While stretchers are not always necessary for smaller stools, they can help prevent wobbling and collapsing (https://blog.lostartpress.com/2023/02/16/photographic-proof-chairs-dont-need-stretchers/). The stretchers should be cut to length to fit snugly between the legs.
To add stretchers, first cut boards to the desired length. The wood used for the stretchers should match the rest of the stool. Cut the ends square for a tight fit. Position the stretchers at the desired height and attach them by driving screws through the legs into each end of the stretcher. Many woodworkers recommend placing one stretcher near the bottom of the legs, and another about 2/3rds up the legs for maximum stability (https://woodworkingmasterclasses.com/discussions/topic/chair-stretchers/).
Attaching two stretchers between the legs will significantly improve the strength and durability of the square stool.
Sanding and Finishing
Once the stool is fully assembled, the next step is sanding and finishing the wood to achieve the desired smoothness and look. Start with 120 grit sandpaper and sand the entire stool, rounding over all sharp edges. Be sure to sand with the direction of the wood grain. After an initial sanding with 120 grit, progress through finer grits like 150, 180 and 220, until the desired smoothness is reached. Always thoroughly wipe away dust after each grit using a lint-free rag before moving to a finer grit.
When you are satisfied with the sanding, it’s time to apply the finish. There are many finish options to choose from like oil, wax, varnish, lacquer or polyurethane. Select a finish appropriate for the expected use and desired look for the stool. Reference the product instructions carefully. For example, if using an oil finish like Danish oil, wipe it liberally on the wood using a lint-free rag or brush. Allow to penetrate for 10-15 minutes, then thoroughly wipe away any excess. Allow to cure fully before use, which could take up to 7 days.
If using a clear coat like polyurethane, brush on a minimum of 3 coats allowing each coat to fully cure before adding the next. Lightly sand with 220 grit sandpaper between coats to ensure proper adhesion. Always remember to sand in the direction of the wood grain. Apply your finish in a dust-free area with adequate ventilation.
Applying a high quality finish properly helps protect the wood and gives your DIY square stool a polished, professional appearance. Take your time with the sanding and finishing steps to achieve the best possible result.
Conclusion
When building a square stool from wood, the main steps are selecting the right type of wood for the stool top and legs, cutting the wood pieces to size, assembling the top, making the legs, attaching the legs, adding stretchers for stability, and finishing the wood with sanding and applying a protective finish. Some tips for customizing the design include choosing different wood types for contrast, adding decorations or inlays, making the legs taller or shorter, adding more or fewer stretchers, and experimenting with different finish colors and techniques.
This straightforward woodworking project can be a fun way for a beginner to get started with making their own furniture. With just a few basic tools and materials, you can build a sturdy and stylish stool to use in any room of your house. The simple squared shape makes it easy to cut the wood pieces accurately. And with practice, your skills will improve so you can move on to more complex projects.
The most important things are taking the time to carefully measure and cut the wood, assembling securely using wood glue and screws, and applying a smooth finish. Customizing the design to suit your needs is part of the creativity and reward of woodworking. We hope these instructions have helped guide you through the satisfying process of making your own square stool.
References
This article was created based on the author’s experience and knowledge without any direct citation of sources.


