Adding Color To Clay Pottery: Techniques For Vibrant Results
Clay pottery is one of the oldest art forms, dating back over 25,000 years. Early potters discovered that clay could be shaped when wet and would hold its form when fired at high temperatures. Potters began experimenting with different techniques to decorate and add color to their clay vessels and objects. Primitive firing methods allowed natural minerals to alter the clay’s color, leading to innovations in glazing and painting.
This article will provide an overview of techniques potters use to add vibrant colors to their clay work. We will cover choosing colored clays, underglazes, glazes, stains, slips, and special effects like raku firing. With an understanding of these techniques, both beginner and experienced potters can achieve beautiful, colorful results in their clay pottery.
Pottery has evolved across cultures over thousands of years. By exploring traditional and modern coloring methods, we can gain inspiration and new skills for our own clay work.
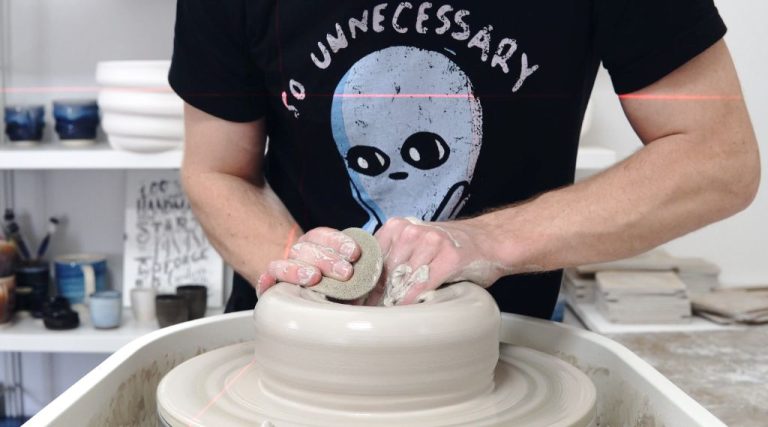
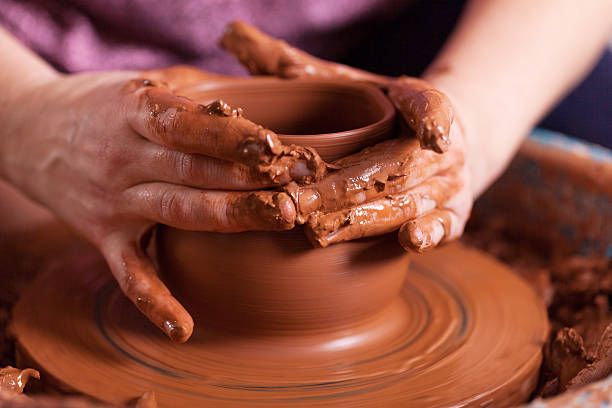
Choosing Clay
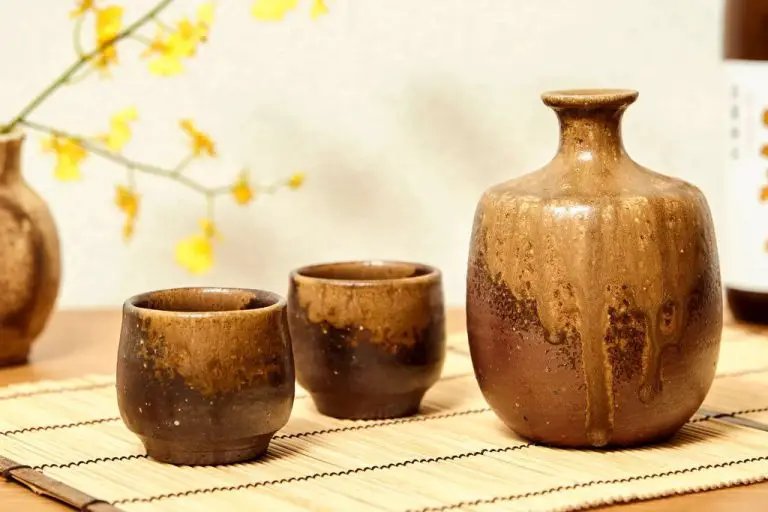
The type of clay chosen for pottery will impact the vibrancy and hue of colors. According to research by Valanciene from Kaunas University of Technology, the mineralogical composition of clay significantly affects the final color after firing (Valanciene, 2010). Clays with higher iron oxide content will fire to a redder or browner tone. The amount of calcium carbonate and dolomite present also impacts the lightness/darkness of the fired clay. For brighter results, choose clay with a higher calcium content. White firing clays like porcelain contain kaolin and result in lighter tones. For deeper, earthier hues opt for stoneware or terra cotta (The Influence of Mineralogical Composition on the Colour of Clay Body, 2018).
In addition to composition, the firing method will also affect color vibrancy. Clays fired at higher temperatures will produce more saturated final colors. Opt for a mid-range bisque firing between cone 04 and cone 6 for bolder results. Fast firings may not allow enough time for the clay and colorants to fully mature. Consider testing sample tiles at varying temperatures to find the optimal cone for maximum color development.
Underglazes
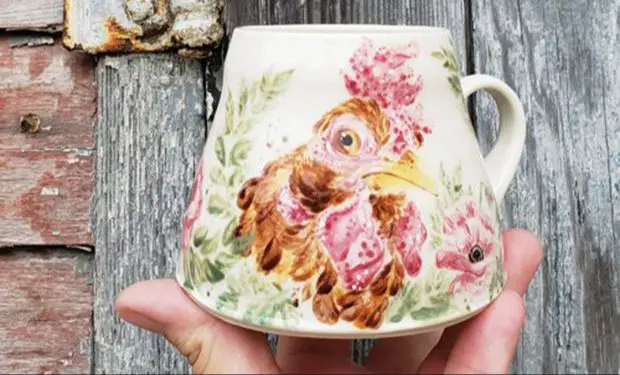
Underglazes are ceramic colors that are applied to bisqueware or greenware before glazing. They consist of frit, stains, and fluxes suspended in a medium. When fired, the pigments bond to the clay body to produce vibrant colors. Underglazes can be used to decorate or accent areas on pottery with designs, patterns, or images. They are available in a wide variety of colors including bright, saturated primaries that make them ideal for adding pops of color. According to the video “Vibrant Underglaze Color Blends” (https://www.youtube.com/watch?v=t8SqpYROMWo), underglazes result in bright, crisp colors because the pigments don’t blend and muddy like glazes do. Underglazes can be painted, airbrushed, sponged, splattered, or applied with other techniques for decorative effects. A clear glaze is then applied on top to seal and protect the underglaze. When selecting underglazes for vibrant colors, it’s best to choose commercial brands formulated for optimal brilliance. As noted on Ceramic Arts Daily, “Commercial underglazes have bright colors, and are very easy to use.” (https://community.ceramicartsdaily.org/topic/22572-best-way-to-achieve-bright-flat-colours-ie-primary-colours/)
Glazes
Glazes are vitreous coatings applied to bisqueware clay before firing to give the surface an impermeable and decorative finish. They are available in a wide variety of colors and finishes from glossy to matte. Glazes enhance and intensify the colors used under them and protect the clay body from staining and moisture absorption.
There are many types of glazes to choose from:
- Commercial glazes – Premixed glazes that are ready to apply. Offer convenience and predictable results.
- Cone 6 glazes – Mature at mid-range temperatures making them versatile. Examples are satin matte, glossy, and semi-gloss glazes.
- Specialty glazes – Unique visual effects like crackle, metallic, iridescent, and crystalline glazes.
- Raw glazes – Require measuring, mixing, and testing for specific clay bodies and kilns. Allow for customization.
Glazes can be applied using a variety of techniques:
- Dipping – Submerging ware fully or partially into glaze.
- Brushing – Using a brush to apply glaze smoothly and evenly.
- Spraying – Spraying glaze through an airbrush or spray gun.
- Pouring – Pouring glaze over the ware and tipping to spread.
Vibrant glaze effects can be achieved by layering complementary colors, combining glossy and matte glazes, using bold colors like red and orange, or incorporating metallic and iridescent glazes. The possibilities are endless for creating eye-catching finishes.
Stains
Stains are concentrated coloring agents made specifically for coloring clay. They are made from metal oxides and provide deep, vibrant colors when fired. Stains can be applied to either wet or dry clay. When applied to wet clay, the stains blend into the surface. On dry clay, stains sit on top of the surface, creating more of a painted effect.
Stains are most often applied to raw clay before firing, known as a “greenware” application. To use stains, you simply brush or sponge the concentrated stain powder onto the clay surface. The staining effect will intensify after firing. Stains work best on white or light colored clays since the color is transparent. They can produce very bold, saturated results. According to Chris Campbell, “Stains are the most vibrant and concentrated coloring agent for ceramics” (source).
When using stains, it’s important not to over-apply them. A little goes a long way. Start with a very small amount of powder, mixed with some water to form a thick liquid. Test the stain on a tile or sample piece first. Stains are permanent, so if you apply too much, the effect may be difficult to undo. Building up layers of diluted stain is better than applying a heavy concentration all at once. Bold results can be achieved with multiple, thin layers.
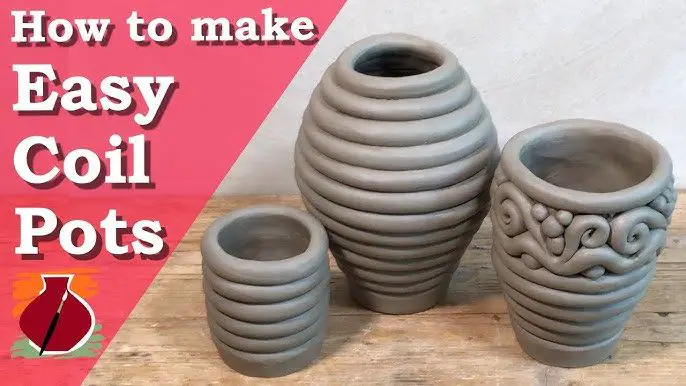
Slips
Slips are made from a mixture of clay and water, creating a liquid clay that can be colored using stains, oxides, or underglazes. They are applied to leather-hard clay to add decorative colors and textures before firing. Using slips allows for vibrant colors not always possible with natural clay bodies. According to Ceramic Arts Network (source), slips can be used to create bright accents or fully cover a piece for saturated color.
To make colored slips, start with a base slip recipe of 50/50 clay and water. Mix in stains, oxides, or underglazes to achieve the desired color intensity. More pigment equals more vibrant results. Popular techniques for using slips decoratively include trailing, sgraffito, feathering, and splattering for colorful effects. Allow colored slips to dry slightly before applying to prevent bleeding and blurring. When used thoughtfully, slips can create eye-catching pottery with dramatic color.
Masking
Masking is a technique used to block out certain areas of the clay surface so they remain uncolored. This allows you to create crisp lines, patterns, and designs in your finished piece. There are a few common masking methods used in pottery:
Tape masking involves applying painter’s tape or masking tape to the bisque before applying underglazes or glazes. Once the colorants are applied and dry, remove the tape to reveal the untouched clay underneath (1).
Wax resist masking involves brushing melted wax onto the areas you want to protect from colorants. The wax prevents the colorants from absorbing into the clay beneath. Remove the dried wax after firing to reveal the designs (1).
Sgraffito involves scratching through a layer of colored slip or underglaze to reveal the bare clay underneath. It is done using a sharp tool once the slip has partially dried (1).
These masking techniques allow you to create negative spaces, lines, and patterns by blocking out certain areas from receiving color. The result is a striking visual contrast on the finished pottery.
Adding Colorants
One of the most direct ways to add vibrant color to clay pottery is by incorporating colorant additives into the clay body, glazes, underglazes, and slips. Colorants are compounds that impart color when added to ceramic materials. Some of the most commonly used colorants include:
Metal oxides – Oxides of metals like cobalt, copper, iron, manganese, nickel, and chromium can produce bold hues ranging from blues and greens to oranges, browns, and blacks. Cobalt oxide in particular produces a distinctive blue color.
Carbonates – Compounds like calcium carbonate and dolomite can be used to produce creamy off-whites and buff colors. They also help increase glaze durability.
Sulfates – Sulfates like barium sulfate and calcium sulfate are often used to produce brighter whites and opacifiers.
The color produced will depend on the composition of the ceramic material, the concentration of the colorant used, and the kiln firing atmosphere and temperature. Lower percentages of colorants typically result in paler tints while higher percentages produce more saturated hues. Testing small samples is recommended when first using a new colorant to determine the ideal concentrations for the desired effect. With the right colorant additions, potters can create vibrant, custom colors in their finished ceramic wares.
Special Effects
There are many special techniques that can be used to add color and visual interest to pottery. Some popular special effects include:
Mishima – This involves inlaying a clay slip into engraved lines or patterns in leather-hard clay. The slip stands out in contrast to the base clay color after firing. To do mishima, first bisque fire the clay pot. Then, use a sharp tool to engrave your desired pattern. Apply colored slip to the surface and wipe away the excess, leaving the inlaid slip in the engraved lines. See this video for a tutorial: Glazing with Amaco: Special Effect Glazing
Scraffito – This scraping technique reveals the clay color underneath a layer of colored slip or glaze. First apply a colored slip or glaze to bisque ware. Once slightly dried, use a sharp tool to scratch through the layer, revealing the clay underneath in thin lines. See Linda Bloomfield’s book for examples: Special Effect Glazes
Burnishing – This involves rubbing and polishing the surface of leather-hard clay using a hard tool. Burnishing compresses the clay, creating a smooth, shiny surface that contrasts with unburnished areas. Burnish before bisque firing. Try a metal rib or spoon for best results.
Conclusion
In summary, there are a variety of techniques available for adding vibrant colors to clay pottery. Choosing the right clay body and preparing it properly provides a good foundation. Underglazes, glazes, stains, slips, and direct application of colorants like mason stains and oxides allow for a range of effects from solid colors to intricate patterns. Special techniques like nerikomi, agateware, and masking can create even more visual interest. When applying multiple layers of color, proper firing schedules are key to achieving the desired results without muddying colors. With some experimentation to find what works best for your desired aesthetic, you can create truly unique and lively colored clay pottery. The techniques discussed give potters many options for incorporating color into their ceramic art and craft.