Can You Use A Bowl As A Mold For Clay?
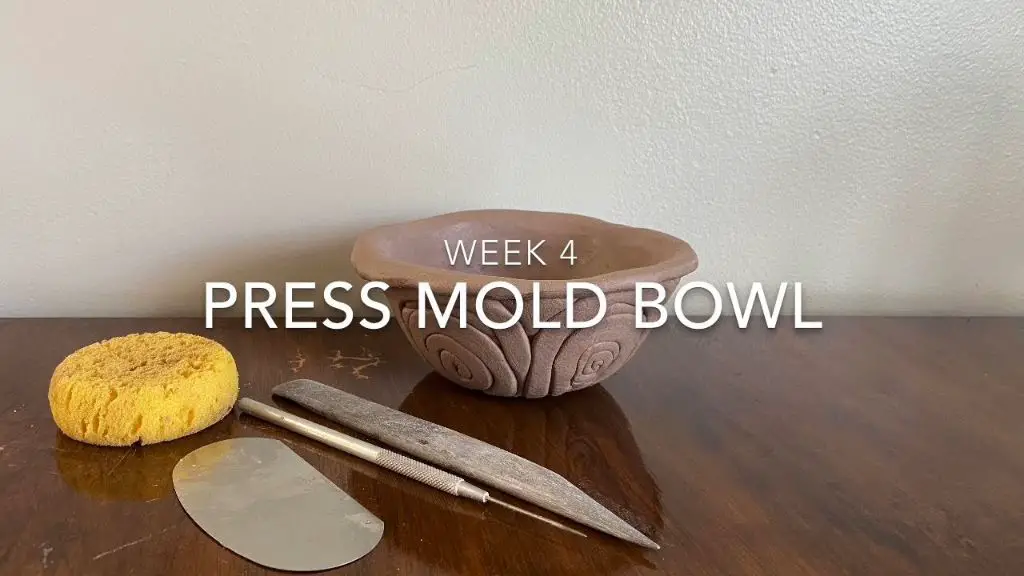
Using bowls as molds for shaping clay is a simple, fun, and creative way to make ceramic pieces. Bowls come in all different sizes and shapes, allowing you to experiment with the form and dimensions of your clay creations. Both plastic and ceramic bowls can be repurposed as clay molds. The process involves pressing a ball or slab of clay into the bowl to create a concave shape. The clay is then allowed to dry before being removed from the bowl mold. With some preparation and technique, bowls make excellent molds for creating bowls, cups, plates, and other circular clay crafts.
Pros of Using Bowls as Molds
One major advantage of using bowls as molds for clay is that they provide an easily accessible and affordable material. Many potters already have bowls on hand that can be repurposed, meaning no special supplies need to be bought. According to a thread on potters.org, simple household bowls made of materials like plastic or glass can be used to create plaster molds by pouring plaster into the bowl and letting it set [1]. This allows potters to save money since pre-made molds can be expensive.
Cons of Using Bowls as Molds
While using bowls as molds for clay offers some advantages, there are also some limitations to consider:
Bowls only allow for round or curved shapes, restricting the designs and details that can be achieved. According to a discussion on Reddit (source), trying to unmold intricate or angular shapes from a rounded bowl often leads to cracking or distortion. The bowl’s shape gets imprinted onto the clay.
It can be challenging to capture fine details like patterns, textures, or complex sculptural elements when pressing clay into a bowl. The clay can lose definition, especially in deeper bowl molds. Unique hand-crafted designs get smoothed out into basic curved forms.
So while bowls offer a quick and convenient mold option, they restrict the level of detail and customization possible. For more intricate ceramic creations, a specially made plaster mold offers much more design freedom and sharper impression.
Suitable Clay Types
When choosing a clay for bowl molding, there are a few types that tend to work best.
Polymer clay is very versatile and easy to work with. It’s available in many colors and can be molded smoothly into detailed shapes, according to https://www.keeeps.co.uk/blogs/potters-block/pottery-for-beginners-the-4-main-types-of-clay. Polymer clay also doesn’t require firing in a kiln.

Air-dry clay is another good option, as it dries at room temperature and can be used right away after molding, based on the same source. It’s lightweight and often comes in white or gray.
Earthenware clay is highly recommended for beginners. It fires at lower temperatures compared to other clays, doesn’t require specialized tools, and is very forgiving to work with. Earthenware can be used to make bowls, mugs, and decorative pieces.
For more advanced projects, stoneware or porcelain may be suitable. They require higher firing temperatures but produce durable pieces with finer detail. Consider the project goals and skill level when selecting the type of clay.
Preparing the Bowl
Before using a bowl as a mold, it’s important to properly prepare the bowl so the clay releases cleanly. Here are some tips for preparing bowls for clay molding:
Clean the bowl thoroughly with soap and water to remove any residue. Make sure the bowl is completely dry before applying any mold release.
Apply a thin layer of mold release to prevent the clay from sticking. Vegetable oil, petroleum jelly, or mold release sprays designed for clay work well (source). Apply mold release carefully using a paper towel or soft cloth.
Some materials like porous ceramic may absorb water from the clay. Coat these extra well with mold release. Smooth glass or glazed bowls need less mold release.
Let the mold release dry completely before pressing in any clay. This prevents excess oil from leeching into the clay.
Optional steps like lining the bowl with plastic wrap or covering it with a clay slab can make unmolding easier. Just be sure to smooth any seams.
Pick a bowl with a shape and size suitable for your project. The clay will pick up every detail of the mold surface.
Pressing the Clay
When using bowls as molds for clay, there are a few techniques to keep in mind for shaping the clay effectively:
- Start by firmly pressing a ball of clay into the bowl, making sure it reaches all edges and corners. According to this guide, the clay should be firm but still plastic enough to shape without cracking.
- Use your fingers and knuckles to press the clay outward toward the sides of the bowl. Apply even pressure so the clay wall thickness remains consistent.
- Smooth the clay with your fingers or a rubber rib to create an even surface texture inside the bowl.
- You can add decorative elements by pressing textures, patterns, or designs into the clay while it’s still soft.
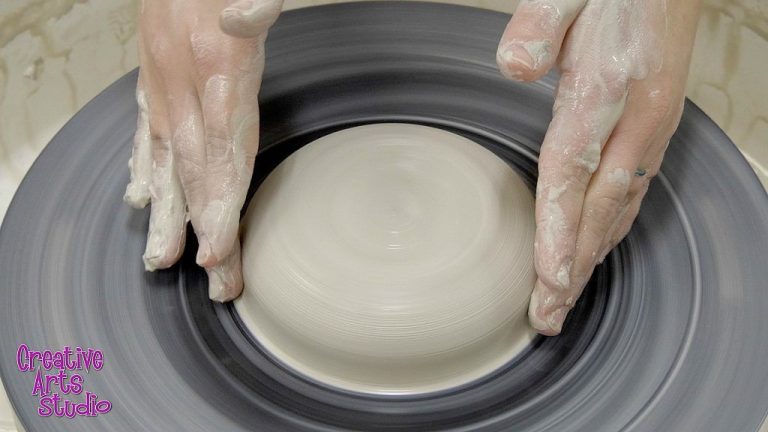
- Let the clay firm up partially before unmolding. Leather-hard is ideal so it maintains its shape.
Paying attention to the clay consistency, using firm pressing motions, and letting it set up some before unmolding are key for cleanly releasing the shaped clay from the bowl mold.
Unmolding the Clay
When unmolding air dry clay pieces from a plastic or silicone bowl mold, patience and care are key to avoiding damage. Let the clay fully cure and harden before attempting to remove it. Depending on thickness, this can take 1-3 days.
For plastic bowls, you can try lifting the edges gently or inserting a dull knife to help separate the clay from the mold [1]. Work slowly around the edges until you can remove the entire piece.
With silicone molds, you may be able to flex the mold gently to release the clay. You can also try dusting the mold with cornstarch or using mold release spray before pressing the clay to make unmolding easier [2].
Avoid prying or forcing pieces out of the mold, as this risks breaking detailed sections. Take your time and be gentle. Any leftover clay stuck to the mold can be slowly peeled or chipped off after removal.
Finishing Touches
Once you’ve unmolded your clay piece, there are a few finishing touches you can add before baking to further refine the look:
- Use your fingers or a rubber shaper tool to gently smooth any rough edges or seams from pressing. Go slowly and avoid overworking the clay.
- Add decorative elements like textures, stamps, or cut outs using clay tools before baking. Press gently so you don’t distort the overall shape.
- Use a clay roller tool to flatten any warped or uneven sections.
- Refine details or add impression lines for dimension using toothpicks, knitting needles, etc.
- Attach additional clay pieces like handles or feet using water or clay slip.
- Let it dry completely before baking so moisture doesn’t get trapped.
- Follow the baking instructions on the clay package. Bake at the proper temperature and check frequently near the end.
- Once cooled, sand any rough bottom edges so your piece sits flat.
- Finish with a matte spray sealant if desired to protect the clay and give an even sheen.
Adding finishing details gives your clay piece more polish and makes it look professionally made. Take your time perfecting the look before baking.
Creative Bowls Mold Ideas
Bowls can be molded into a variety of fun and creative shapes with clay. Here are some unique bowl mold project ideas:
Sea shells – Press clay into a bowl mold to create whimsical sea shell shapes (source). Add texture by imprinting the clay with a shell fossil or other sea-themed objects.
Fruit bowls – Use round bowls like oranges or lemons to make realistic looking fruit bowls. Consider making a whole fruit platter by using different sized and shaped bowls (source).
Feather bowls – Long thin bowls like vases can be molded into beautiful feather shapes. Try alternating the direction of feathers or layering multiple feathers (source).
Leaf bowls – For leaf shapes, press clay into bowls with pointed ends. Experiment with sizes from small leaves to large floppy ones (source).
Layered bowls – You can layer two bowls with slip in between to create bowls with double walls. Try using bowls with different shapes or colors (source).
Let your imagination run wild and have fun with unique bowl molds and clay pressing techniques to make your own custom ceramic pieces.
Conclusion
In summary, using bowls as molds for clay can be a creative, accessible, and inexpensive option for both beginner and experienced ceramic artists. Bowls made of plastic, glass, or metal work best to withstand the clay and unmolding process. While there are some limitations to bowl molds compared to more complex commercial molds, simple forms like bowls, cups, and vases can easily be shaped. With proper clay conditioning, pressing, and drying time, smooth unmolding is achievable. Finishing techniques like trimming excess clay and sanding seams makes the final fired piece look clean and professional. While bowls lack intricate details of commercial molds, their simplicity allows room for creative surface decoration. Overall, bowls make worthwhile molds to add to any ceramic artist’s toolkit for making beautiful one-of-a-kind pieces.


