Creating Texture In Clay Pottery: Techniques And Tips
Texture is an important design element in clay pottery and ceramics. It refers to the tactile quality and surface characteristics of a piece. Texture adds visual interest, dimension, and aesthetic appeal to pottery. There are many techniques potters can use to create different textures in clay depending on the desired effect. This guide will provide an overview of the major techniques for impressing, carving, piercing, paddling, and more to create unique and appealing textures in clay pottery projects. Understanding these fundamental techniques allows potters to add complexity, personality, and beauty to their ceramic creations.
Tools for Texturing Clay
There are many tools that can be used to create interesting textures in clay pottery. Some common tools include:
- Ribbon tools – These are thin, flexible metal strips that can be dragged across the clay to create lines.
- Loop tools – Loops of various sizes pressed into clay can create dotted patterns.
- Texture mats – Rubber mats with patterns can be pressed into soft clay.
- Shells – The ridges and patterns on shells are perfect for imprinting natural textures.
- Food items – Things like onions, garlic, leaves or lemons can be pressed into clay to transfer patterns.
When choosing texturing tools, opt for objects with clearly defined edges and patterns. The bolder the texture, the more effectively it will transfer into the clay. For intricate patterns, clay can be rolled out thinly so textures are impressed more sharply. Avoid rounded objects without a distinct pattern.
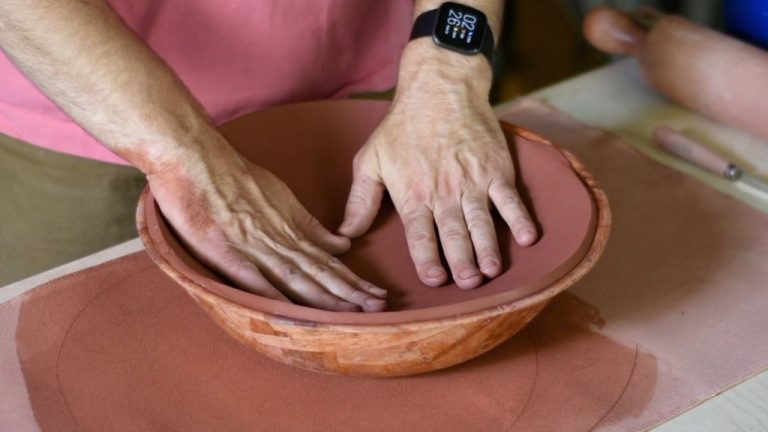
Impressing Textures
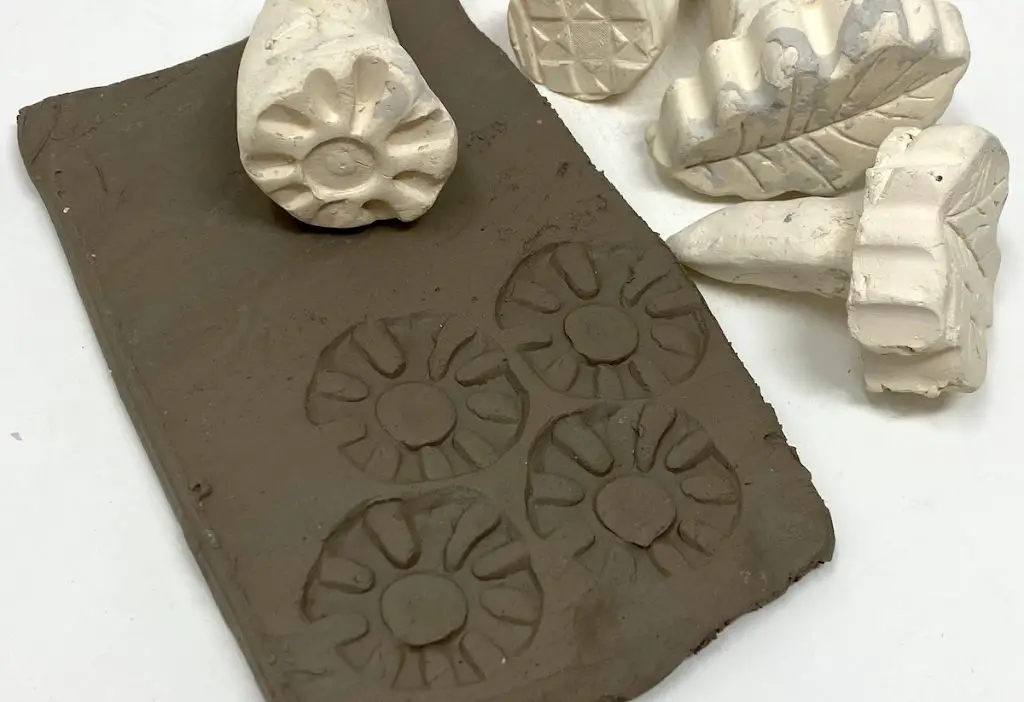
One easy way to add texture to clay pottery is by impressing objects into the surface of the clay. This technique involves pressing items into the soft clay to leave behind impressions and patterns. A wide variety of materials can be used to imprint textures, including natural objects, household items, textured fabrics, or tools made specifically for clay.
When choosing objects to use for impressing, porous materials like wood, bisqueware, sea sponges, burlap, or terracotta work best, according to Lakeside Pottery. The tiny nooks and crannies in these materials pick up clay and leave well-defined impressions. Non-porous objects like metal or plastic can also be used, but may require dusting the surface with clay slip first to prevent sticking.
Some easy household items to try are coins, keys, forks, bubble wrap, sequins, screws, nuts, bolts, doilies, leaves, seashells, or cut fruit skins, according to The Art of Education University. The options are endless for creating unique patterns. Press firmly and evenly into the clay, but avoid going too deep, which can cause thin areas and cracking.
Textured rolling pins, clay impression mats, and stamps offer even more possibilities for impression textures. These tools are designed specifically for working with clay and come in a wide selection of patterns to explore. Using these items streamlines the process since there is no need to prep or clean the objects between uses.
Impressing textures into clay is a simple, fun way for beginners to explore adding multidimensional interest to their pottery. The pressed designs also add strength and visual appeal to finished works.
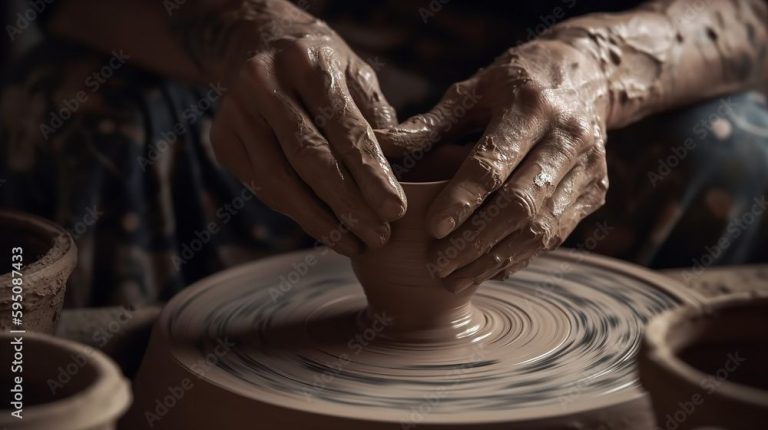
Carving and Incising
Carving and incising clay involves using tools to cut into the surface to create lines, patterns, and textures. This technique requires leather-hard clay that is firm enough to carve without distorting, but still soft enough that tools can cut into it. Some common tools used for carving and incising clay include:
- Clay carving knives – Various shaped blades for cutting lines and shapes
- Loop tools – Wire or ribbon loops for scraping thin lines
- Ribs – Metal or wooden tools for scraping wider lines
- Needle tools – Sharp points for finely detailed carving
When carving clay, work slowly and carefully to control the cuts. Hold the clay steady with one hand while carving with the other. Make smooth, even strokes and avoid digging too deep into the clay which can cause cracking. Overlapping carved lines can create interesting crosshatch patterns and textures. Geometric shapes, animals, landscapes, and lettering can all be carved into clay.
Incising refers to impressing lines and patterns into the clay surface without cutting all the way through. Tools like skewers, knitting needles, and the back of a paintbrush can all be used to incise lines. Carefully press the tool into the clay at an angle and drag it through the surface to create shallow grooved lines. Incising is great for adding fine details and delicate marks to leather-hard clay.
Combing
Combing is a great technique for creating texture in clay pottery. It involves dragging a tool through the clay to create long parallel lines. Combing is often done on leather-hard clay, but can also be done on soft clay.
To comb clay, you’ll need a combing tool. These look similar to hair combs, with a row of multiple tines or teeth. You can purchase commercially made clay combs, or make your own by filing down an old hair comb or cutting notches into a piece of wood, plastic or stiff cardboard. The spacing between the tines will determine how close together your combed lines are.
To comb the clay, hold the comb at a 45 degree angle and gently drag it through the surface, applying even pressure. Work in straight lines, lightly overlapping each pass. Make sure your comb stays parallel as you work to keep the lines uniform. You can experiment with different directions, spacing, and depths.
Combing is great for making horizontal stripes, waves, hatching, cross hatching, and many other line-based patterns. It creates an eye-catching visual texture. Combing over a colored slip can produce beautiful multi-toned effects as the slip comes up between the lines. Use your imagination to create your own unique combed designs!
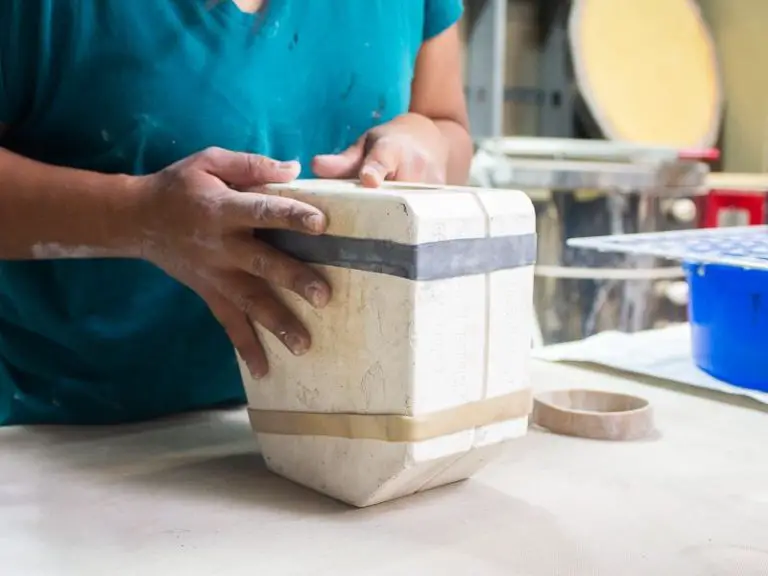
Paddling and Pounding
Paddling and pounding are ancient techniques that involve using tools to alter the surface of clay. Paddles made of wood, plastic or rubber can be used to flatten, smooth, or imprint designs into soft clay. Pounding tools like mallets and river stones can create indentations and textures.
To use the paddling technique, start with a ball or lump of soft clay. Flatten the clay into a pancake shape by gently tapping a paddle against the surface. Continue flattening and widening the clay as desired, turning occasionally, until you have a flat clay sheet or slab. The paddle can then be used to further refine the surface by stippling, smoothing, or imprinting textures.
Pounding tools like mallets and stones are great for making irregular indentations and patterns. Gently tap them against the surface of soft clay to create allover textures. Combining paddling and pounding is an easy way to achieve rustic, organic looking surfaces.
Paddling and pounding work best on soft, pliable clay. Let the clay firm up slightly if it becomes overly sticky. These techniques can create stunning one-of-a-kind surfaces full of depth and character. With some practice and experimentation, you’ll discover the paddling and pounding techniques that work for your style. For inspiration, see the source here.
Slipping and Sgraffito
Slipping and sgraffito is a technique where colored slip is applied to the clay surface to create patterns by scratching away the outer layer. Here’s how it works:
First, apply a colored slip to the entire piece. Allow it to dry slightly so it’s leather-hard. Next, use a tool like a needle or skewer to scratch through the colored slip to reveal the clay underneath. This creates lighter patterns and textures against the colored background.
Multiple layers of contrasting colored slips can be applied and scratched through to create more complex patterns. Allow each layer to dry before applying the next. Bold geometric patterns or fine delicate line work can be achieved using this technique.
Sgraffito provides a great way to add visual interest and texture to pottery. The color variations and scratched patterns make each piece unique. It’s an accessible technique for beginners but can also yield sophisticated results in the hands of experienced ceramic artists.
Mishima
Mishima is a decorative technique that involves carving lines or patterns into leather-hard clay and then filling those lines with colored clay slips or oxides. This creates dramatic, graphic designs on the surface of pottery.
To use the mishima technique:
- Start with leather-hard clay. Use ceramic carving tools to cut lines or patterns into the surface, cutting 1/8″ to 1/4″ deep.
- Wipe away any debris and ensure the lines are clean.
- Mix colored slips or oxides with a bit of water to a yogurt-like consistency. Use a squeeze bottle or piping bag to carefully fill in the carved lines with the colored clay.
- Use a rubber kidney tool or spatula to scrape off any excess colored clay so it is just level with the surface.
- Allow the piece to dry fully before firing. The colored clay will fuse into the body during firing.
Mishima allows clay artists to create surfaces with a stylized, graphic look. Careful carving and inlaying results in crisp lines filled with dramatic pops of color. It takes precision but the striking designs are worth the effort.
Watch this video to see the mishima technique in action: Watajima Pottery
Piercing
Piercing is a technique that involves cutting holes into leather-hard clay to create texture and decorative effects. This can be done using sharp tools like needles, knives, or specialty clay piercing tools. The holes allow light to pass through the clay and create interesting visual patterns on the surface.
There are many approaches to piercing clay:
- Making small holes close together in a pattern for an all-over perforated effect
- Cutting out larger individual holes into the clay
- Combining pierced areas with unpierced sections
- Piercing all the way through the clay to create negative spaces
The size and shape of the tools used affects the look of the pierced texture. For example, a needle tool makes small, delicate holes while a knife can cut larger, geometric-shaped openings. Pierced effects look visually striking on translucent porcelain clays where light passes through the perforations.
It’s important to pierce the clay at the right hardness and thickness. Leather-hard clay holds its shape while allowing for clean cuts. Slabs that are too thin may crack or be too fragile for piercing. Consider the pierced areas when designing forms so the structural integrity is maintained.
Piercing is an excellent way to create beautiful visual textures on pottery. The interplay of solid and open spaces makes for interesting light effects on clay.
(Source:
Conclusion
Texture serves an important function in pottery and ceramics. It not only brings visual interest to the surface of a piece but also adds dimension and helps create dynamic surfaces and patterns. Throughout this guide we examined several key techniques potters use to impart appealing textures on their clay work including impressing, carving, combing, padding and pounding, slipping and sgraffito, mishima, piercing, and more. By thoughtfully using these methods, you can break up smooth clay surfaces and introduce appealing variations making your work more tactile and three dimensional. Experiment with different tools from household items to specialized clay sculpting tools to get the imprints and effects you desire. Consider combining techniques for more complex textures. With time and practice, you’ll gain mastery over texturing clay and be able to produce ceramics with beautiful, artistic, and unique surfaces.